I will Introduce how to get, install, and set the standard “Onyx” maintenance tool for Mac system settings.
Onyx supports Mac OS X 10.2 Jaguar to the latest version of macOS 12 Monterey, but here’s an illustrated procedure for 12 Monterey.
① How to get and install Onyx

Onyx downloads different things depending on the version of macOS.
Be careful not to make a mistake!
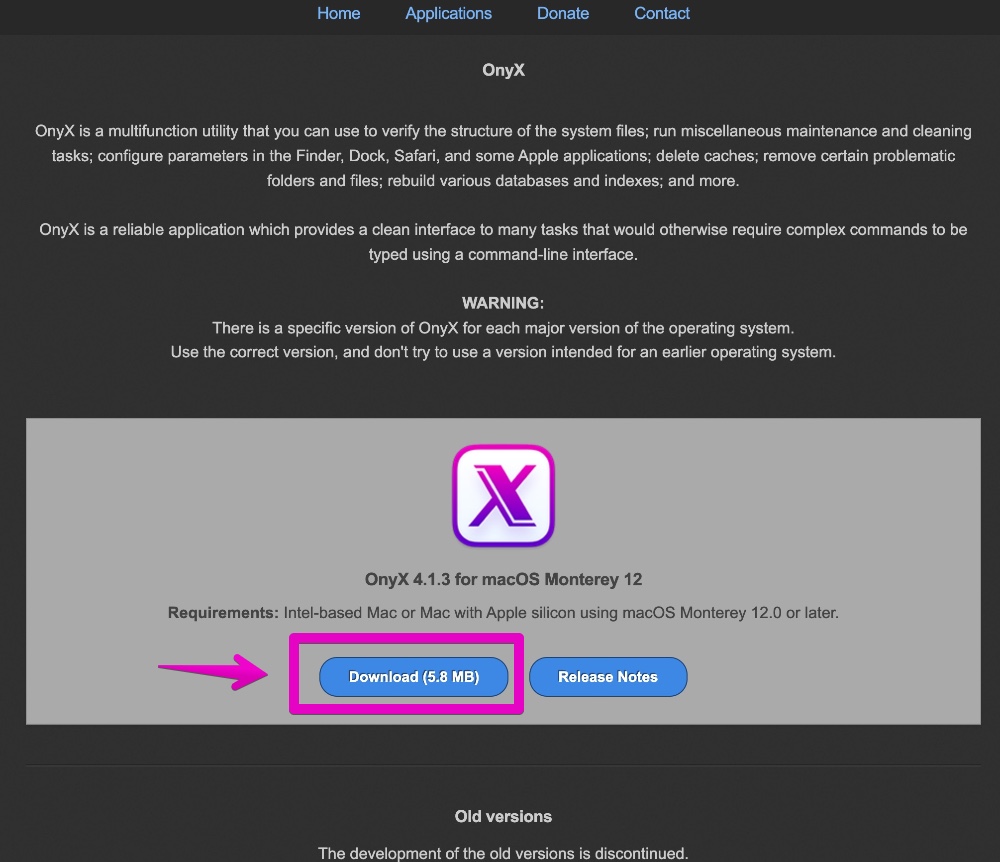
▶ Click the link below to open the official website.
▶ Click the Onyx download link for each version of macOS.
Here, as an example, download Onyx for macOS 12 Monterey.
▶ Specify an appropriate download destination and download Onyx.
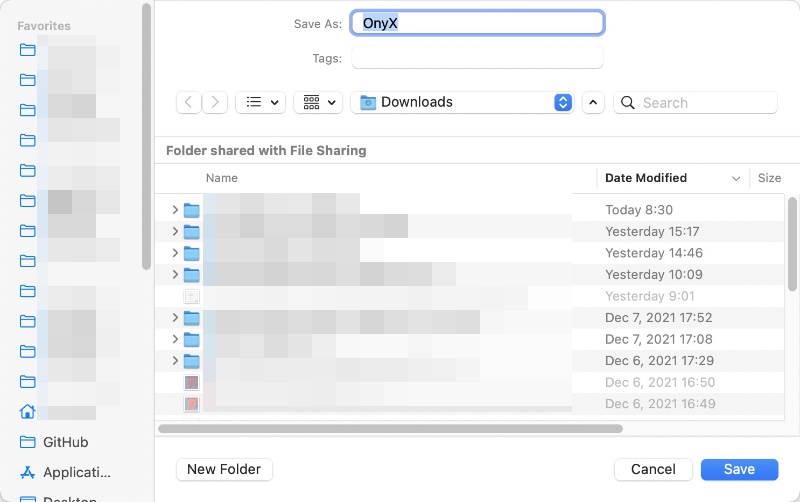
▶ After downloading, double-click the file.
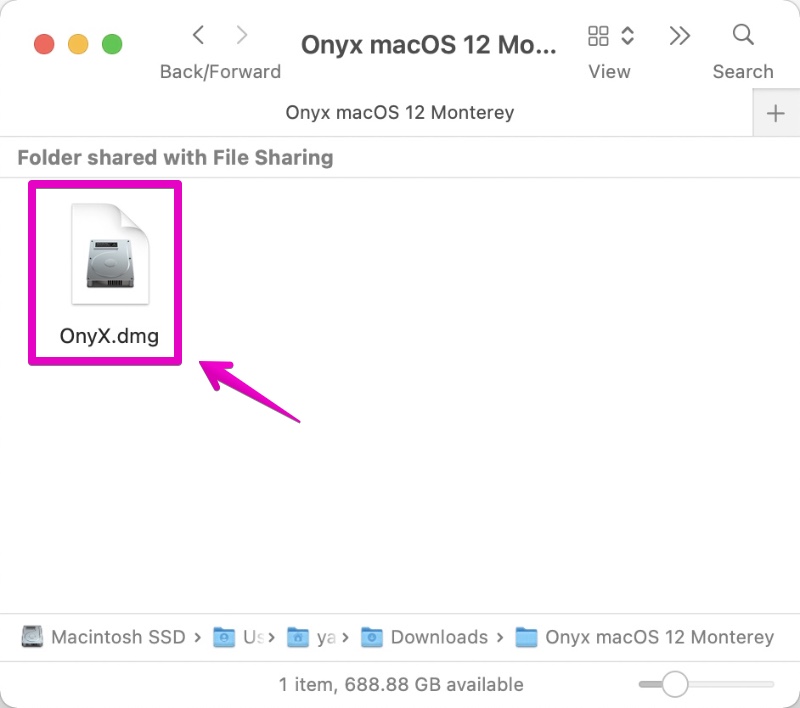
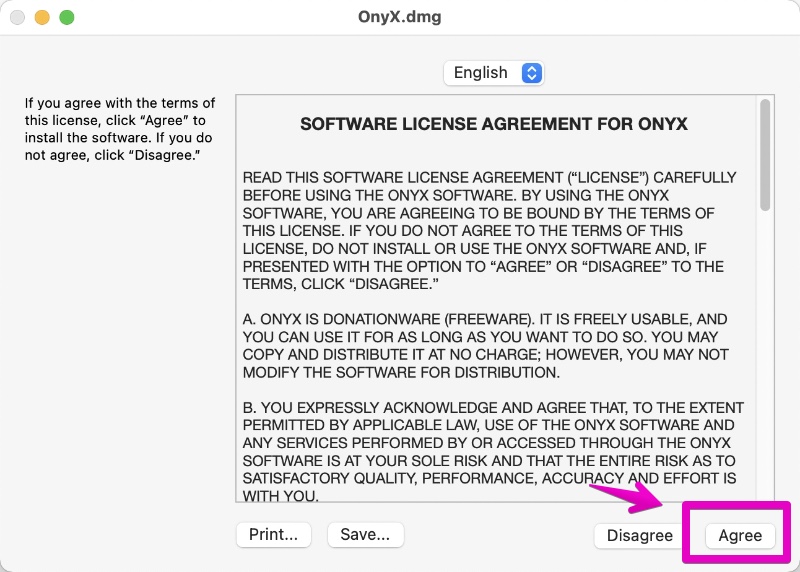
▶ When the “Software License Agreement For Onyx” is displayed as shown in the screen below, click the “Agree” button at the bottom right.
▶ When the Onyx app icon is displayed as shown in the screen below, drag and drop it to the “Applications” folder.
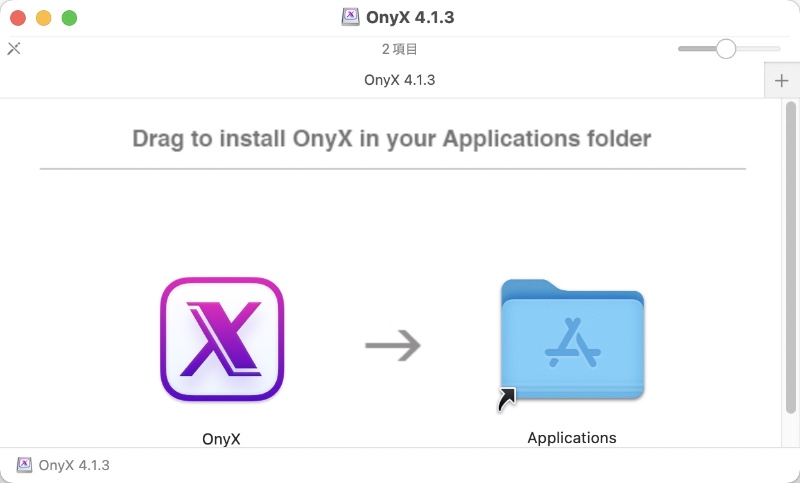
▶ This completes the installation, but please continue to configure the settings at the first startup.
② How to configure Onyx on initial startup
Only when you use Onyx for the first time, you need to set access rights and so on.
The procedure is from the following, but please skip this part in the second and subsequent startups.
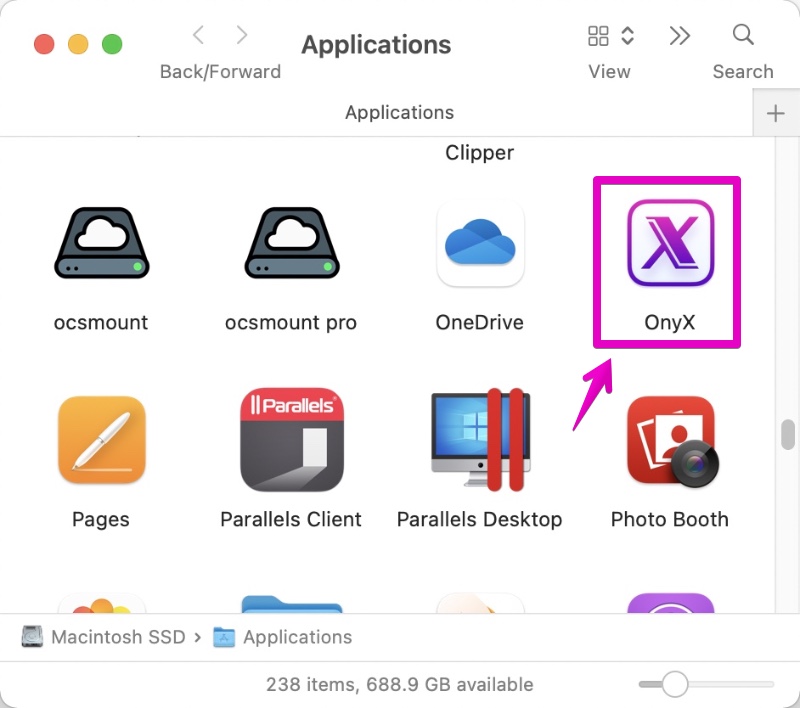
▶ Double-click the Onyx app icon in the “Applications” folder.
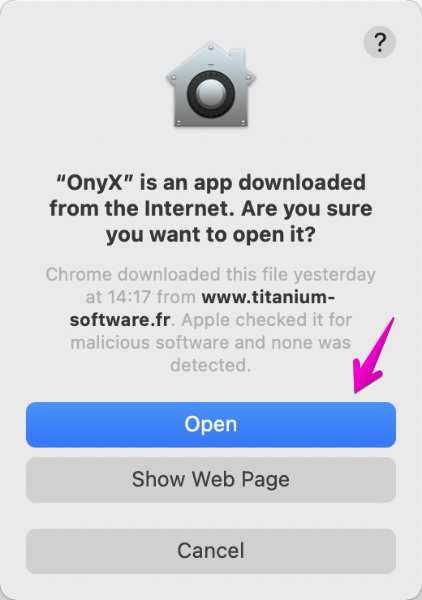
▶ As shown in the screen below, when the message ” Onyx is an application downloaded from the Internet. Are you sure you want to open it?” Is displayed, click the “Open” button.
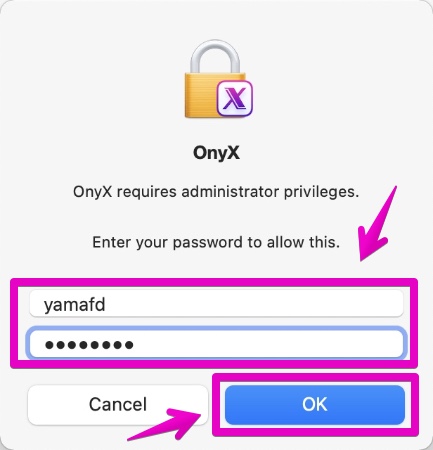
▶ At the first startup, the following screen for granting administrator privileges may be displayed.
When prompted, enter your username and password to log in to your Mac or install the app, then click the OK button.
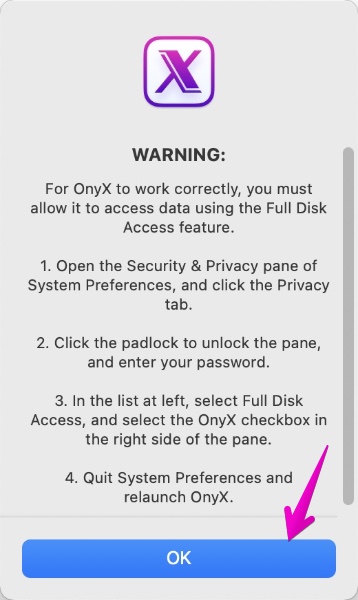
▶ At the first startup, the following warning screen may be displayed.
When it is displayed, you need to make the settings according to the contents of the screen, but for the time being, click the “OK” button at the bottom right to close it.
The text of the warning is as follows.
Then follow the warnings to configure and then install Onyx again.
For OnyX to work correctly, you must allow it to access data using the Full Disk Access feature.
1. Open the Security & Privacy pane of System Preferences, and click the Privacy tab.
2. Click the padlock to unlock the pane, and enter your password.
3. In the list at left, select Full Disk Access, and select the OnyX checkbox into the right side of the pane.
4. Quit the System Preferences et relaunch OnyX.
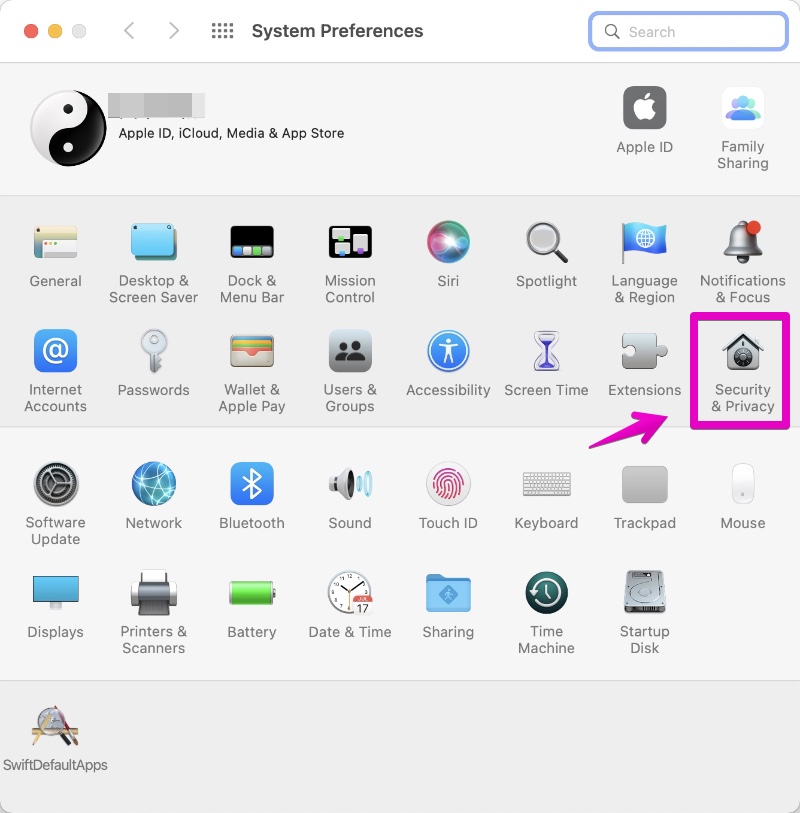
▶ Change the “Security & Privacy” settings as indicated by the warning.
Launch “System Preferences”.

▶ When “System Preferences” opens, click “Security & Privacy”.
The figure below is macOS 12 Monterey, but the design is slightly different depending on the OS version.
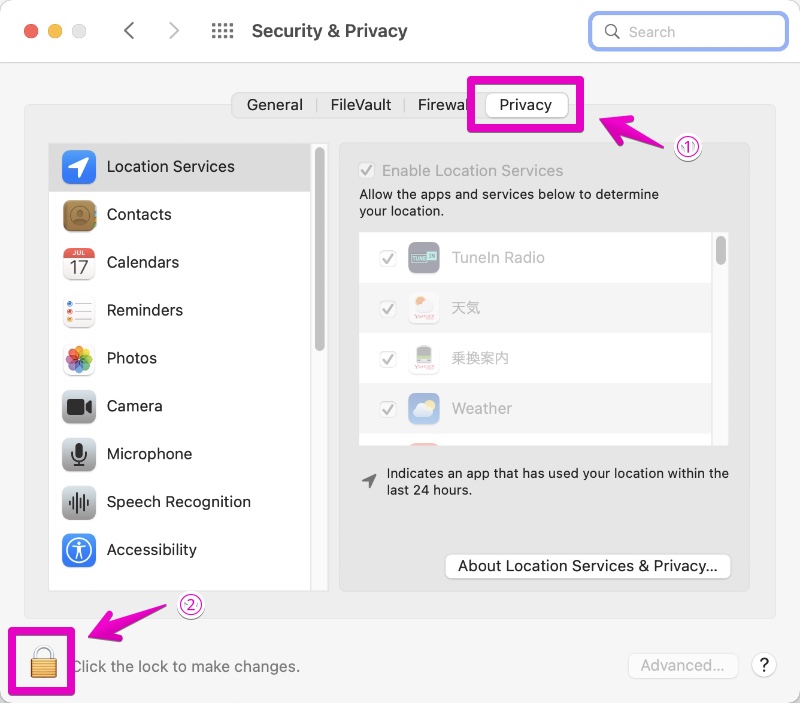
▶ After switching to the “Security & Privacy” screen, click the tab “Privacy” in ① at the top of the screen, and then click the padlock icon in ②.
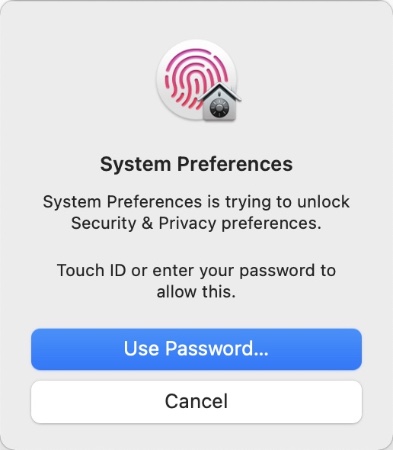
▶ When the screen for entering Touch ID and password appears for unlocking, unlock by fingerprint authentication or password input.
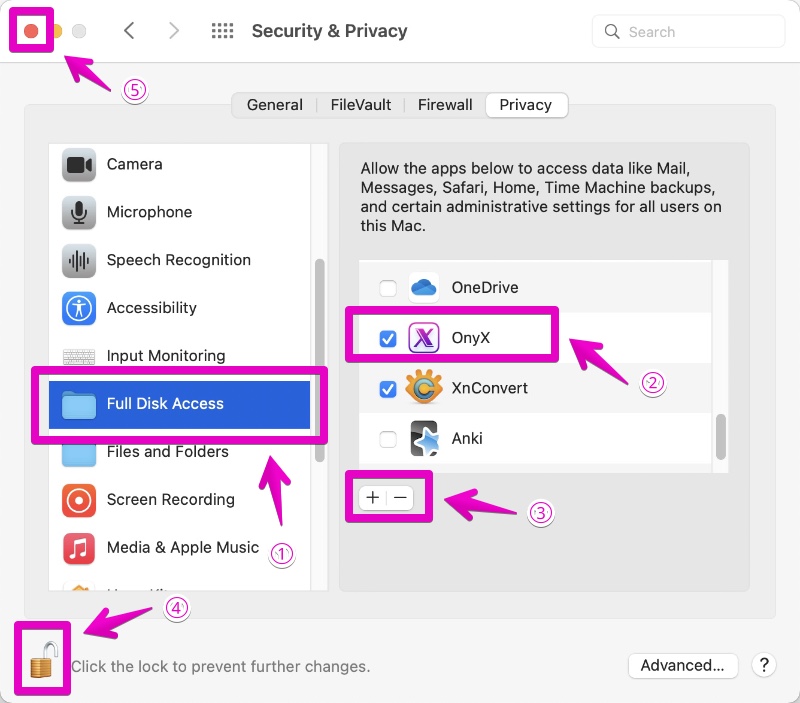
▶ After the lock is released, operate the following steps ① to ⑤ in order.
- ① Select “Full Disk Access” from the left column
- ② Find Onyx from the list of apps on the right and check it.
- ③ If you don’t see Onyx in the list, click the + button to add Onyx
- ④ Click the padlock icon to lock
- ⑤ Click the red x icon in the upper left to close “System Preferences”
③ How to launch Onyx from the second time onwards
▶ Double-click the Onyx app icon in the “Applications” folder.

▶ At the startup, the following screen for granting administrator privileges may be displayed.
When prompted, enter your username and password to log in to your Mac or install the app, then click the OK button.

▶ As shown in the screen below, when you see a line of icons under the title of Onyx, you have launched Onyx.
To finish, click the red x mark in the upper left.

This is the end of this article.




コメント