

I will show you how to crop an image using only standard Mac functions.
Here, I will introduce two methods, “Preview.app” and “Photos.app” of the genuine Mac apps, but I will also explain the advantages and disadvantages.
List of methods for cropping images and advantages / disadvantages
| Method | Advantages | Disadvantages |
|---|---|---|
| ① “Preview.app” | ・Cropping can be square, circular, or any shape | ・Nothing special |
| ② “Photos.app” | ・Can be completed within the “Photos.app” | ・Cropping can be only square |
How should we use the two methods properly?
If you manage your images with the “Photos.app”, ② is recommended.
In addition, you can open the image from the “Photos” app with the “Previewa.pp”, so if the function is insufficient in ②, you can also use the method ①.
It looks convenient!
Then, use ① for one image file, and use ② or ① for the images managed by the “Photos.app” as needed.
① “Preview.app”
①-1 Show “Markup Toolbar”
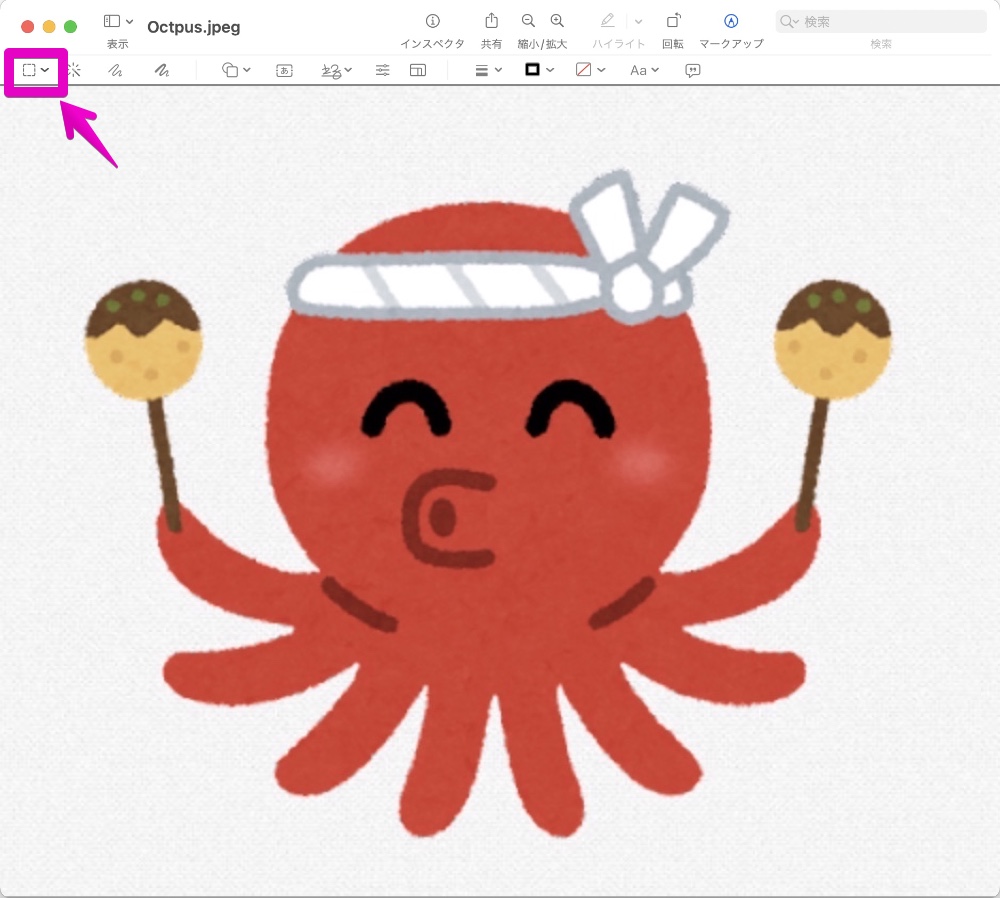
▶ In “Preview.app”, open the image you want to crop.
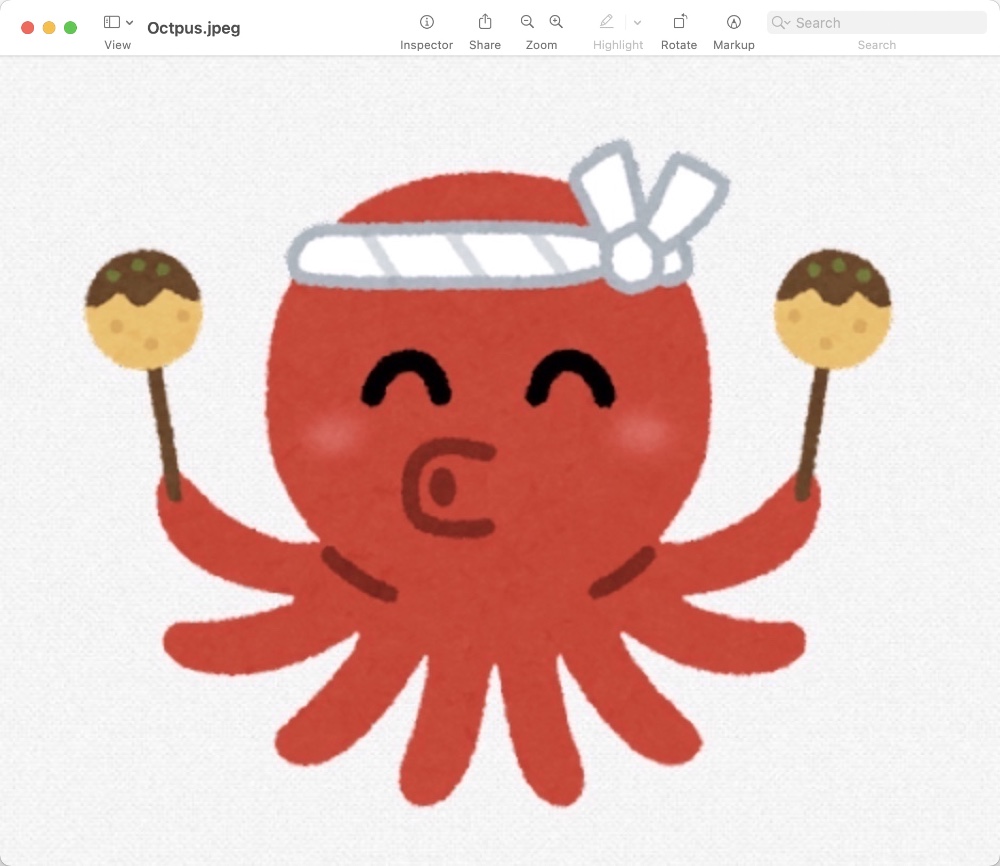
▶ Show the “Markup Toolbar”.
You can show it in one of the following three ways.
- a) From the toolbar, click the “Markup” icon
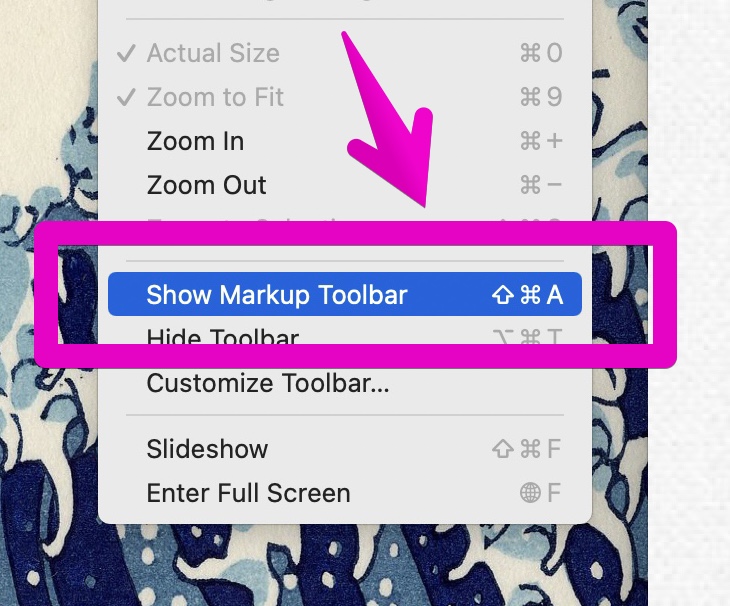
- b) From the menu bar, click “View” -> “Show Markup Toolbar”
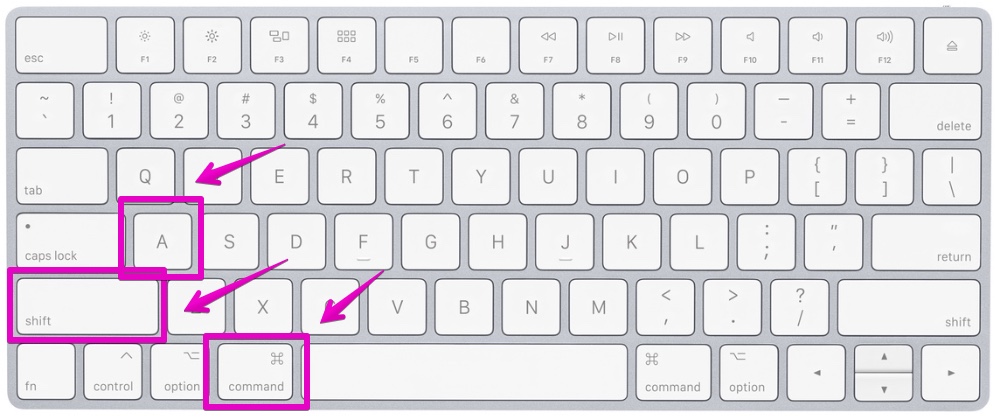
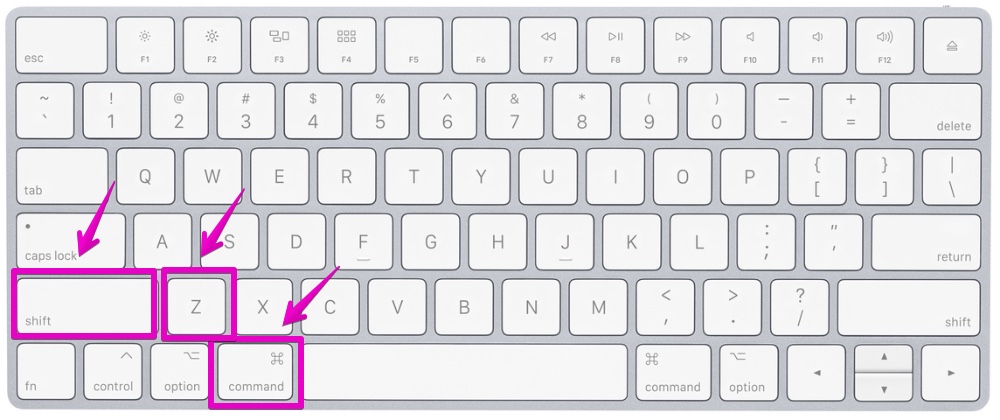
- c) On the keyboard shortcut, press shift + command ⌘ + A keys
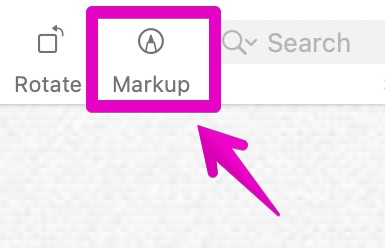
a) Toolbar
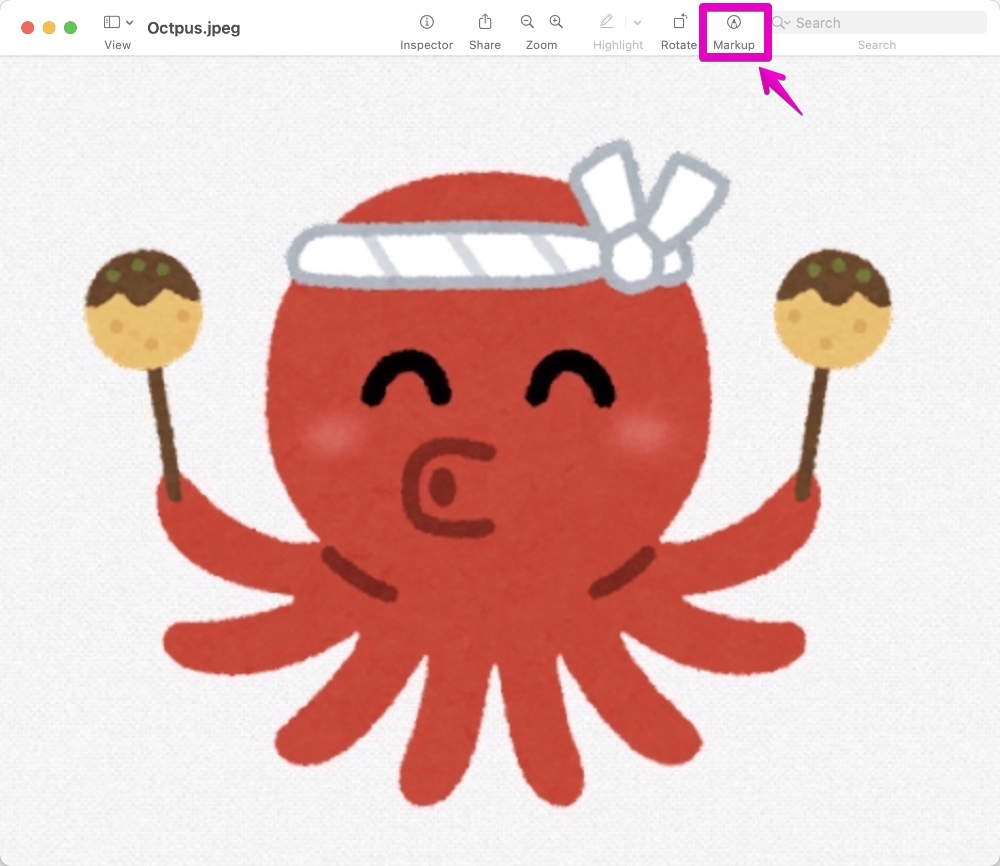
Below is an enlarged view around the arrow
b) Menu bar
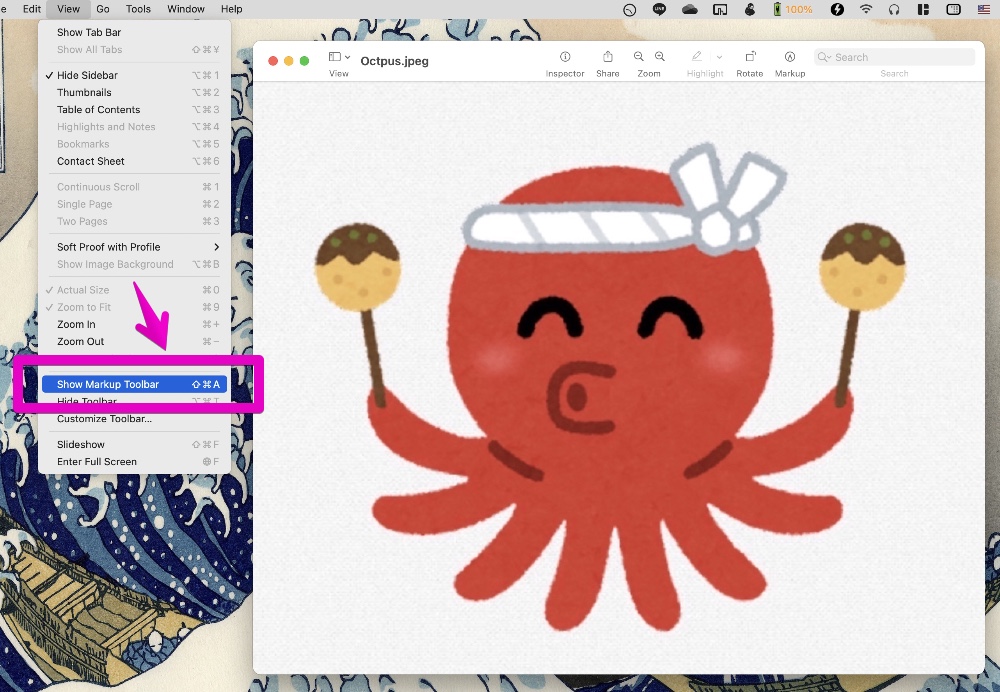
Below is an enlarged view around the arrow
c) Keyboard
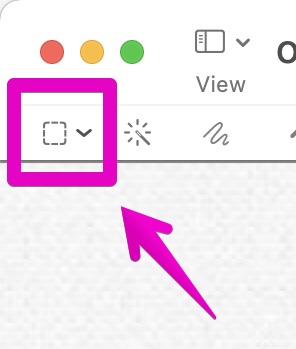
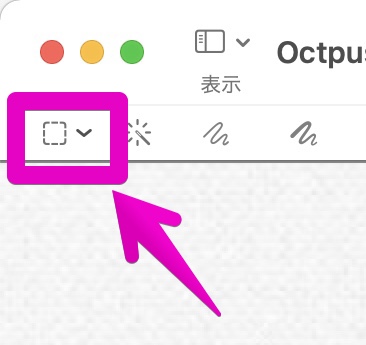
▶ When the “Markup Toolbar” appears, click the “Selection Tools” icon on the far left of the toolbar.
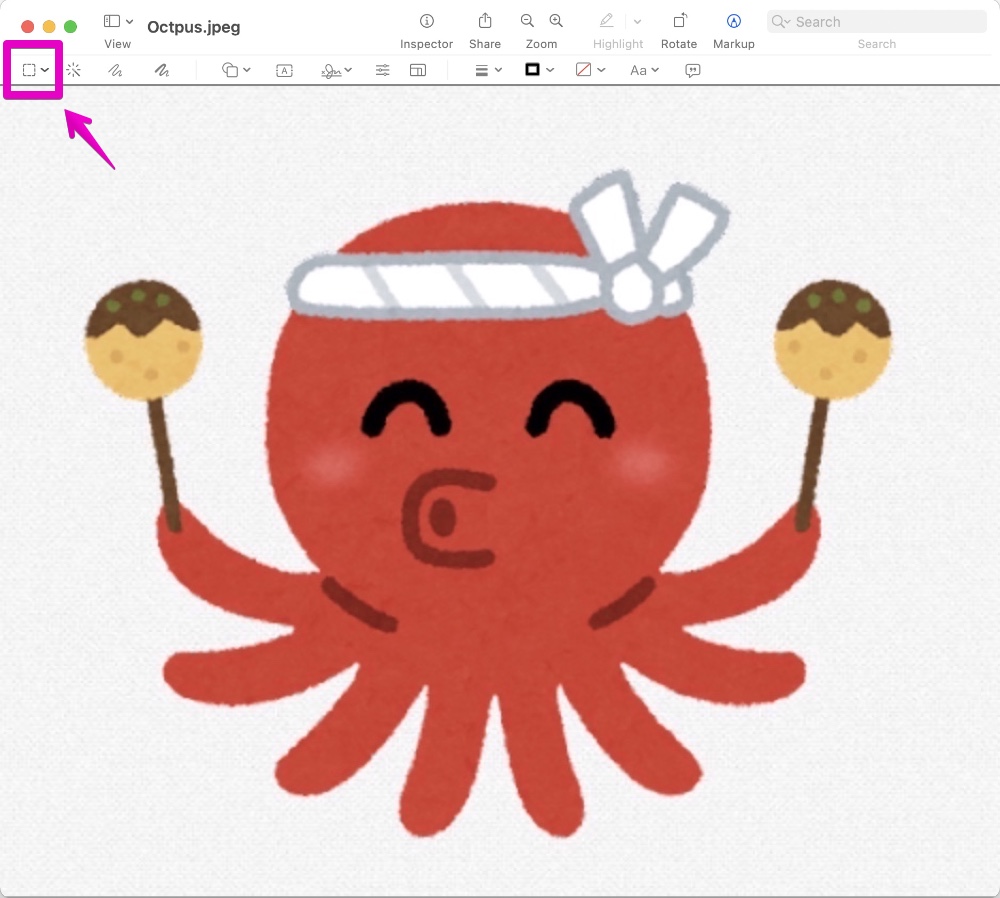
Below is an enlarged view around the arrow
▶ When the “Selection Tools” items appear, click one of the following four.
| Item | Description |
|---|---|
| Rectangular Selection | Select a range with a rectangle (or a square) |
| Elliptical Selection | Select a range with an ellipse (or a circle) |
| Lasso Selection | Select a range freehand |
| Smart Lasso | Select some people or objects from the image |

I don’t understand the meaning of “Smart Lasso“!
How is this different from the usual “Lasso Selection”?
I will explain with a concrete example after this, so if you look at it, you will be able to grasp the image.
First of all, I will explain the basic function “Rectangular / Elliptical / Lasso Selection”.
“Smart Lasso” will be explained later.
①-2 How to use “Rectangular / Elliptical / Lasso Selection”
▶ Drag the mouse or trackpad to select a range.
In addition, in the case of “Rectangular Selection” or “Elliptical Selection”, the following keyboard operations are possible.
| How to select | Operation |
|---|---|
| Select by square or circle | Hold down the shift key, and drag |
| Select around the drag start position | Hold down the option ⌥ key, and drag |
| Select by square or circle around the drag start position | Hold down the shift + option ⌥ keys, and drag |
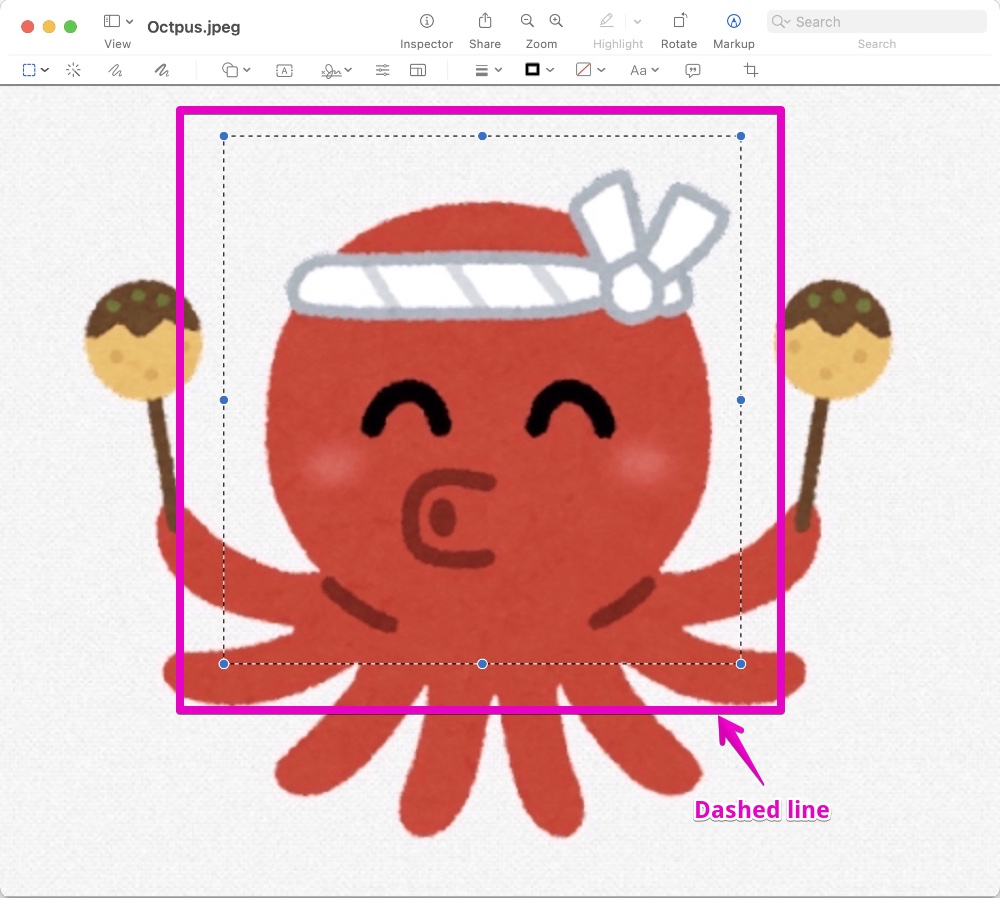
▶ A dashed line is displayed on the border of the selected range.
▶ With the range selected, you can crop the image by performing one of the following operations.
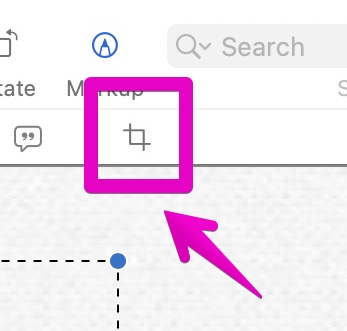
- a) From the toolbar, click the “Crop the Selection” icon
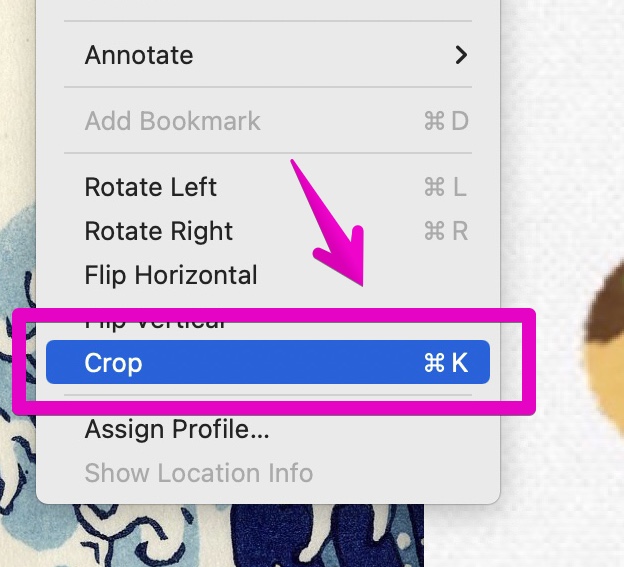
- b) From the menu bar, click “Tools” -> “Crop”
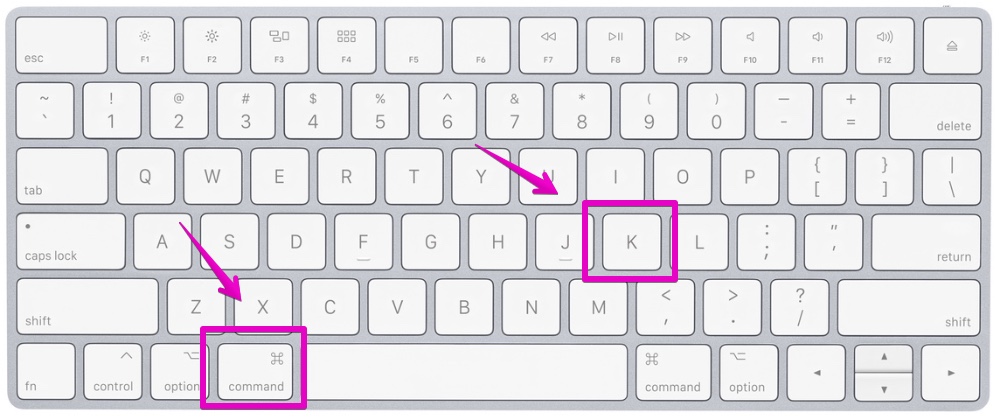
- c) On the keyboard shortcut, press command ⌘ + K keys
a) Toolbar
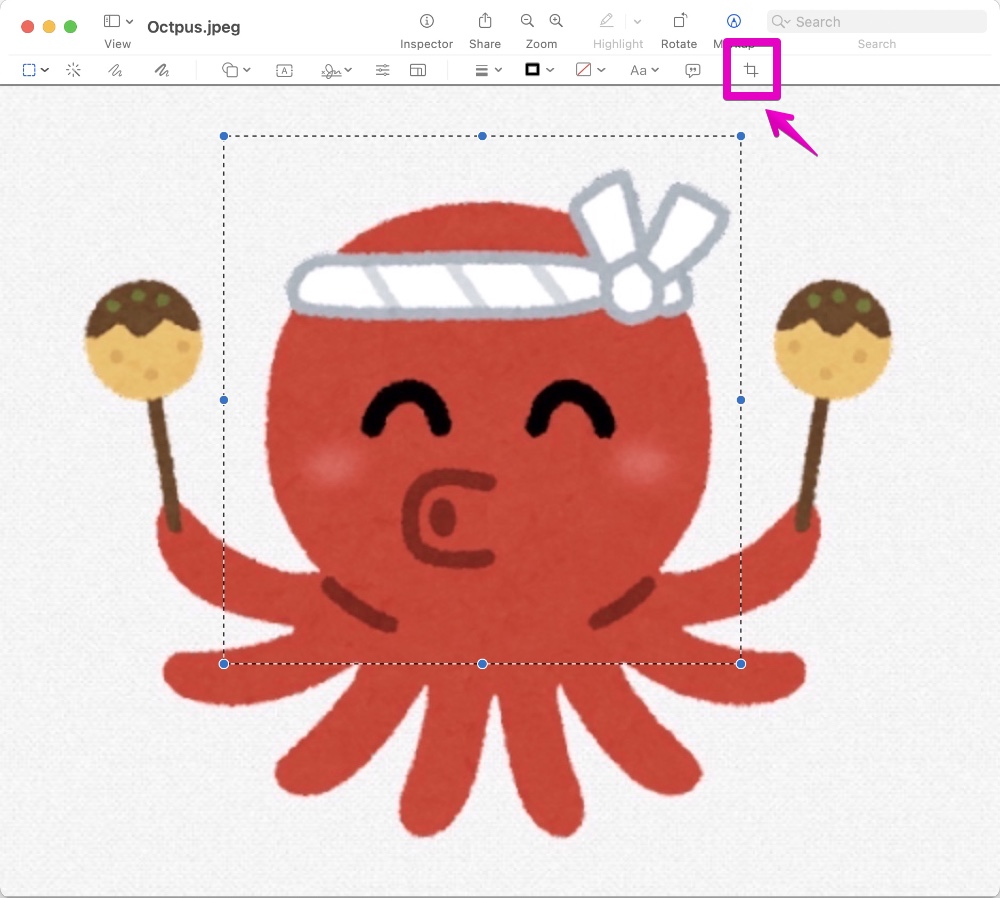
Below is an enlarged view around the arrow
b) Menu bar
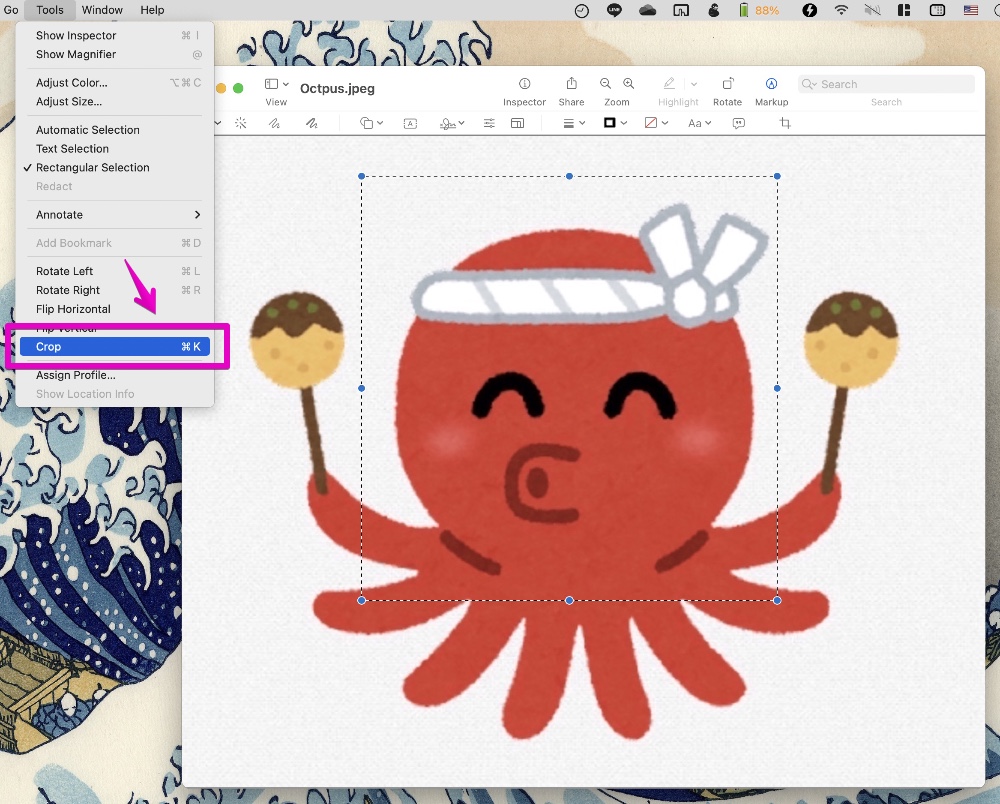
Below is an enlarged view around the arrow
c) Keyboard
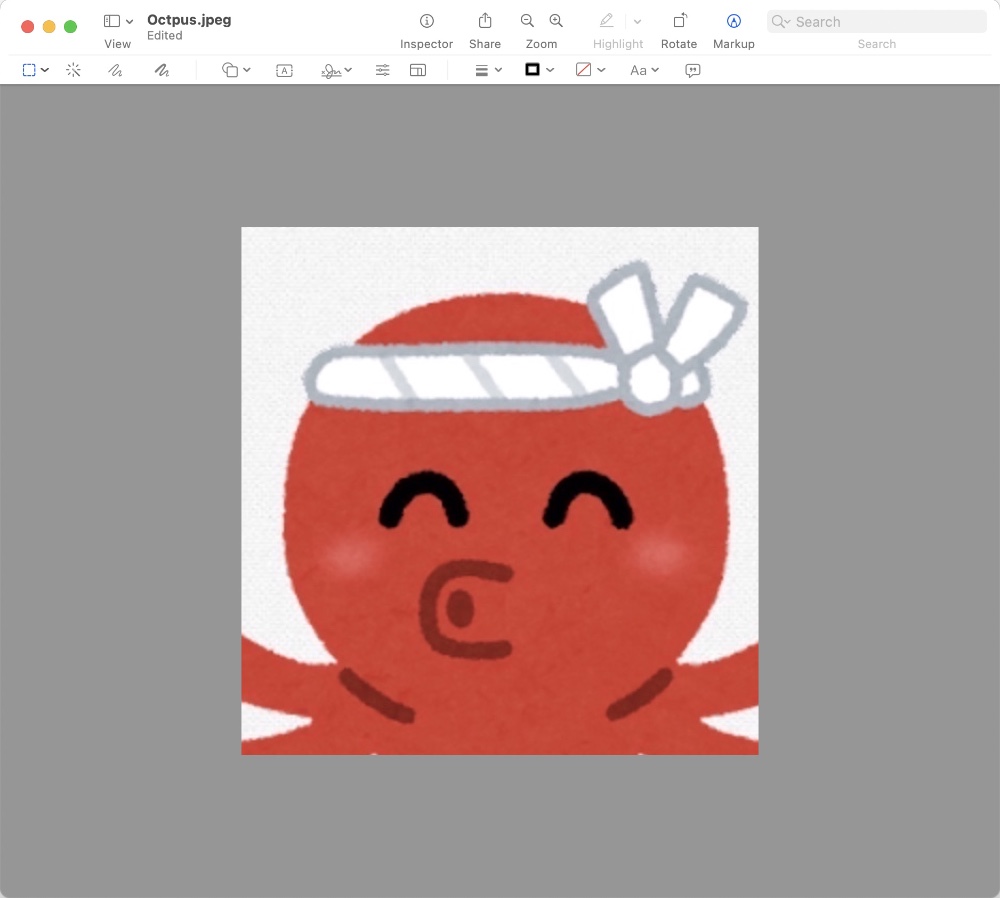
The figure below is the result of cropping.
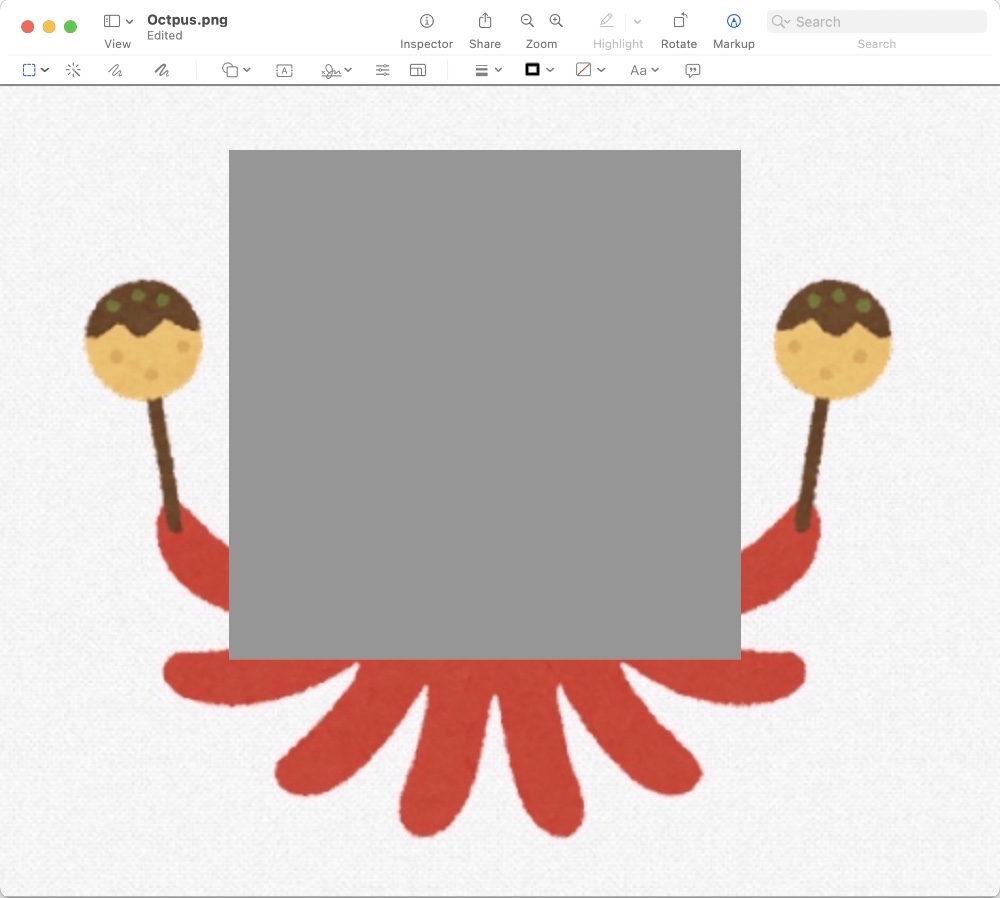
Also, the following operation removes the inside of the selection and leaves the surroundings, contrary to the above result.
- On the keyboard, press delete ⌫ key
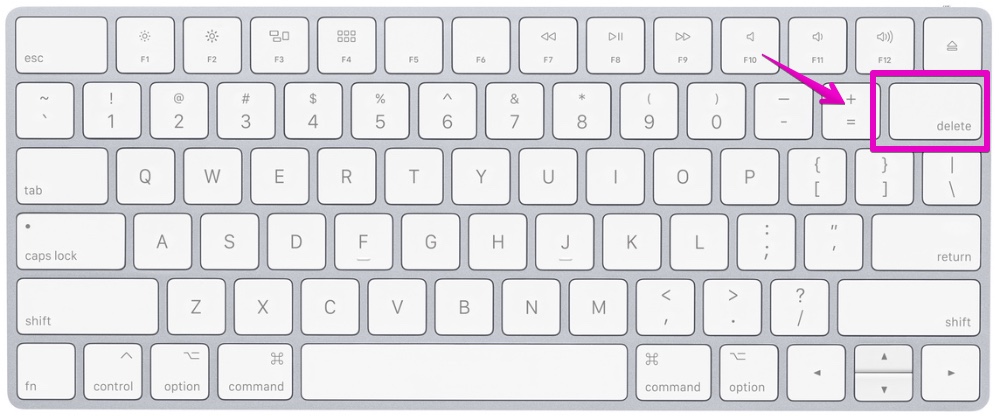
The figure below is the result of cropping.
①-3 How to use “Smart Lasso”
When is “Smart Lasso” used?
It is convenient to use when you want to crop some people or objects from an image.
Then, what is the difference between “Lasso Selection” and “Smart Lasso”?
With “smart lasso”, if you specify the cropping border, you can automatically select the right range.
I can’t still see.
What exactly happens when we use “Smart Lasso”?
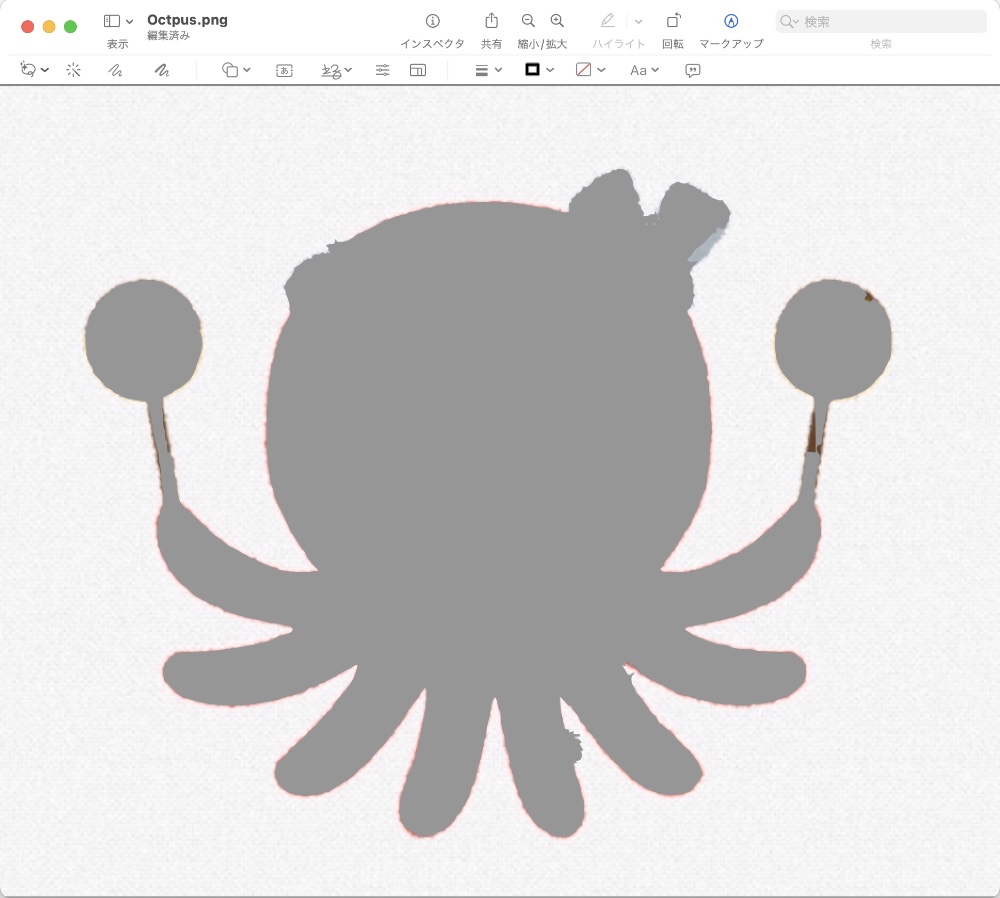
Below, I compared the results of specifying the cropping range when using “Lasso Selection” on the left and “Smart Lasso” on the right.
【Lasso Selection】
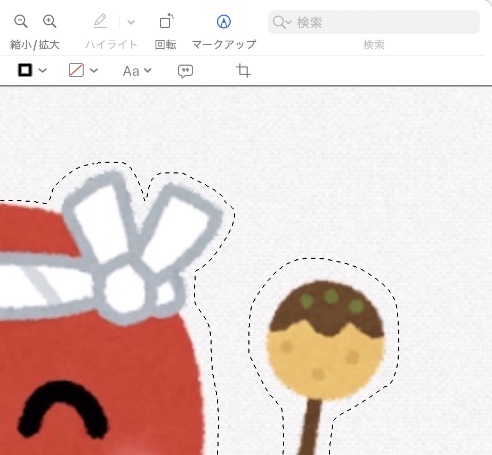
【Smart Lasso】

Oh, it’s totally different!
When selecting with “Lasso Selection”, my hand trembles and I can’t specify it well.
In addition, the area around the cropping is left behind, and the parts that I don’t want to cut are also cut.
With “Smart Lasso”, there is a little bit left around the cropping, but in some cases this is enough!
It seems that the difference is well understood, so I will explain how to use it from here.
▶ Click the “Selection Tools” icon on the far left of the toolbar.
Below is an enlarged view around the arrow
▶ When the “Selection Tools” items appear, click “Smart Lasso”.
▶ Drag the mouse or trackpad to select a range.
The mouse cursor (mouse pointer) becomes a thick red line, so specify that the line should be traced over the cropping border.
Please refer to the video below for the actual specification.
▶ With the range selected, you can crop the image by performing one of the following operations.
- a) From the toolbar, click the “Crop the Selection” icon
- b) From the menu bar, click “Tools” -> “Crop”
- c) On the keyboard shortcut, press command ⌘ + K keys
The figure below is the result of cropping.

▶ Also, the following operation removes the inside of the selection and leaves the surroundings, contrary to the above result.
- On the keyboard, press delete ⌫ key
The figure below is the result of cropping.
② “Photos.app”
②-1 Create a duplicate (backup)
Not limited to cropping, it is recommended to create a duplicate (backup) in advance by the following method when editing with the “Photos.app”.
▶ Make the “Photos.app” a list of images.
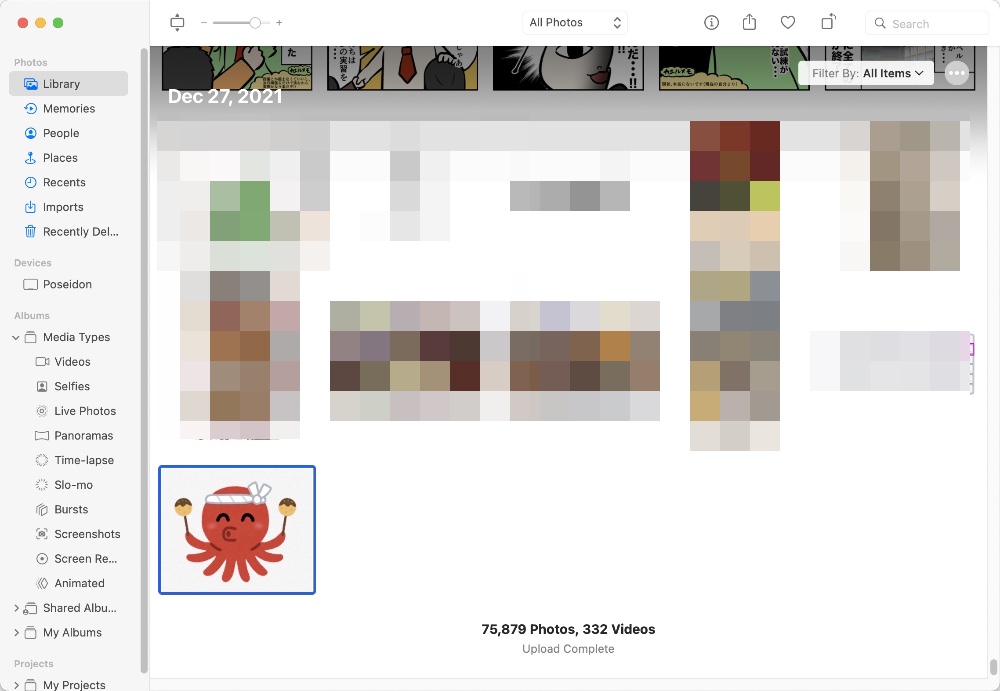
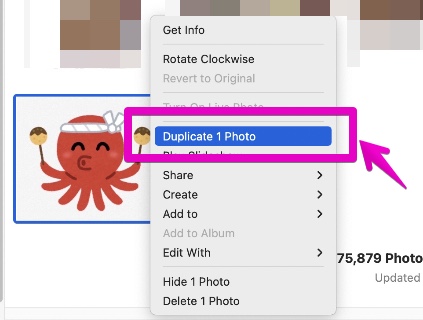
▶ Right-click the image you want to duplicate (backup) and select “Duplicate 1 photo” from the menu that appears.
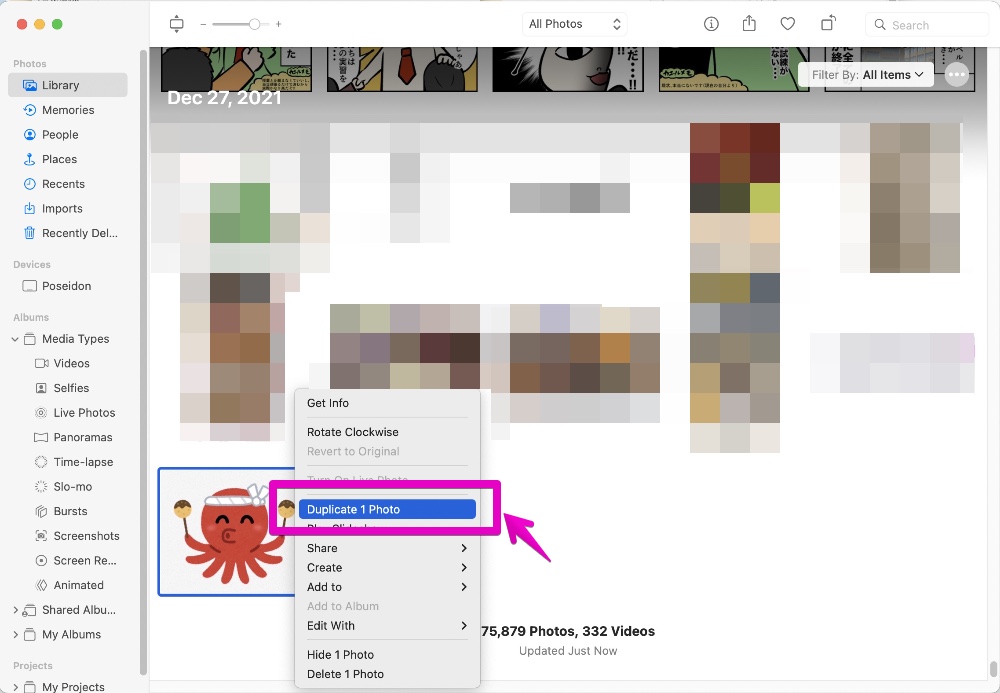
Below is an enlarged view around the arrow
▶ As shown in the figure, when the same image is created, duplication (backup) is complete.
The image used for cropping after this can be either of the two images.

②-2 Show “Edit Tools”
▶ From the list of images in the “Photos.app”, click the image you want to crop, then press the return key on your keyboard.
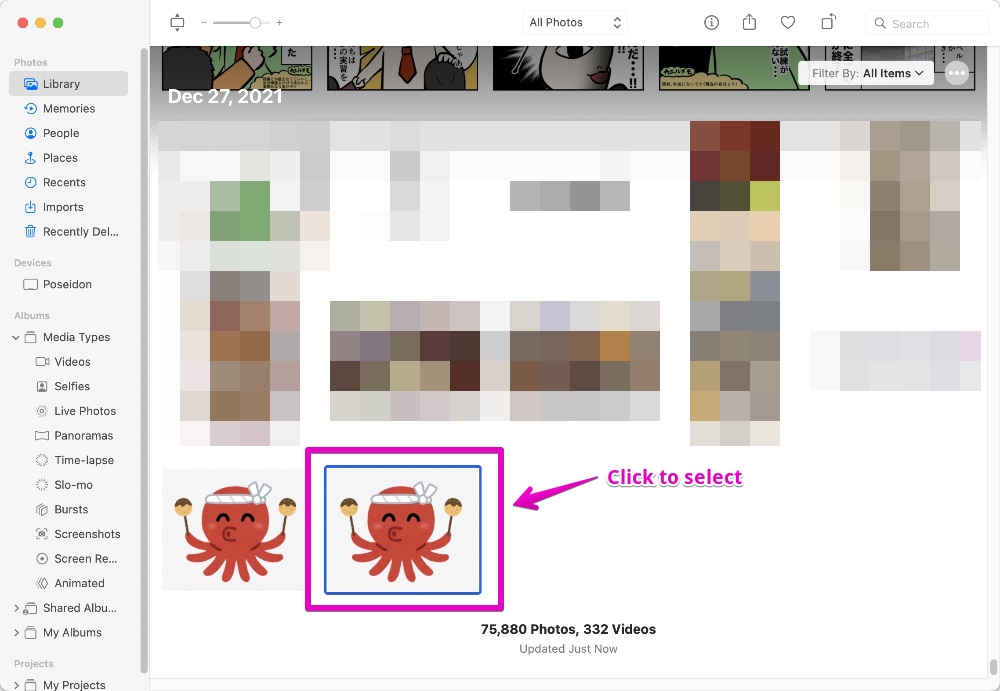
Click the image to select it, then press return
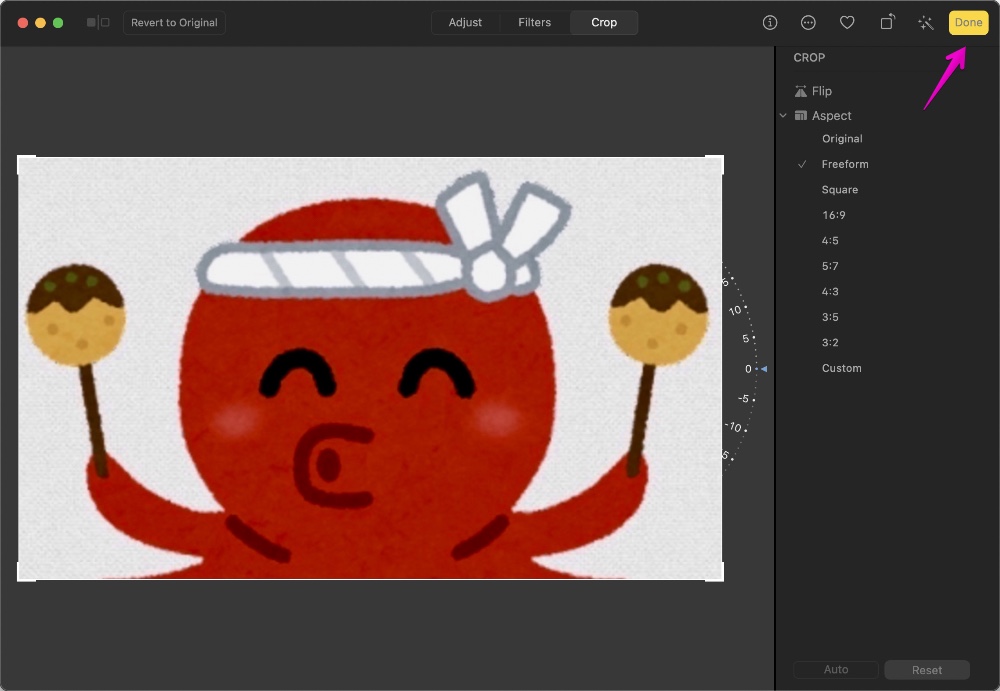
▶ When the image editing screen appears, click the tab “Crop” at the top of the screen.
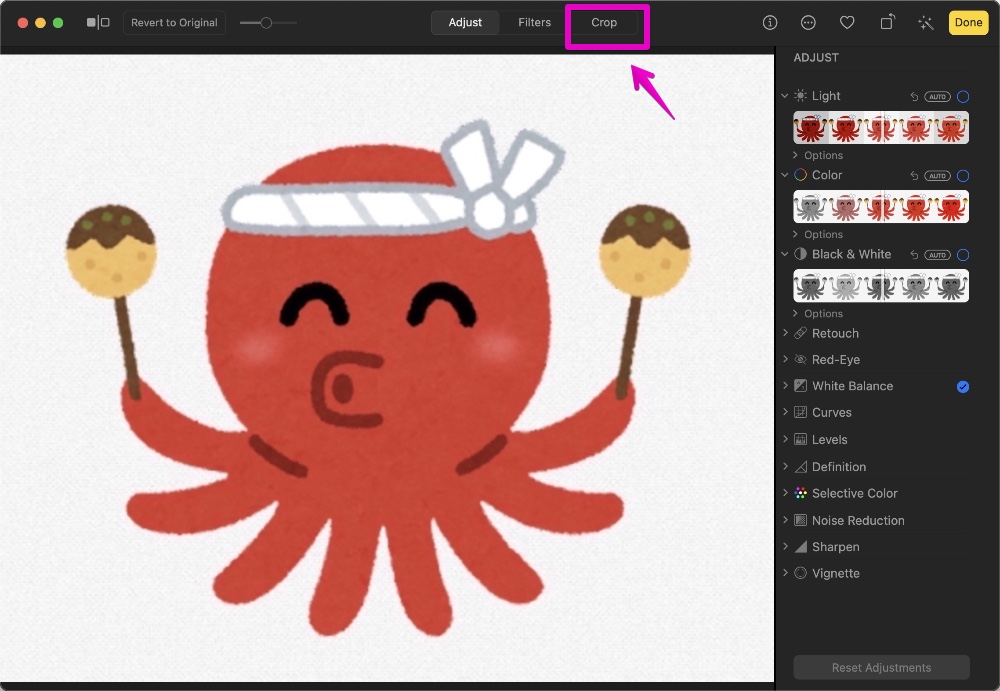
Below is an enlarged view around the arrow

▶In ①, select an appropriate item from “Aspect” on the right side of the screen.
In ②, drag the white marks displayed at the four corners of the image to specify the cropping range.

You can undo and redo while editing, so please try again if necessary.
【Undo】
【Redo】
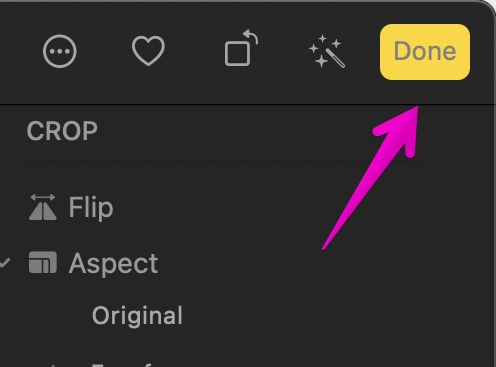
▶ When cropping is complete, click the yellow “Done” button at the top right of the screen to confirm (save).
Below is an enlarged view around the arrow
▶ This is the end of the explanation of the cropping method in the “Photos.app”.
But if you want to extract the image as one file, you can save it to the desktop etc. by dragging and dropping.
The following video was taken of that situation.
Reference information
About Cropping in the “Preview.app” on Apple’s official website

This is the end of this article.
コメント