
On September 3, 2021, a virtual image of Windows 11 for Arm was released, so I installed it on my M1 Mac while following the steps on the Parallels site.
Here, the installation procedure is explained in detail using illustrations.
About the current state of the virtual environment on Apple Silicon
Paralles is famous as a virtual environment app for Mac (an app that runs Windows, Linux, and macOS).
Traditionally, you could run Windows on Parallels on an Intel Mac, but since it became an Apple Silicon Mac, you can’t run Windows because it’s for Intel.
To run Windows on Parallels on an Apple Silicon Mac, you’ll need another type of Windows called “for Arm64.”
As of September 2021, Microsoft, the developer of Windows, has released Windows 11 for “Arm64” as a preview version for developers, not the official version.
So, this time I will use Windows 11 which has just been released.
How do you feel when you actually run Windows 11 + Parallels on your M1 Mac?
The following video shows how it works using the method introduced on this page.
The Mac environment is M1 Mac mini with 8GB of memory.
As you can see in the video, as far as you can see the web page in the Start menu or Microsoft Edge, it seems to be a little stuck, but it is a “normally usable” level.
I have not confirmed it, but it seems that it is okay to use a Windows-only paperwork application or to test the operation on Windows.
So I just hope that Windows 11 for Arm will be officially released.
Installation flow
According to the article on the official website of Parallels, it is written to install according to the following flow.
- ① If you haven’t install Parallels Desktop yet, download and try for free.
- ② Download and install Windows 11

So, on this page, I will introduce the procedure using illustrations according to the above order.
If you have already installed Parallels, skip ① and continue reading from ②.
① Download and install Parallels
▶ Click the link below to download the Parallels trial version.
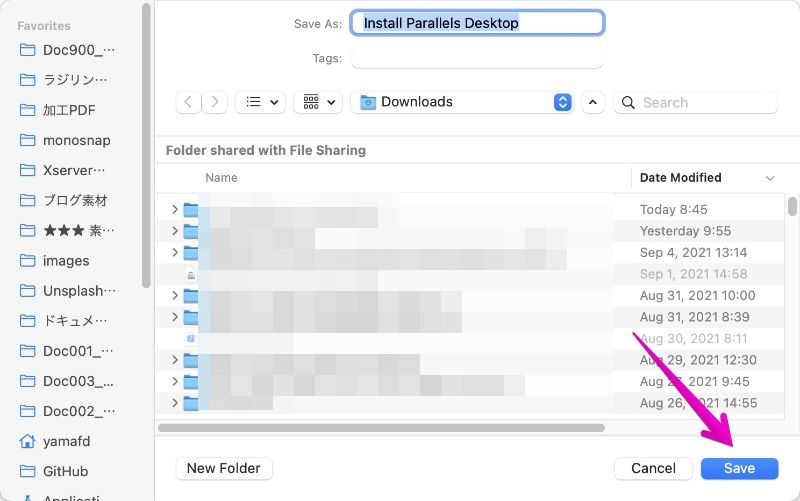
▶ When the screen for specifying the download destination (save destination) of the dmg file for download is displayed, specify an appropriate save location and click the “Save” button.
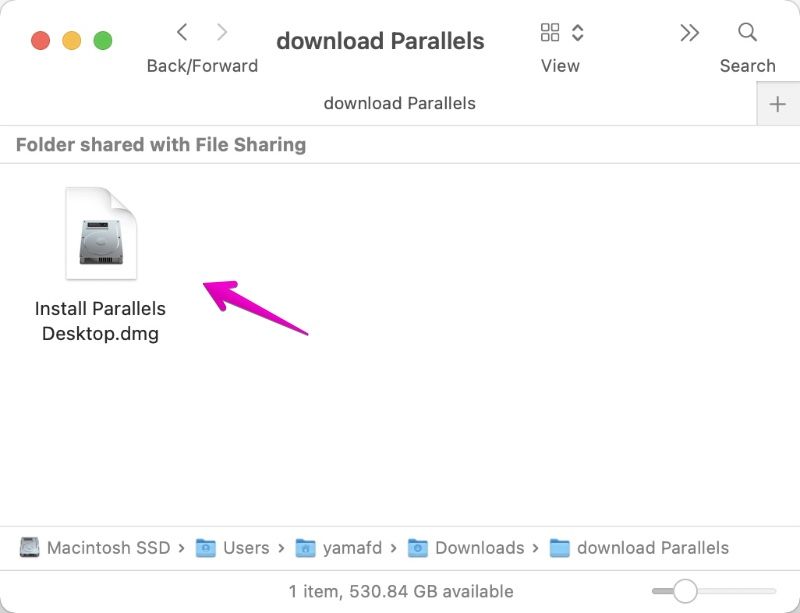
▶ When the download is complete, double-click on the dmg file.
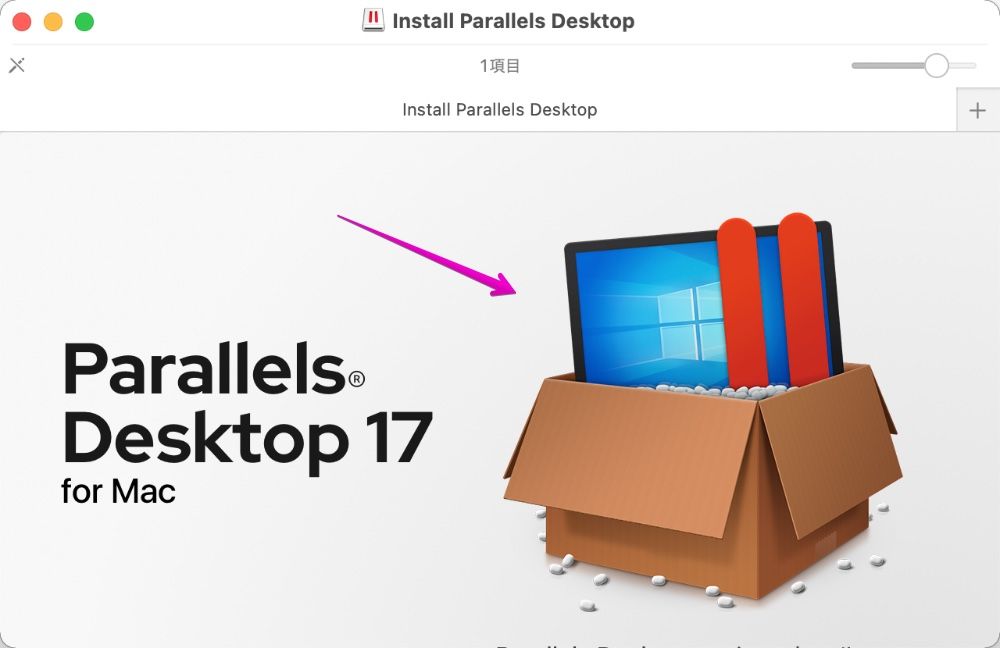
▶ The Parallels icon will appear as shown, double-click it to start the installation.
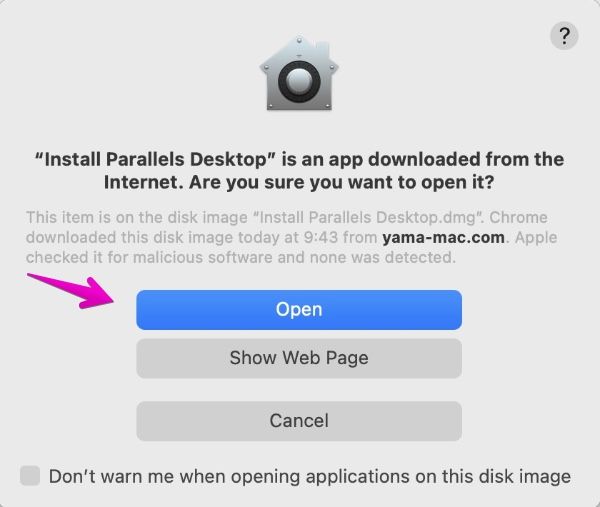
▶ When the security confirmation screen before starting the installation is displayed as shown in the figure, click the “Open” button.
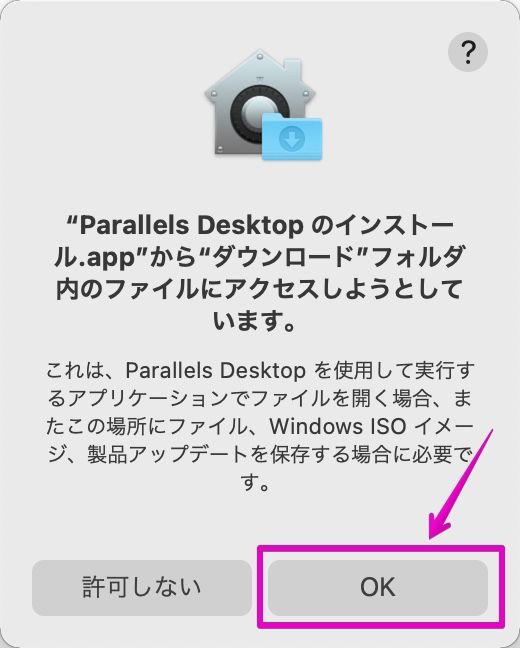
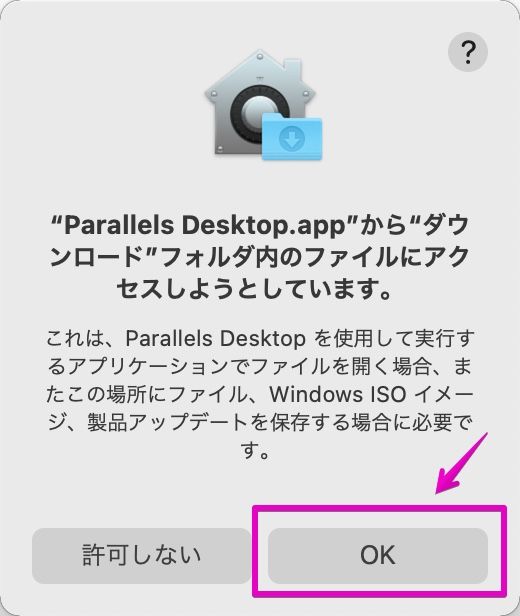
▶ When the access confirmation screen for the file / folder is displayed as shown in the figure, click the “OK” button.
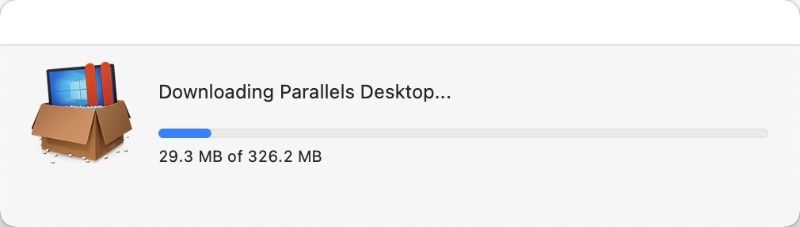
▶ Wait for a while when the screen that is executing the download of the required file is displayed as shown in the figure.
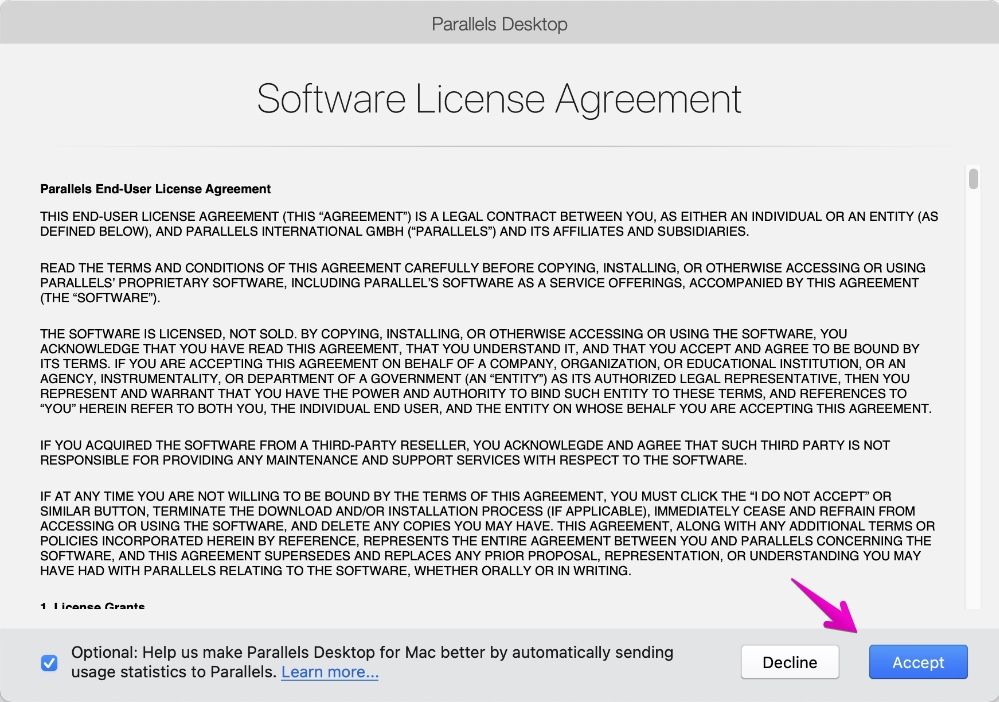
▶ After waiting for a while, the “Software License Agreement” will be displayed as shown in the figure. When it is displayed, click the “Agree” button.
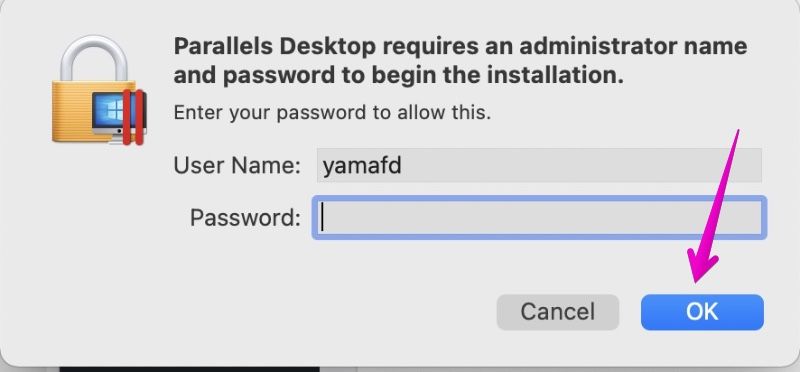
▶ As shown in the figure, when the screen that requires the administrator password is displayed, enter the password and then click the “OK” button.
▶ As shown in the figure, when the installation starts, wait for a while until the operation screen is displayed.
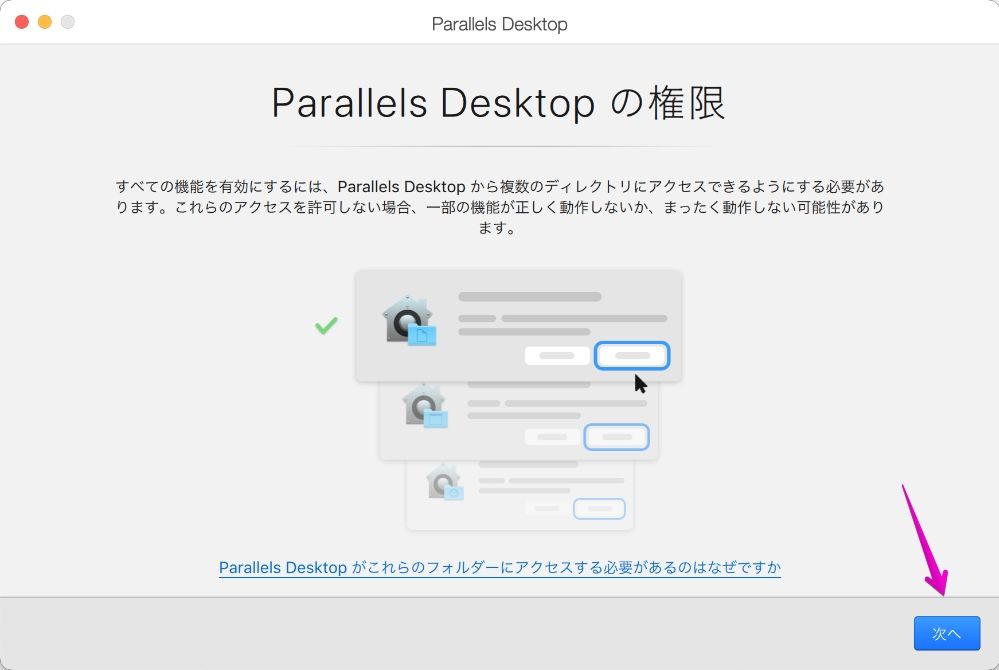
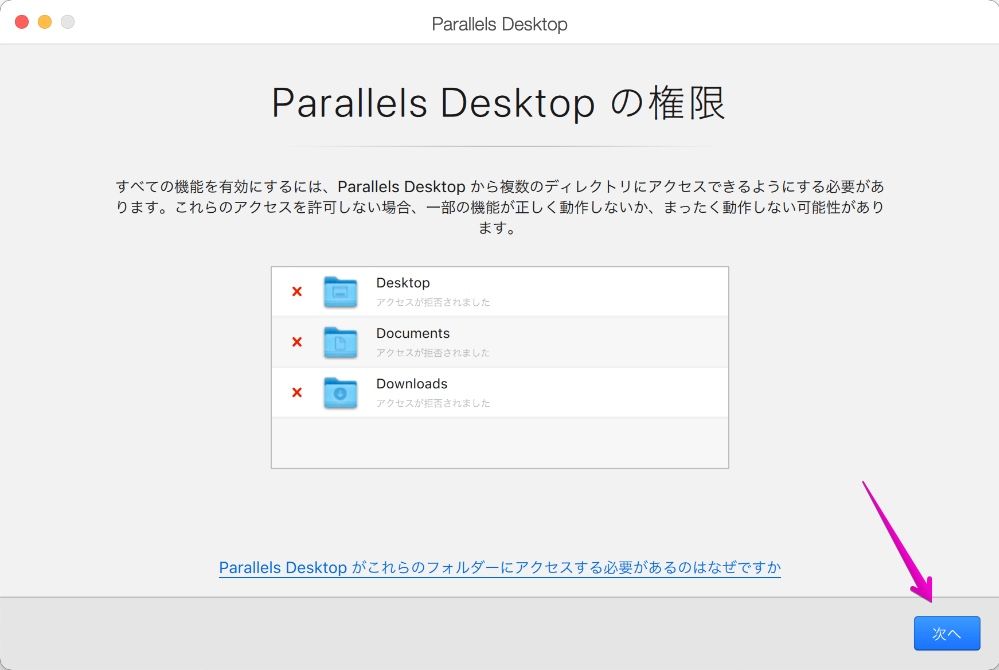
▶ When you see “Parallels Desktop Permissions” as shown, click the “Next” button.
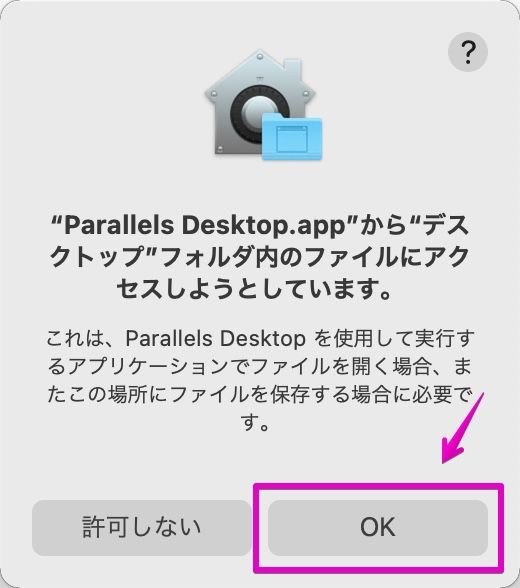
▶ When you see “You are trying to access a file in the” Desktop “folder from” Parallels desktop.app “” as shown, click the OK button.
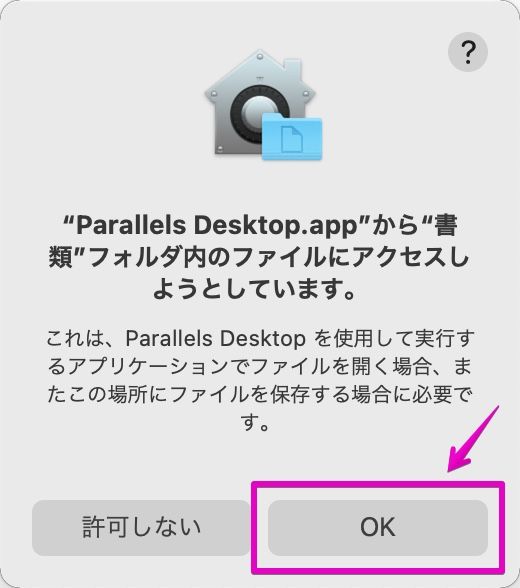
▶ In the same way, the access confirmation screen for the “Documents” and “Downloads” folders will be displayed.
Click the “OK” button as well.
▶When you return to the “Parallels Desktop Permissions” screen, you should be able to click the “Next” button, so click it.
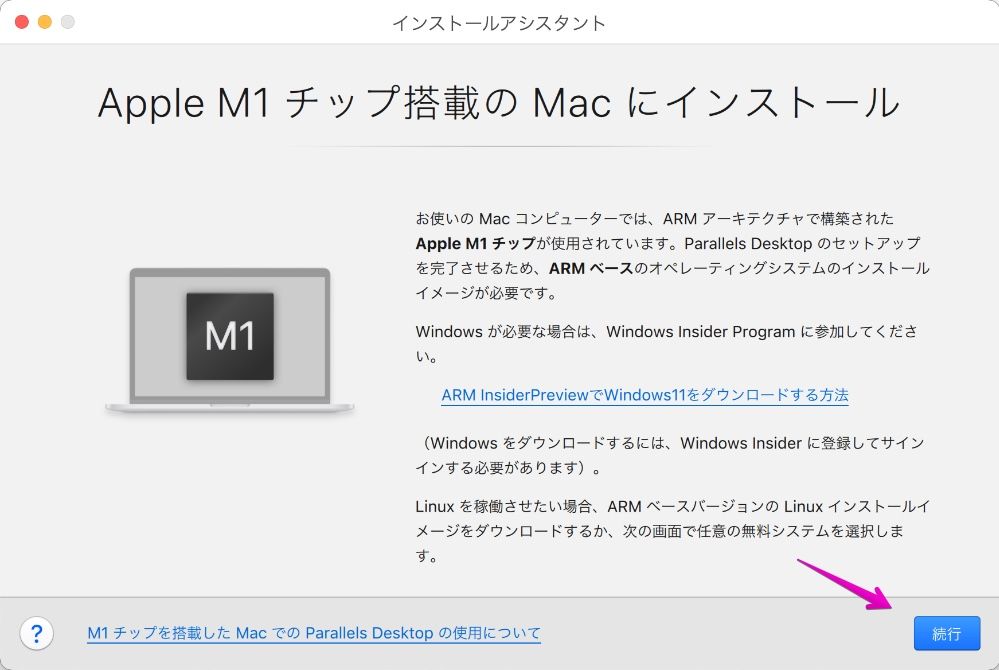
▶ When the “Install on Mac with Apple M1 Chip” screen appears as shown, click the “Next” button.
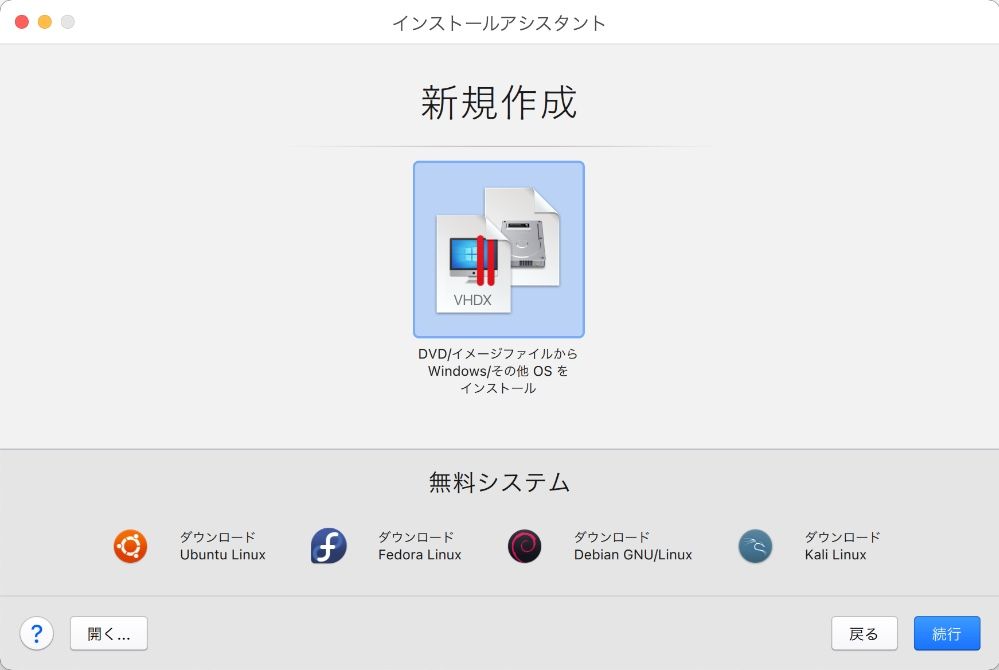
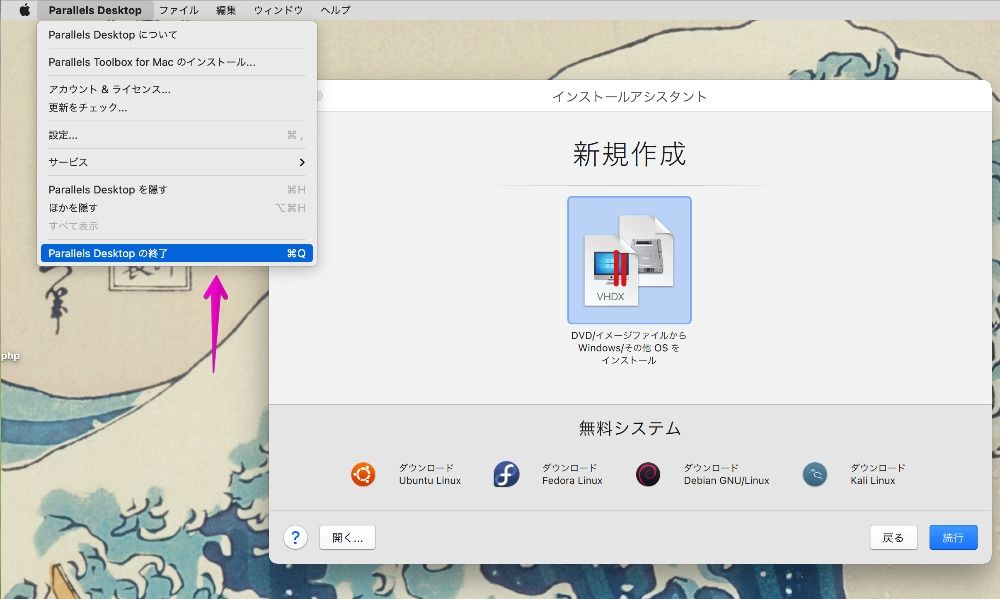
▶ As shown in the figure, when the “New” screen appears, Parallels installation is complete.
Please close Parallels from the menu bar once.
② Download and install Windows 11
▶ Click the link on the Windows preview download page for developers below to open it.
▶ When the “Windows Inside Preview Downloads” page opens as shown, click one of the following depending on the situation.
- If you are already Windows Inside Program member:Click the person icon in the upper right to sign in.
- If you are not Windows Inside Program member:Register as a member by clicking the “Learn more” button on the left.
If you’re not sure which one, just sign in and check.
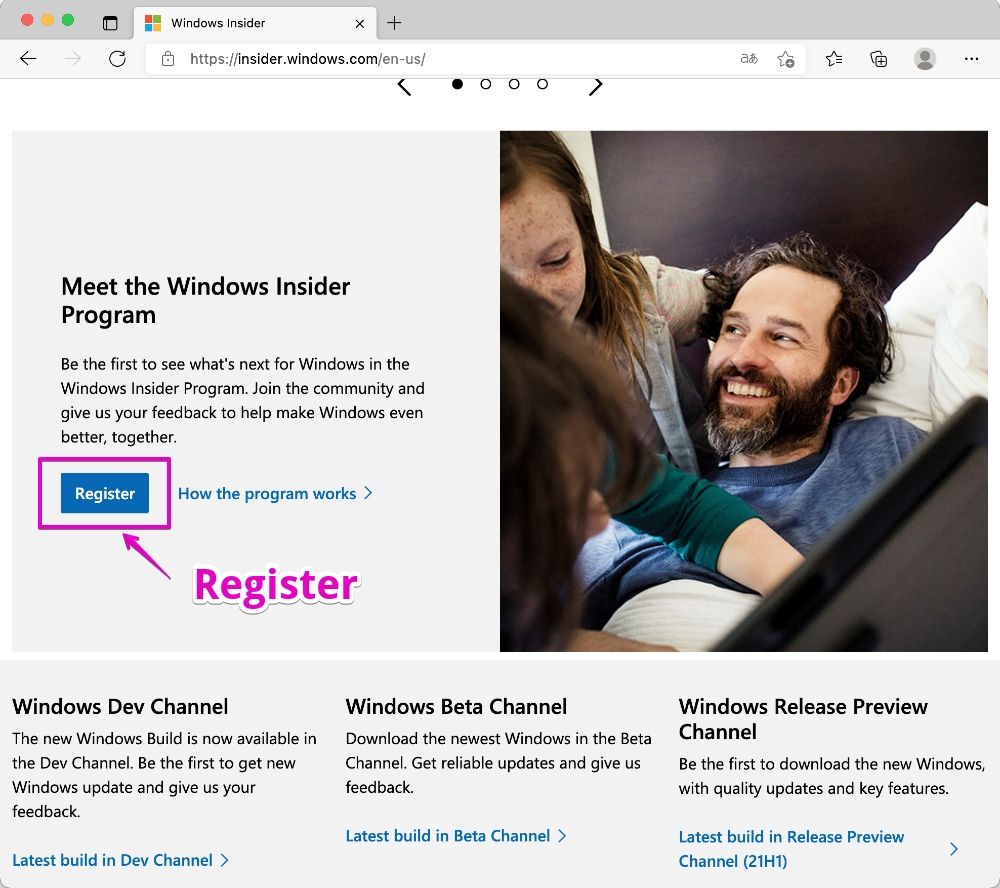
I won’t explain in detail how to register as a member, but please go from “Resister” on the screen that appears after clicking “Learn more”.
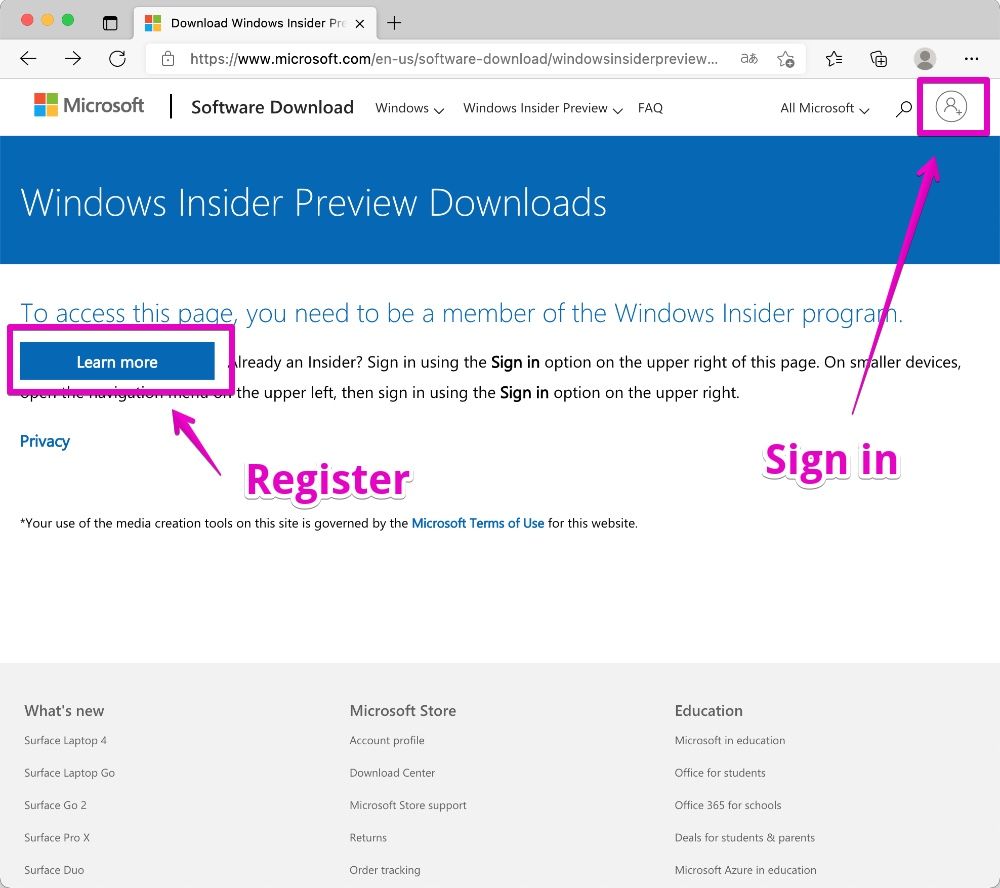
The figure below is the screen that appears after clicking the “Learn more” button.
You can register from here.
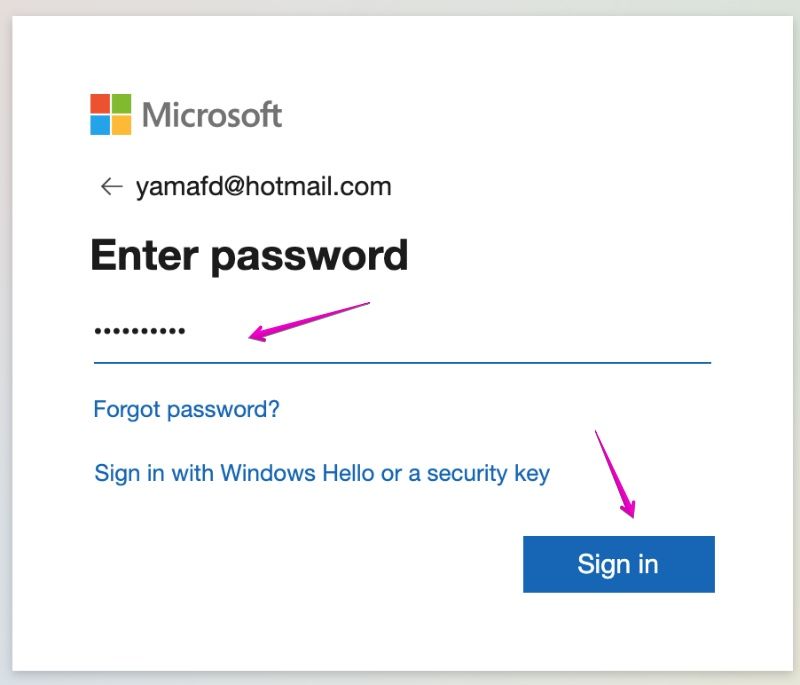
▶ If you have registered as a member, click the person icon on the upper right to sign in, and the sign-in process screen will be displayed as shown below. Follow the instructions on the screen.
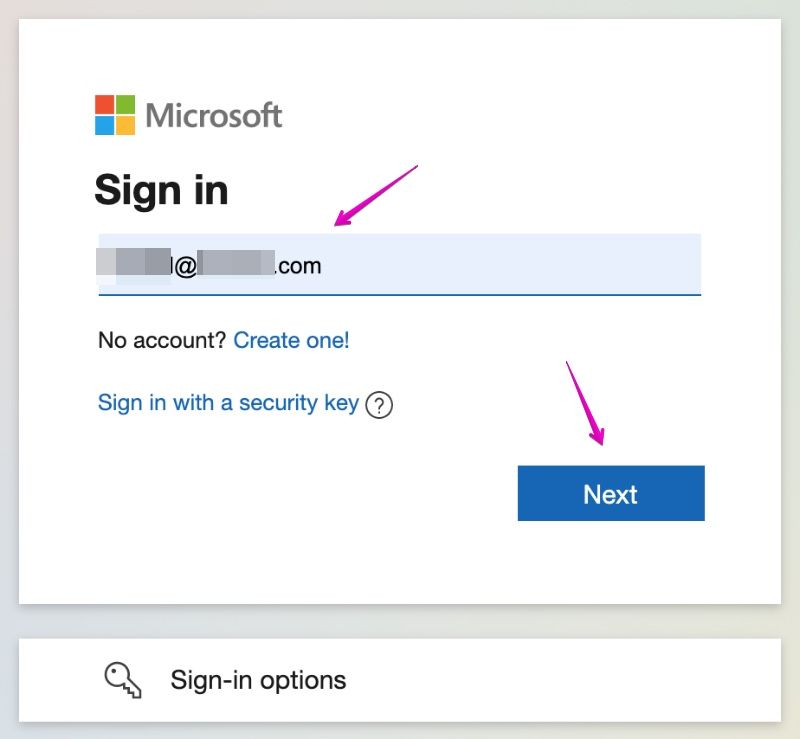
The following is the password entry screen.
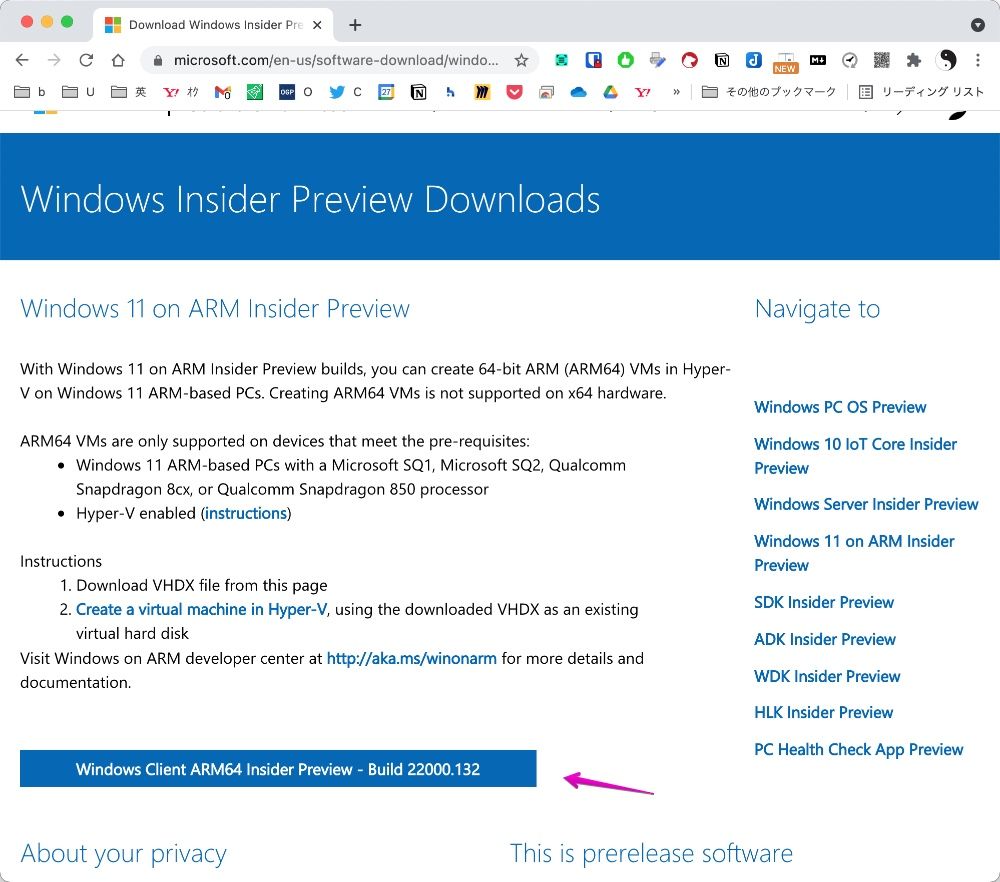
▶ After signing in, click Windows Inside Preview from the pull-down menu at the top of the screen and select Windows 10 on ARM Insider Preview.

▶ When the Windows 11 on Arm Inside Preview screen appears as shown, click the button “Windows Client ARM64 ~”.
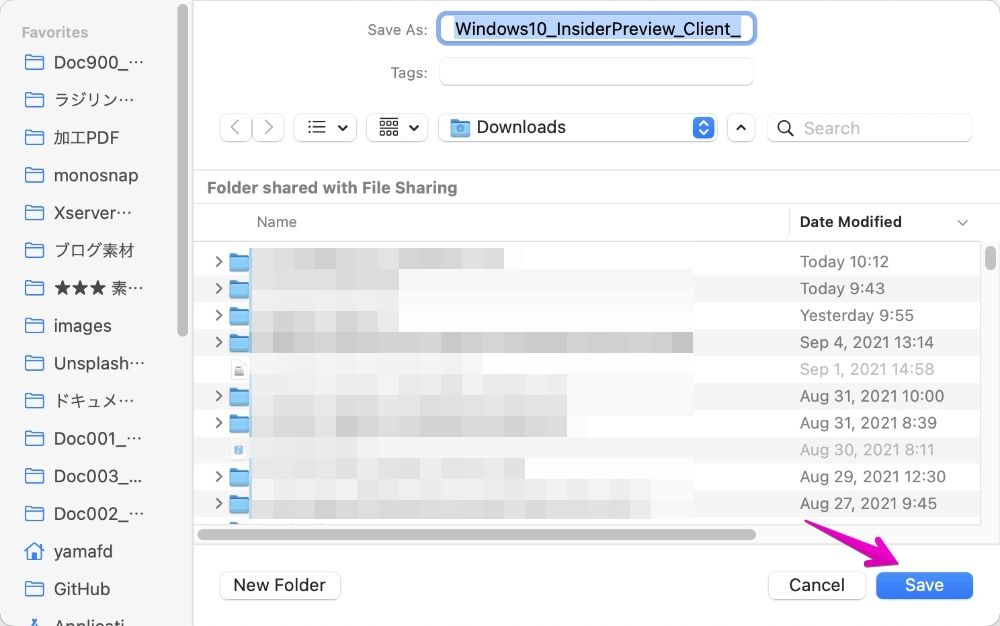
▶ When the screen for specifying the download destination (save destination) is displayed as shown in the figure, specify an appropriate save location and click the “Save” button.
The file downloaded here is called “VHDX format”, which is the file format used by virtual environment applications.
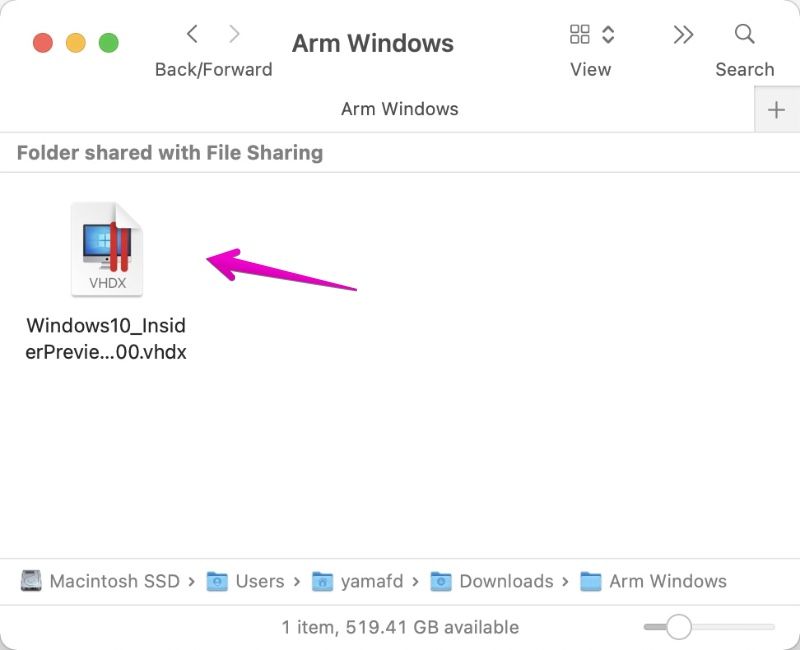
▶ Once the VHDX file is downloaded, double-click it.
▶ As shown in the figure, when “Installation Assistant” starts and “I will primarilly use Windows for” is displayed, select “Productivity” and then click the “Continue” button.

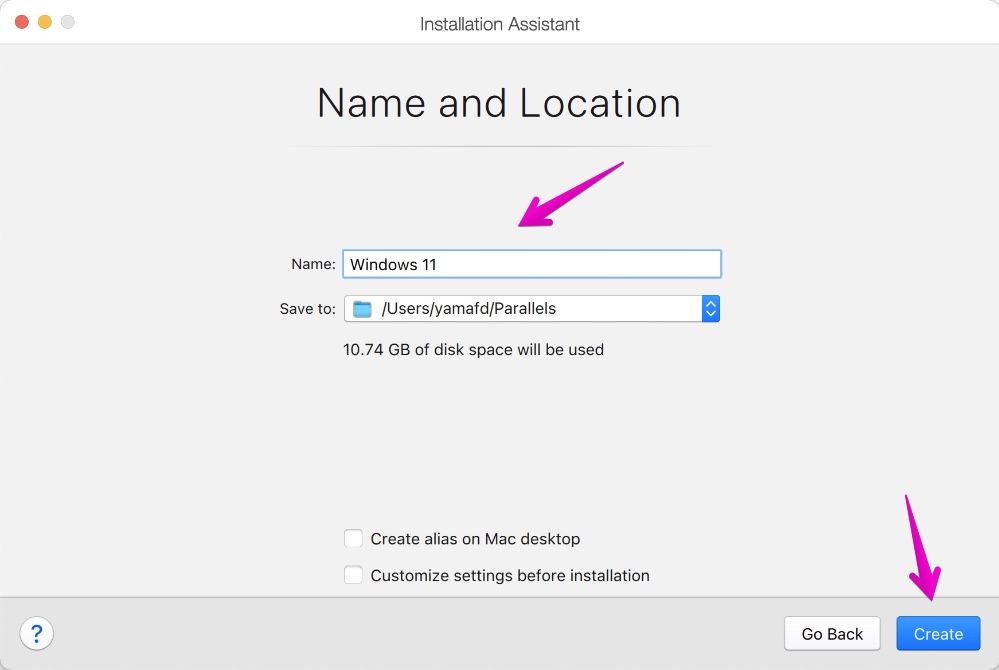
▶ When “Name and Location” is displayed as shown, change it if necessary.
If you’re not sure, you can use the default, but let’s rename it to “Windows 11”.
Then click the button “Create”.
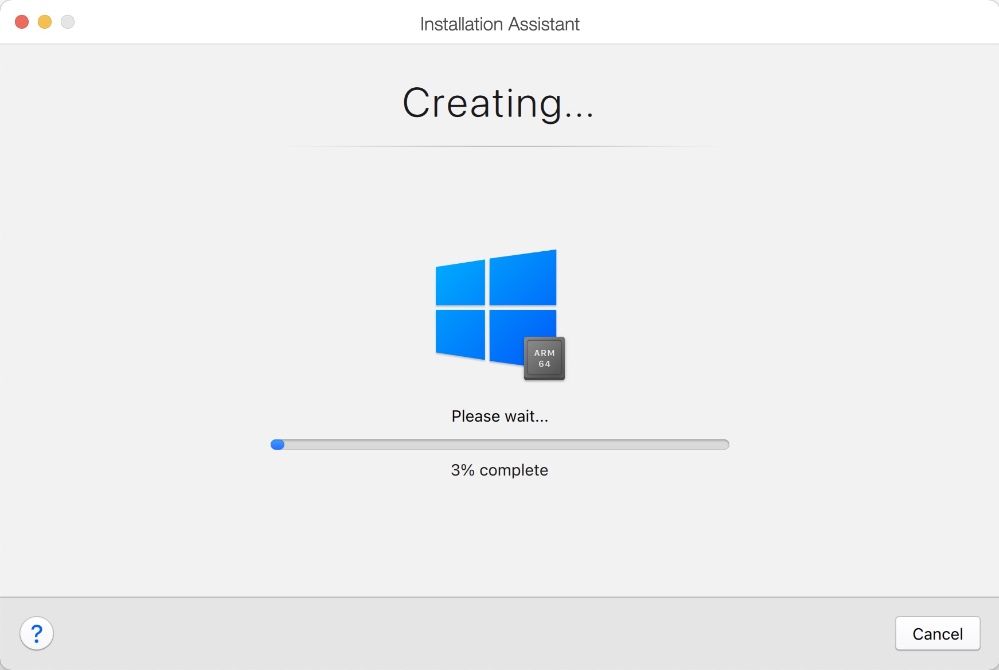
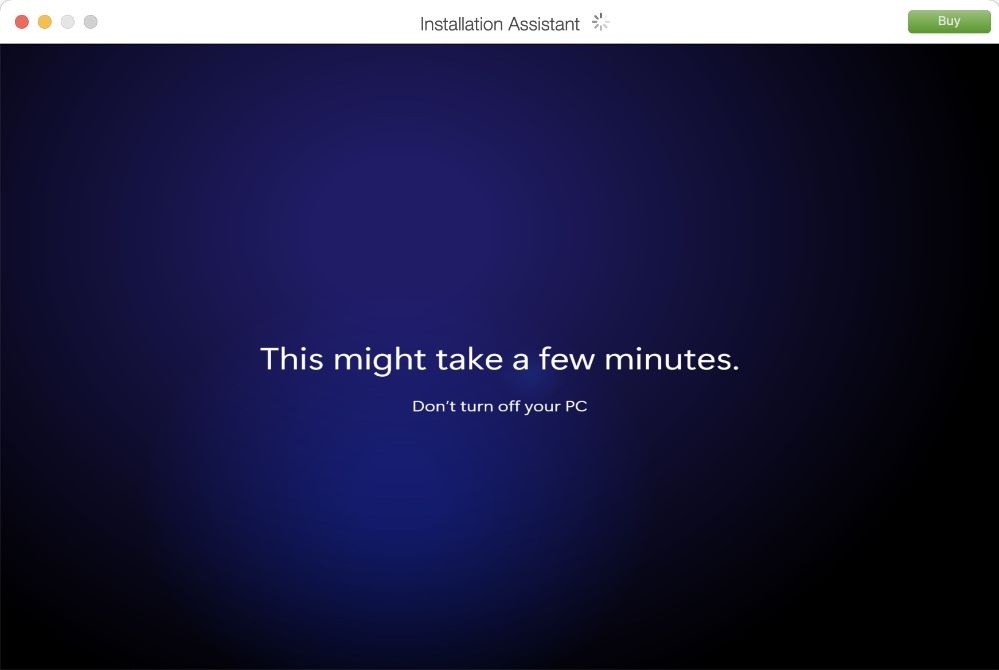
▶ As shown in the figure, when “Creating …” is displayed, wait until the operation screen changes.
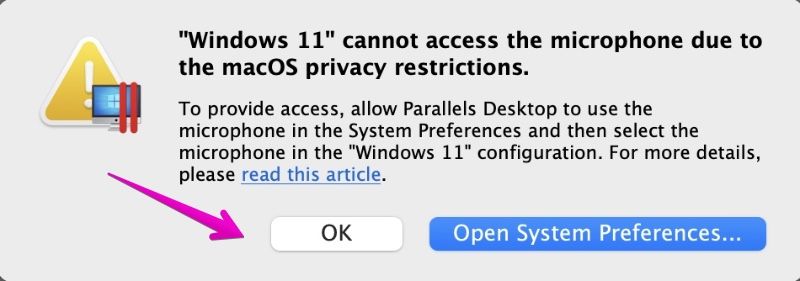
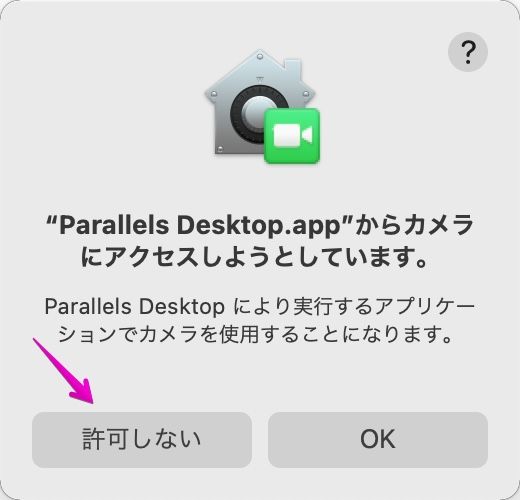
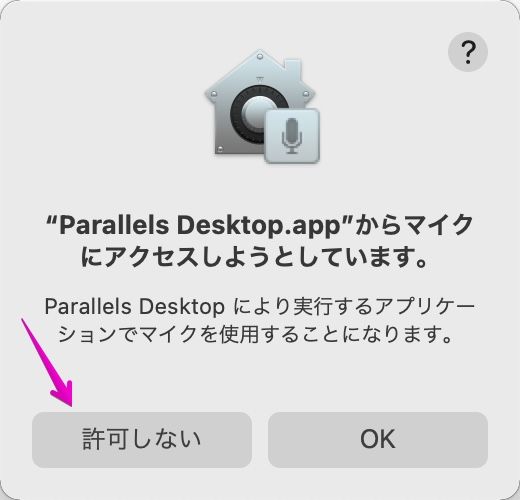
▶ When the microphone access confirmation is displayed to the camera as shown, click the “Do not allow” button.
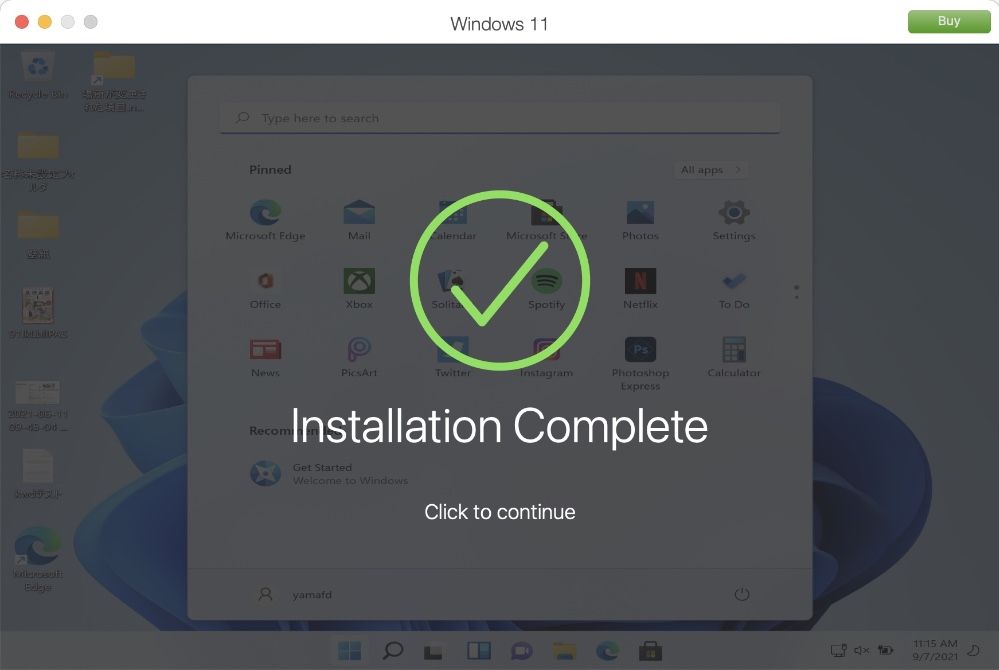
▶ After waiting for about 10 minutes, “Installation is completed” is displayed as shown in the figure.
The installation is now complete.
In addition, when I was looking at the screen during installation, Windows 11 was automatically upgraded from Windows 10 to 11, and Windows 11 was available from the beginning.
Reference information


コメント