

I will explain in detail how to create “hidden files” and “hidden folders” on Mac, and how to use the shortcuts and terminals to show / hide them using illustrations.
What are “hidden files” and “hidden folders” on Mac?
On Mac, folders and files whose names start with “. (Period)” are “hidden folder files” and are not normally displayed.
“Hidden folders and files” store data automatically created by macOS and apps, and are hidden to prevent users from accidentally erasing them.
This page will show you how to show / hide, but be careful not to accidentally erase the data!
Because even hidden folders and files can be easily deleted when they are displayed!
3 methods to show / hide hidden folders and files
Here, I will introduce three methods, but for normal use, I recommend method ①, as which is easy to operate.
| Method | Advantages | Disadvantages |
|---|---|---|
| ① Keyboard shortcuts | ・macOS standard function | ・Nothing special |
| ② Execute commands in “Terminal.app” | ・macOS standard function ・Can be incorporated into programming such as scripts | ・It takes more time than ① |
| ③ Free app “Onyx” | ・Multifunctional | ・Need to install |
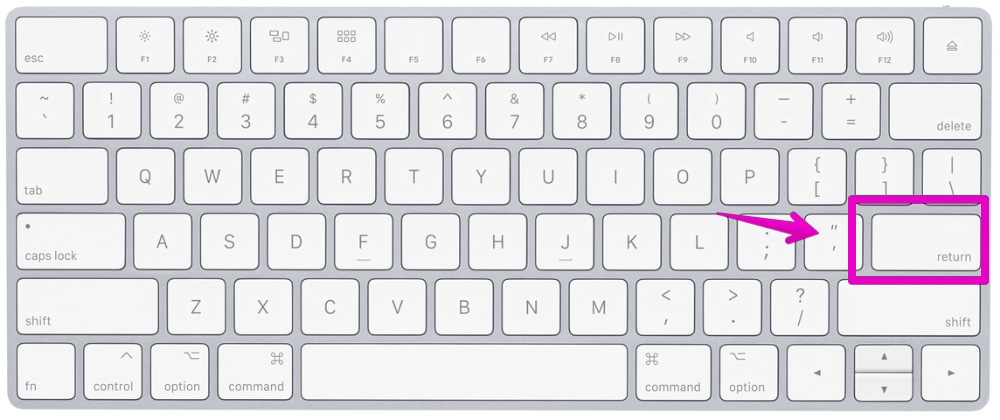
① How to use keyboard shortcuts
▶ On your keyboard, press shift + command ⌘ + . at the same time.
Each time you press them, you can show or hide hidden folders and files.
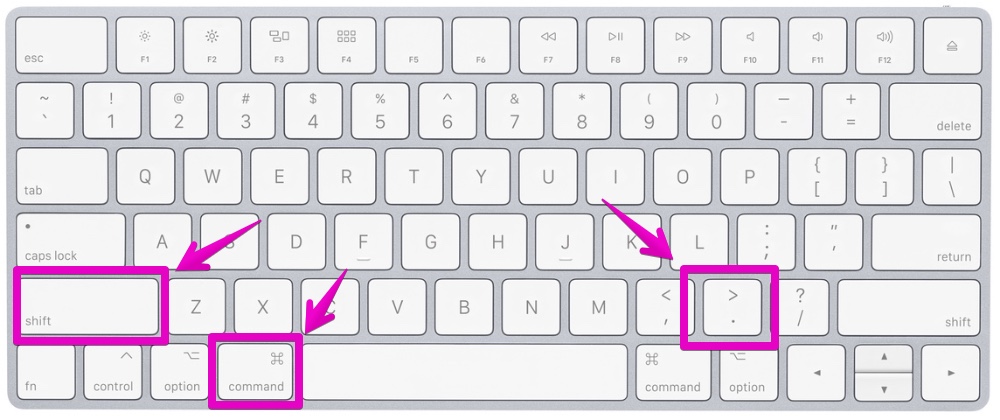
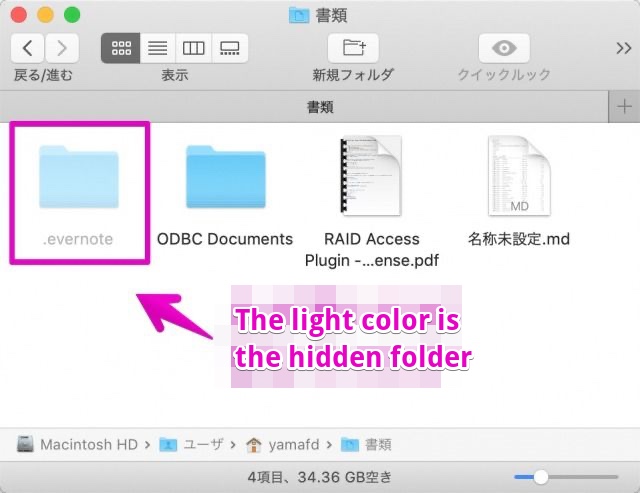
When hidden folders and files are displayed, they are displayed in a lighter color than usual.
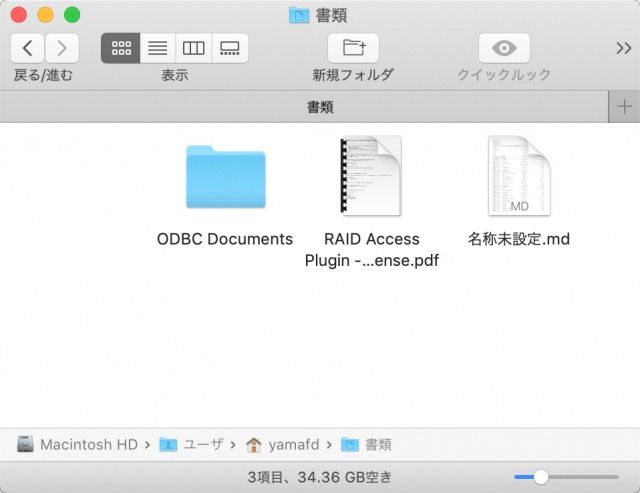
【Hidden folders / files are hidden】
【Hidden folders / files are displayed】
This is the end of the explanation, “① How to use keyboard shortcuts”.
② How to execute commands in “Terminal.app”
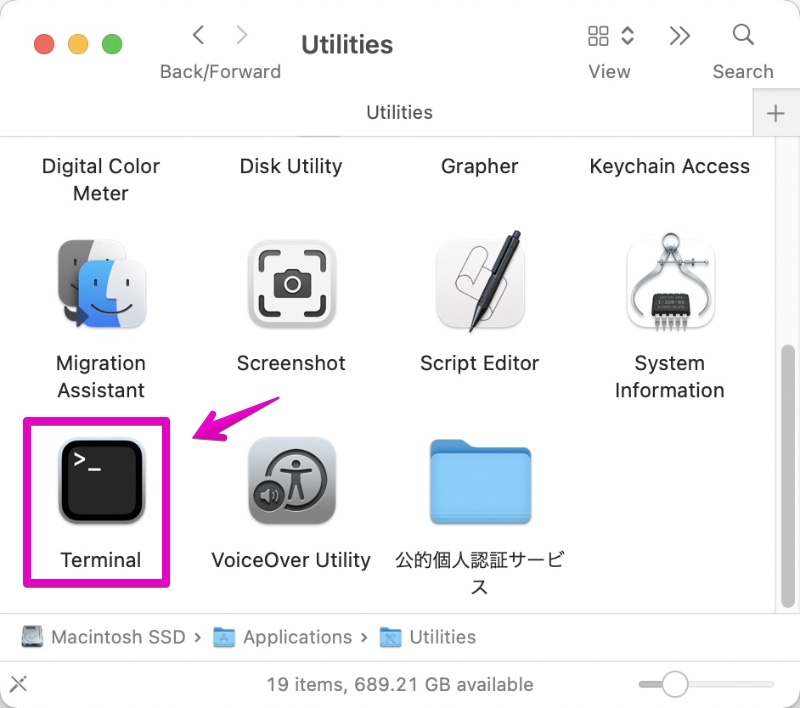
▶ In the “Applications” -> “Utilities” folder on the Finder, double-click “Terminal.app” to launch.
▶ When the terminal starts, enter or copy and paste one of the following commands.
These commands are rewriting the Mac’s configuration file.
【Switch to display】
defaults write com.apple.finder AppleShowAllFiles TRUE
【Switch to hide】
defaults write com.apple.finder AppleShowAllFiles FALSE
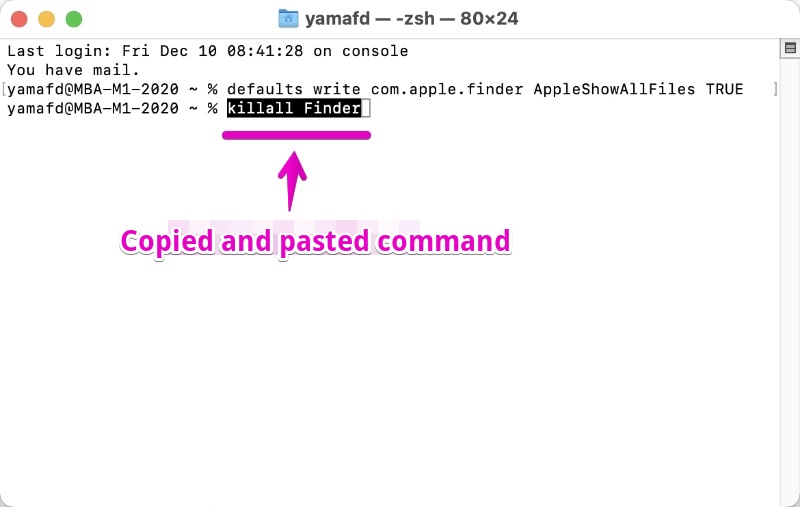
Copy and paste is recommended to save command input mistakes and troubles!
Below is the copy and paste of the command to the terminal.

▶ After entering or copying and pasting the command, press return on your keyboard to execute the command.
The following is the execution result.

▶ To load the settings so far on your Mac, execute the command to restart the Finder.
You don’t need to restart your Mac.
Type or copy and paste the following command, then press return on your keyboard to execute it.
killall Finder
This command is also OK with copy and paste!
Below is the copy and paste of the command to the terminal.
▶ The Finder will be restarted and the settings will be reflected.
Close the terminal with the above.
If we search online, there are many sites that explain the above methods.
Well then, let me give you some other lesser-written information.
How to hide hidden folder and files, that is, restore the defaults.
The following procedure makes use of deleting the hidden folder / file configuration file to return to the default state.
▶ Type or copy and paste the following command, and press return on your keyboard to execute.
defaults delete com.apple.finder AppleShowAllFiles
▶ After executing the above command, in order to reflect the settings on the Mac, enter or copy and paste the following command and press return on your keyboard to execute.
killall Finder
This is the end of the explanation, “② Execute commands in Terminal.app”.
③ How to use free app “Onyx”
You can switch between showing and hiding hidden folders and files with “Onyx”, a standard and well-established system setting app for Mac.
See the related article below for how to install “Onyx”.

The following is an explanation assuming that Onyx has been installed.
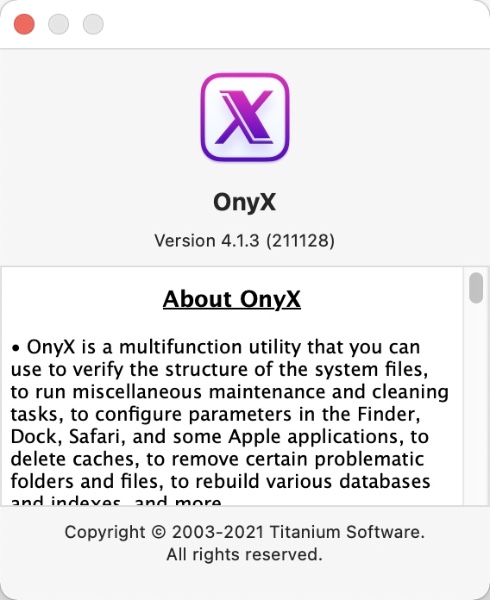
I’m also using Onyx version 4.1.3 for macOS 12 Monterey.
The procedure is explained below.
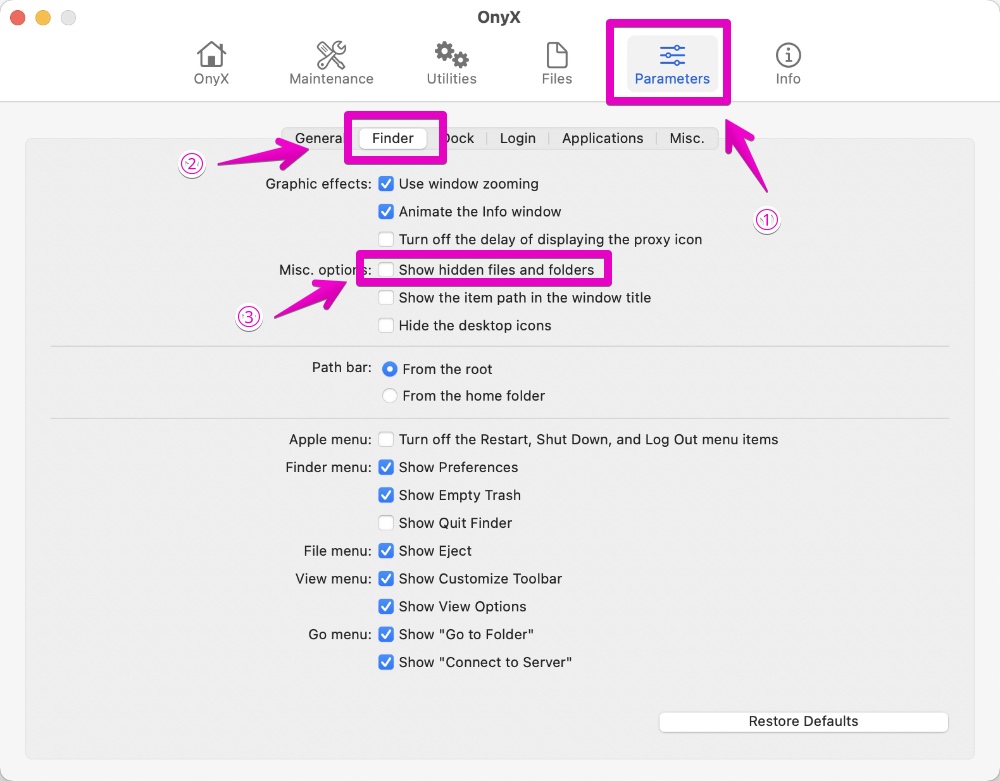
▶ After starting “Onyx”, operate in the order of ① to ③ below.
- ① Click the tab “Parameters” at the top
- ② Click the tab “Finder”
- ③ Check the item “Show hidden files and folders”
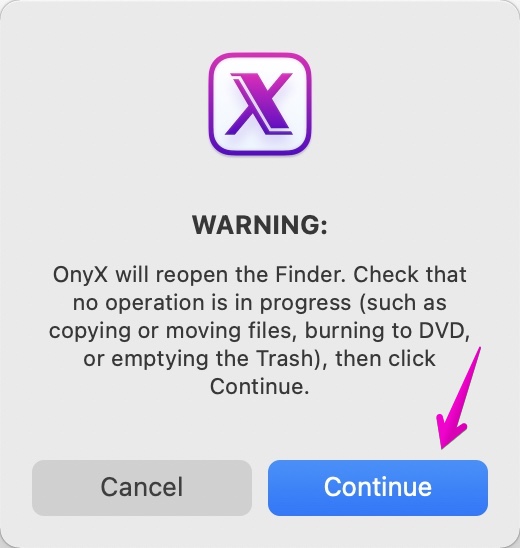
▶ When Onyx displays a restart warning as shown in the screen below, check that there are no unsaved files or operations in progress, and then click the “Continue” button.
▶ When the Finder is restarted, showing / hiding hidden folders and files is complete.
This is the end of the explanation, “③ Free app Onyx”.
Appendix: How to create hidden folders and files
If the hidden folders and files are hidden (default state), the hidden folders and files cannot be created.
Therefore, first, refer to “3 methods to show / hide hidden folders and files” explained in the above part, and make the hidden folders / files visible.
Then, when creating a file or folder, you can create a hidden folder and file by prefixing it with “. (Period)”.
At the time of creation, the warning will appear as shown in the screen below, but you can create it by clicking the “OK” button.

By the way, if the hidden folders and files are hidden (default state), the following error will occur.

This is the end of this article.


コメント