
I will show you how to ban screenshot and recordingon your Mac.
Please refer to it when you want to ban screenshots for security at school or work.
Overview
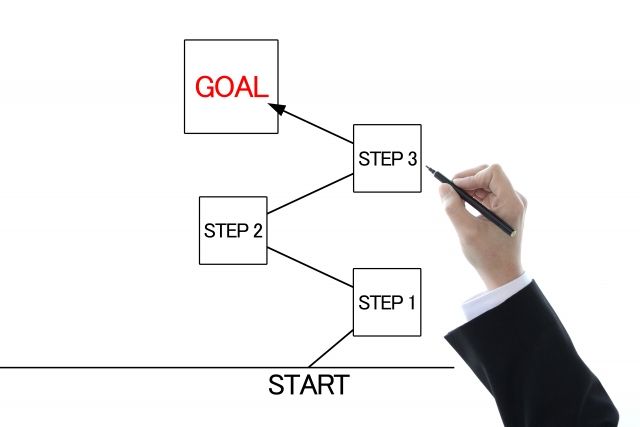
Workflow
While searching various sites, I found a way to use a system configuration file called “Profile” as a way to ban Mac screenshots.
The advantages of using a profile are:
- You can change the settings at any time by installing / uninstalling the profile
- Just install / uninstall the profile, so you can save labor on multiple Macs
Operating environment
I have confirmed the operation in the following environment:
- macOS 10.14 Mojave (Intel Mac)
- macOS 10.15 Catalina (Intel Mac)
- macOS 11 Big Sur (Apple Silicon Mac)
① Screenshot prohibition setting

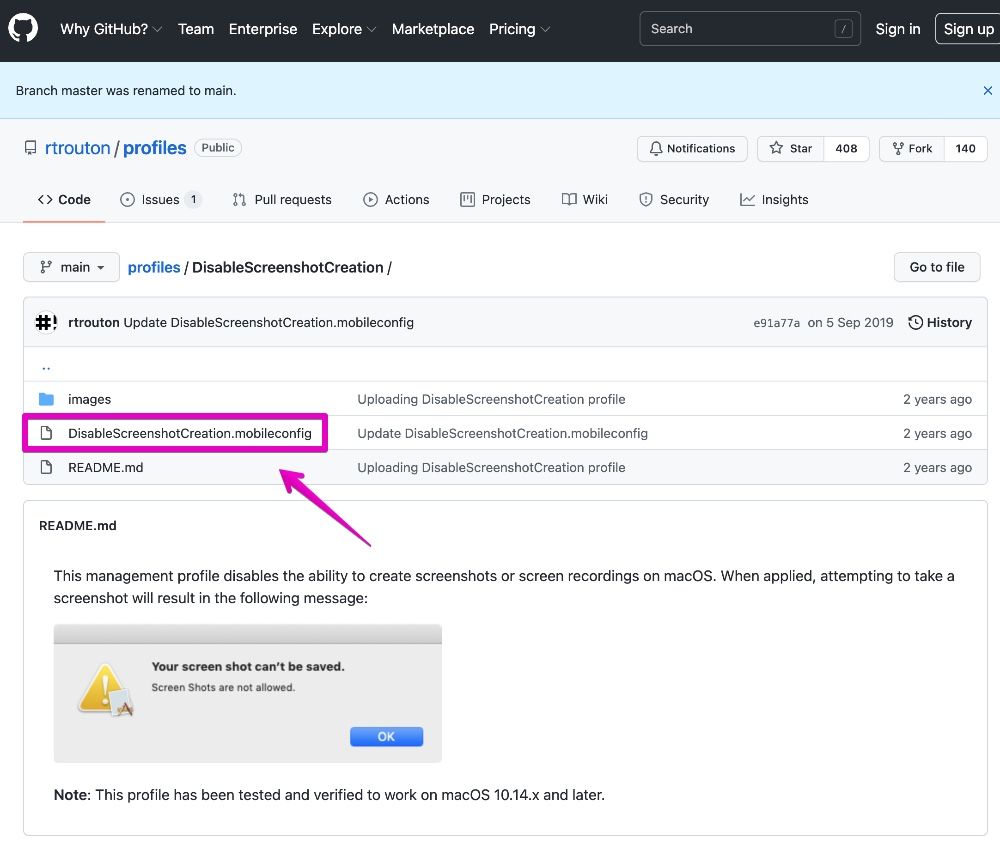
▶ Click the link below to open the profile publishing page.
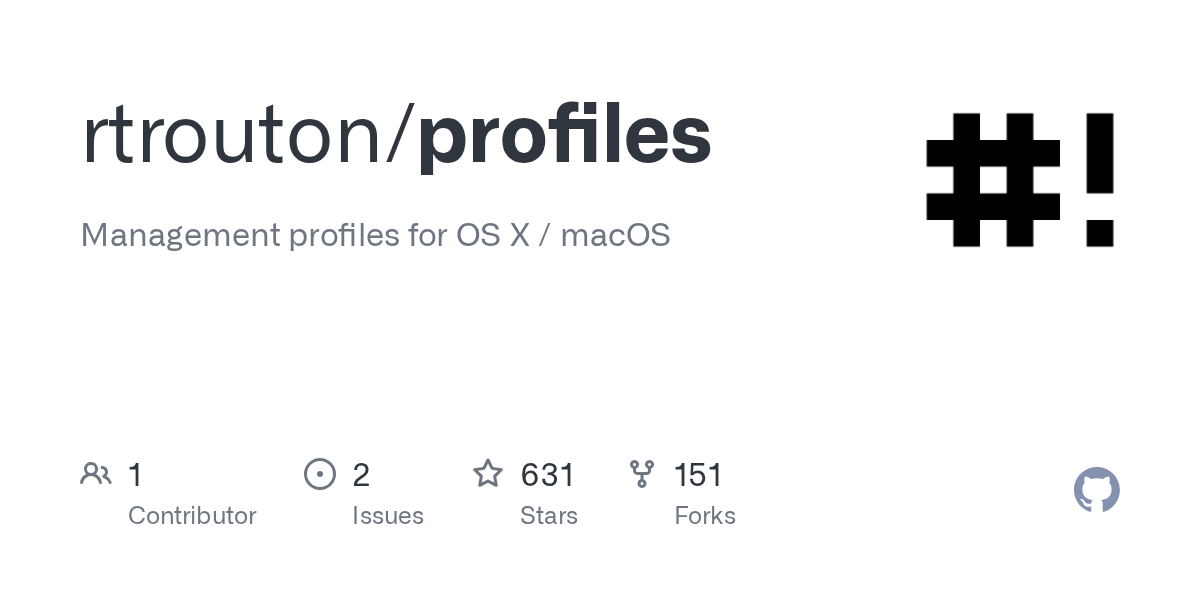
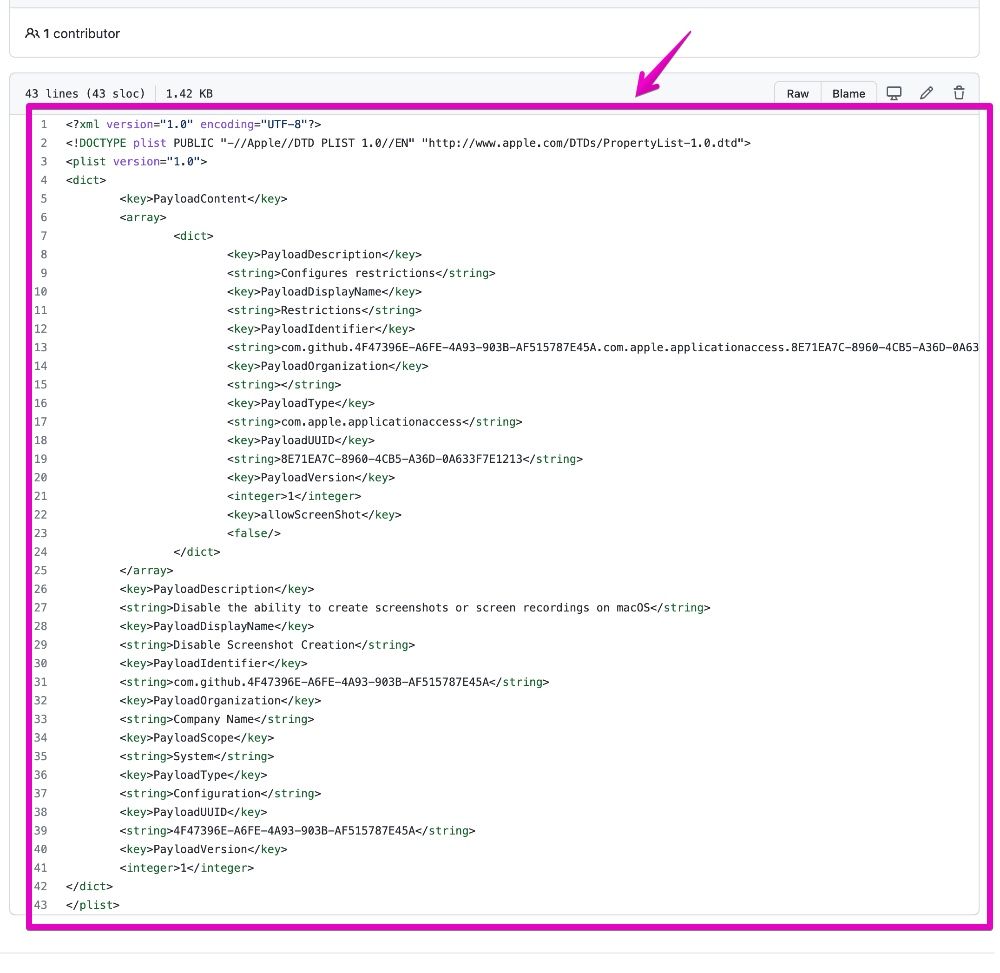
▶ When the page opens, click the link named “DisableScreenshotCreation.mobileconfig” to view the contents of the profile.
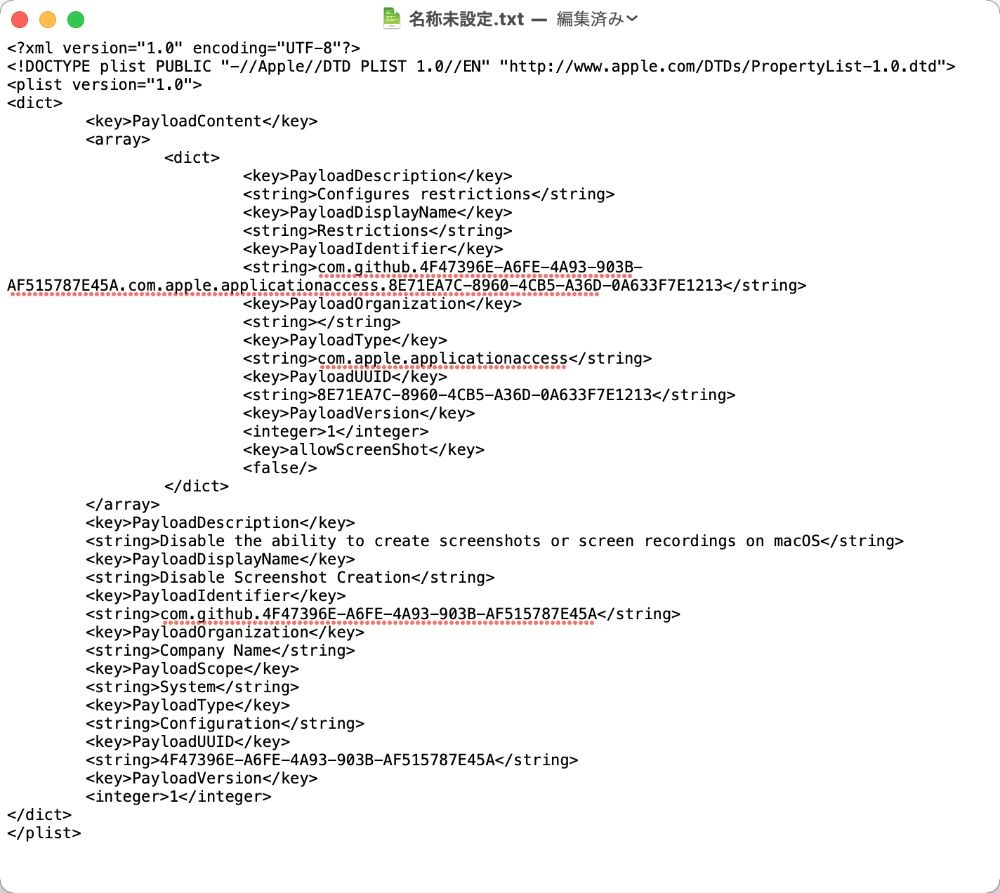
▶ When the contents of the profile are displayed, start an editor such as Apple genuine “TextEdit.app”, and then copy and paste the contents.
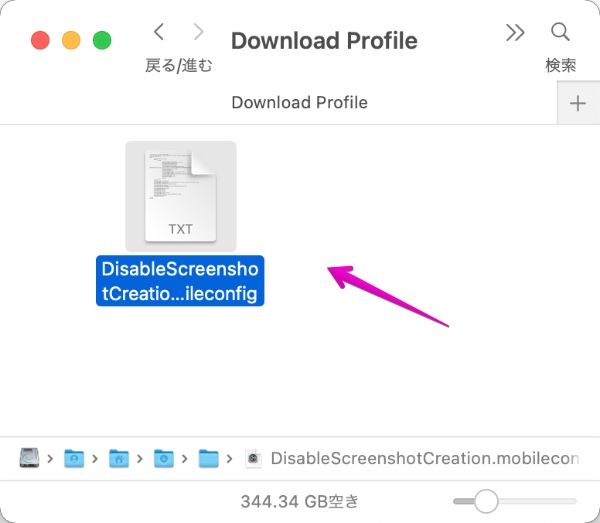
▶ After copying and pasting into the editor, save the file with the following settings:
| File format | Plain text format |
| File name | DisableScreenshotCreation.mobileconfig |
▶ After saving the profile, double-click it to launch the installation screen.
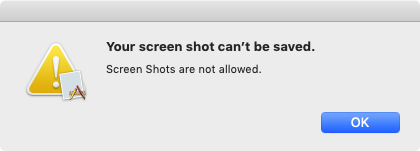
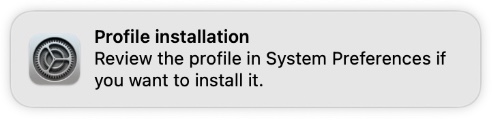
▶ As shown in the figure, when you receive the notification of installation failure, open “System Preferences”.
Even if you don’t get a notification, open “System Preferences”.
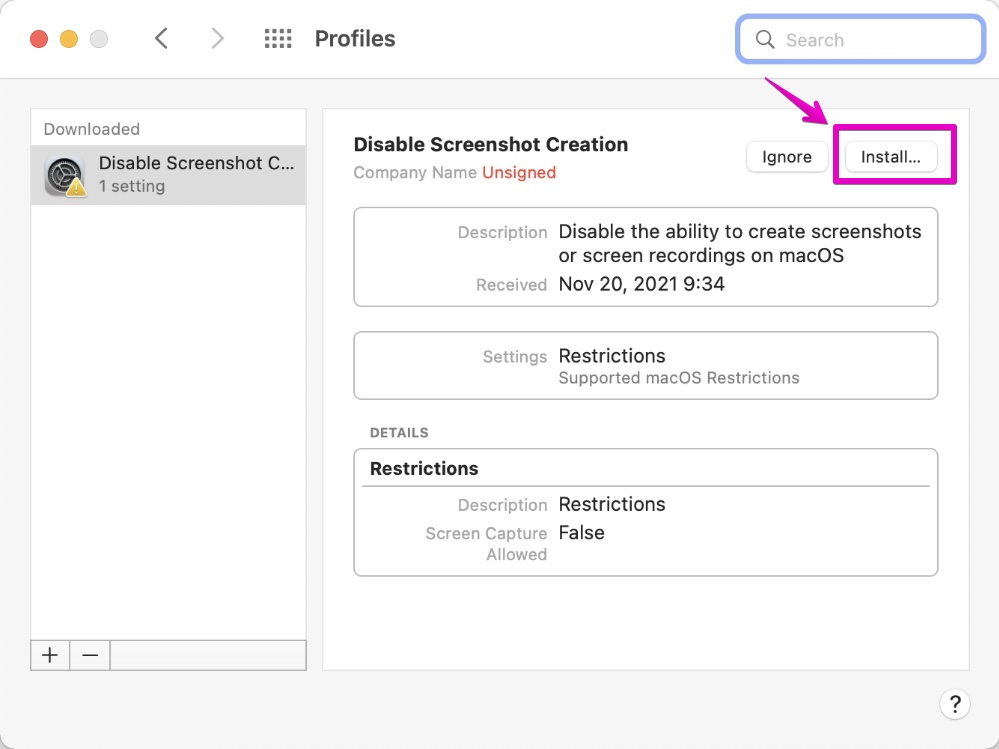
▶ After opening System Preferences, click Profile.

▶ When the “Profile” opens, click the “Install” button.
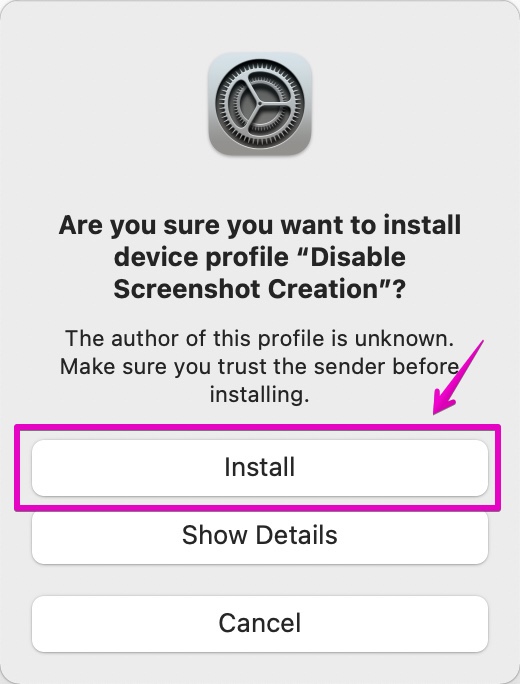
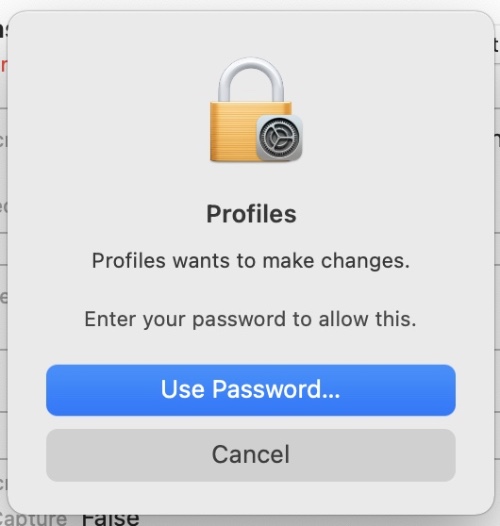
▶ Several confirmation screens will be displayed during the installation, but follow the instructions on each screen to proceed with the installation.
▶ When the image is displayed, the profile installation is complete.
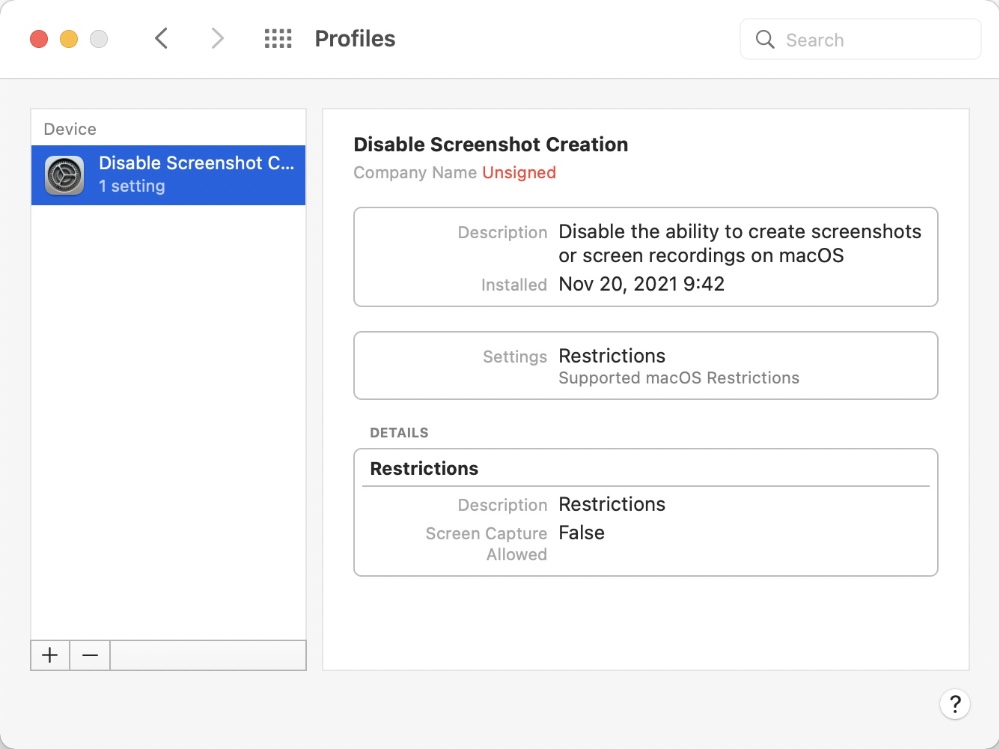
② Operation check
Try using keyboard shortcuts to see if screenshots are really banned.
| Item | Keyboard Shortcut |
|---|---|
| ① Capture full screen | shift + command ⌘ + 3 |
| ② Capture in any area | shift + command ⌘ + 4 |
| ③ Capture a window or menu | shift + command ⌘ + 4
and space |
| ④ Launch “Screenshot.app”
(macOS 10.14 Mojave or later) | shift + command ⌘ + 5 |
| ⑤ Capture touch bar
(Only touch bar models) | shift + command ⌘ + 6 |
If it is set rightly, when you press the keyboard shortcut, the error screen such as “Screenshot cannot be saved” is displayed as shown below.

③ Lifting the screenshot ban
If you delete the installed profile, you will be able to take screenshots again.
The procedure is as follows.
▶ Open “System Preferences”.
▶ After opening System Preferences, click Profile.
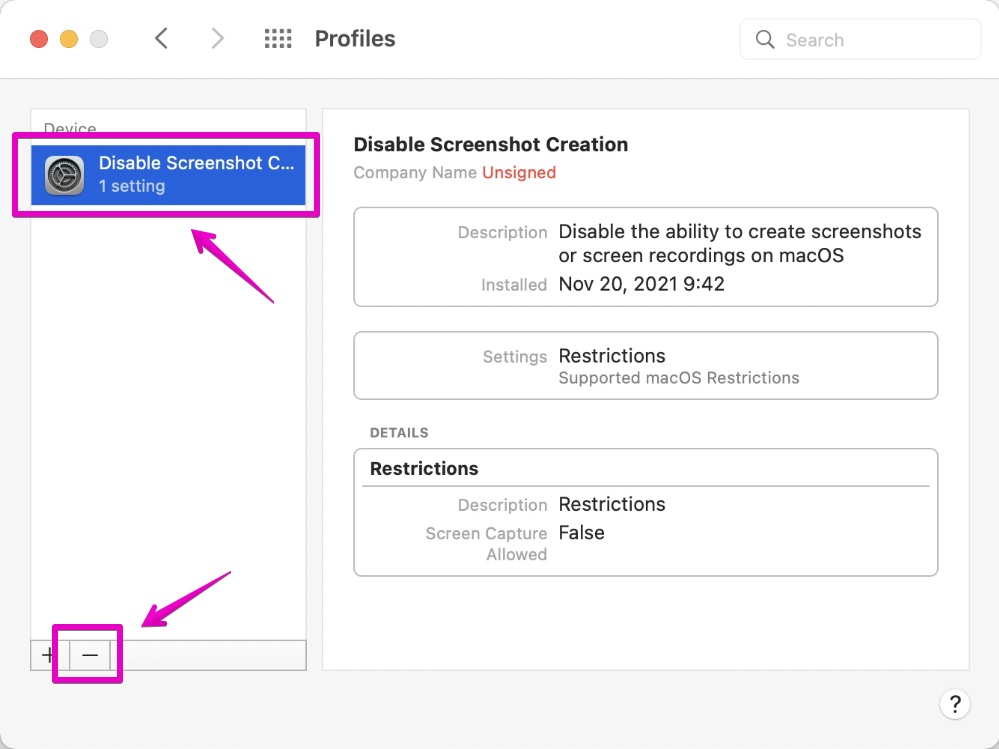
▶ When the Profile appears, select the Disable Screenshot Creation icon from the left column, then click the – button-below the column.
Click to delete the profile and you will be able to take the screenshot again.
Reference information

This is the end of this article.
コメント