
Here are four ways to export Mac “Notes”.
In addition, I will compare the contents of each method and explain the specific operation method in detail using illustrations, so it will be helpful for those who are wondering which method is better.
The following explanation is given in the following environment.
- macOS Big Sur 11.5.2
List of ways to export Mac “Notes”
| Method | Features |
| ① Standard function of “Notes” |
|
| ② App “Notes Exporter”
This app is currently not available for download. |
|
| ③ App “Exporter” |
|
| ④ Use “AppleScript” |
|
① Standard function of “Notes”
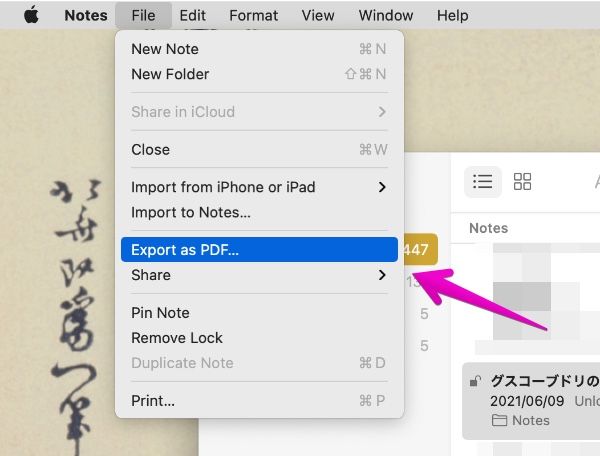
▶ In the app “Notes”, select the note you want to export.

▶ From the menu bar, select “File” – “Export as PDF…”.
▶ Specify the file name and save location, and click the “Save” button.

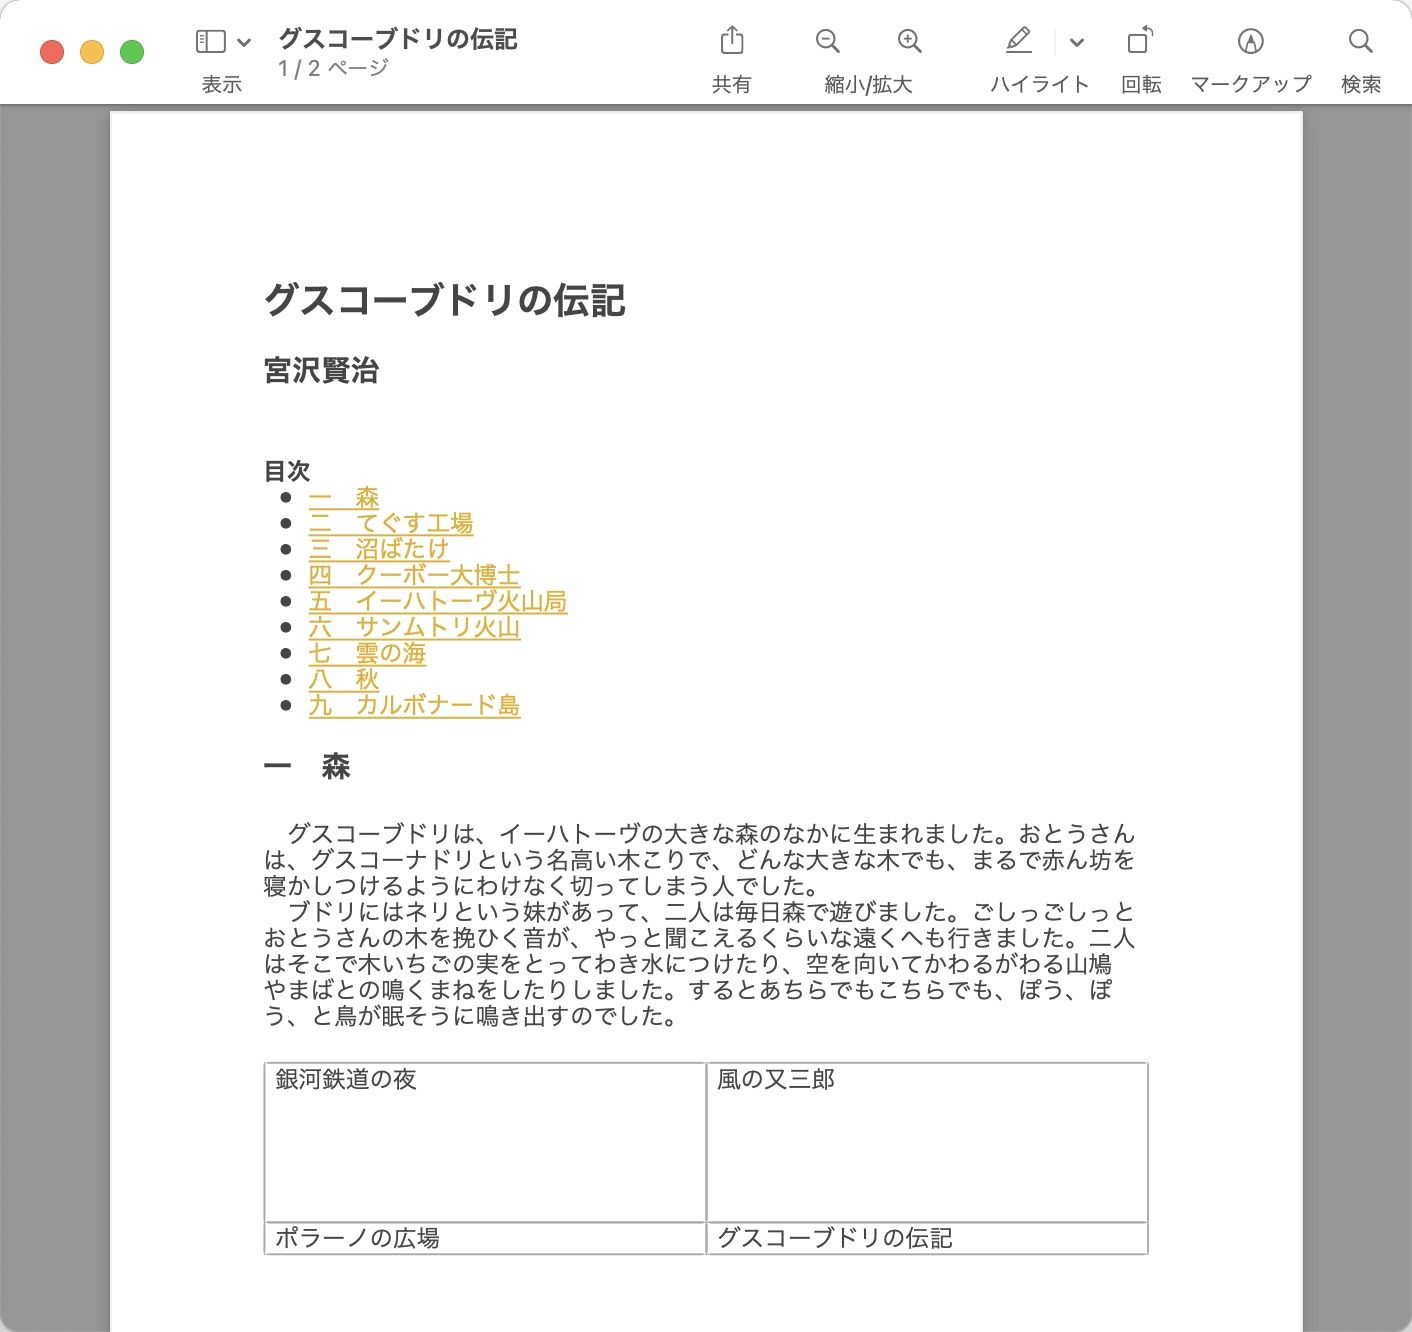
▶ When saving is completed, the document is a general PDF file format, so you can display it in “Preview” etc.
Since it is a PDF, the display and layout of the image are perfectly reproduced.
② App “Notes Exporter”
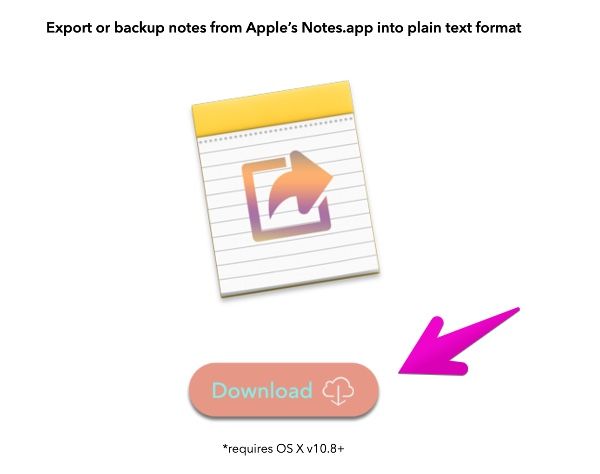
▶ Click the link below to open the download page of the “Notes Exporter” official website.
Exporter for Notes.app
This app is currently not available for download.
▶ When the page opens, click the “Download” button to download.
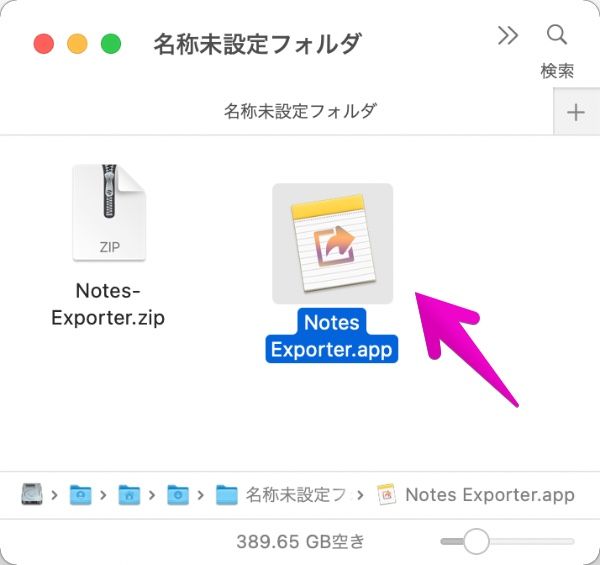
▶ The downloaded application is compressed in ZIP format, so double-click it to extract (decompress) it.

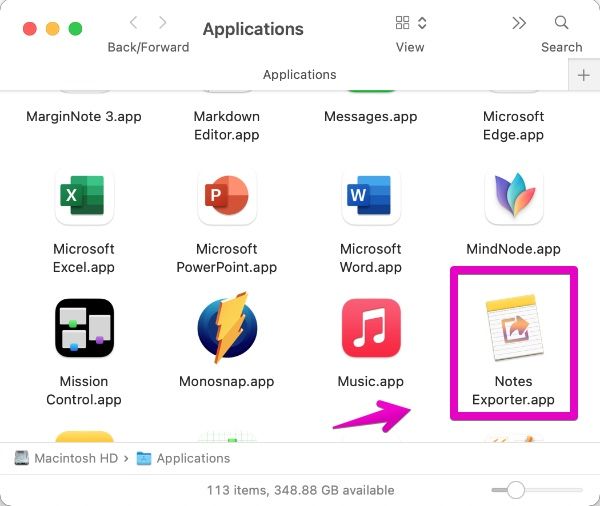
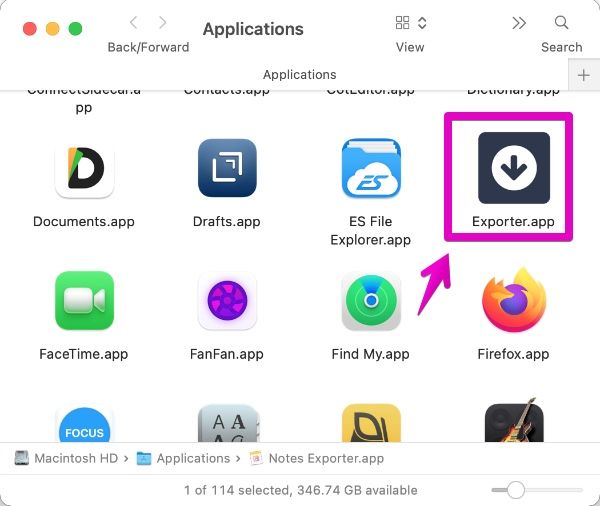
▶ When expanded (decompressed), the application icon will be displayed, so move it to the Finder folder “Applications”.
▶ After moving the application to the folder “Applications”, double-click it to start it.
At that time, depending on the version of macOS, you may be required to enter a password for security reasons.
In that case, proceed according to the contents displayed on the screen.
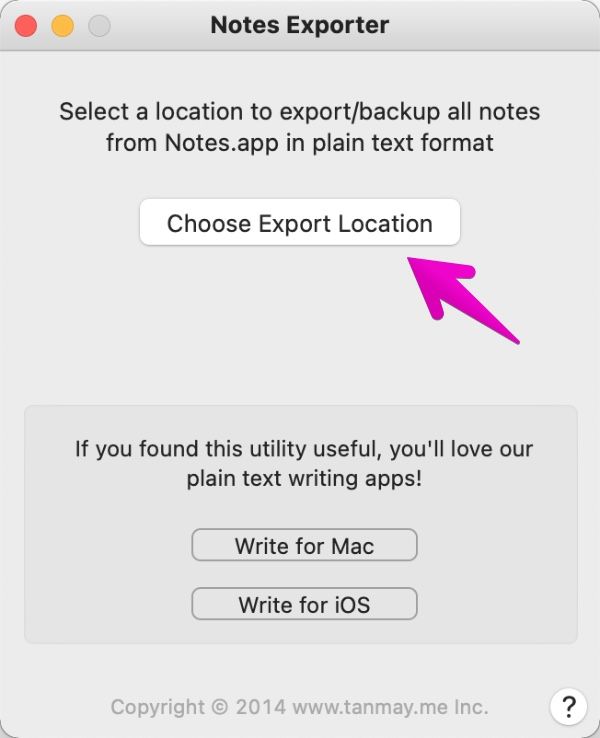
▶ When the application “Notes Exporter” starts, click the button “Choose Export Location” to call up the screen to set the storage location.
▶ Specify a suitable save location, and then click the “Export Here” button.
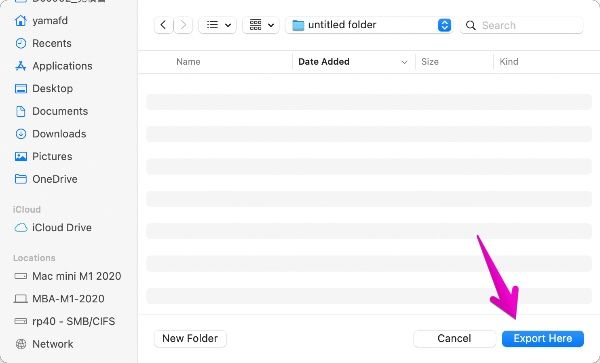
If a confirmation screen is displayed due to security concerns, proceed according to the instructions on the screen.
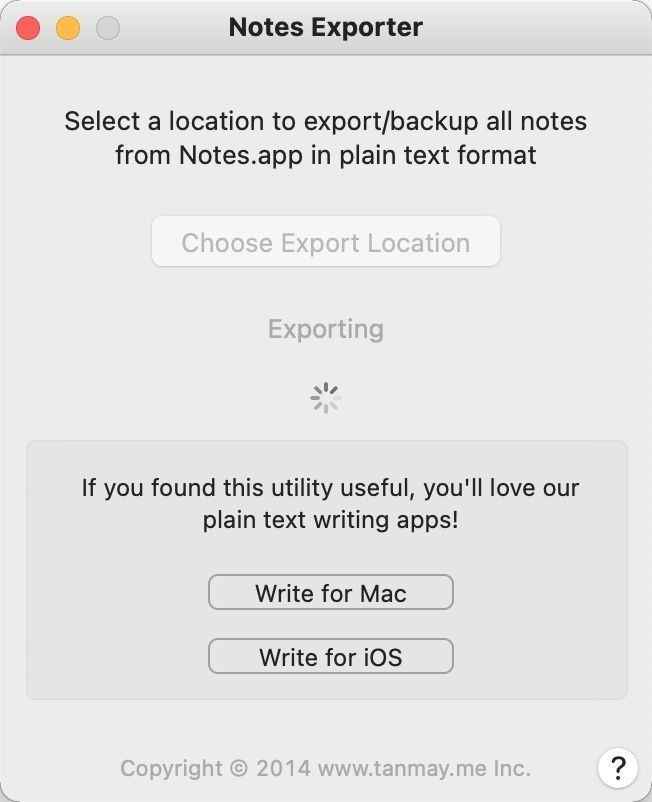
▶ While exporting, “Exporting” is displayed and the cursor is spinning, so wait for a while until it is completed.
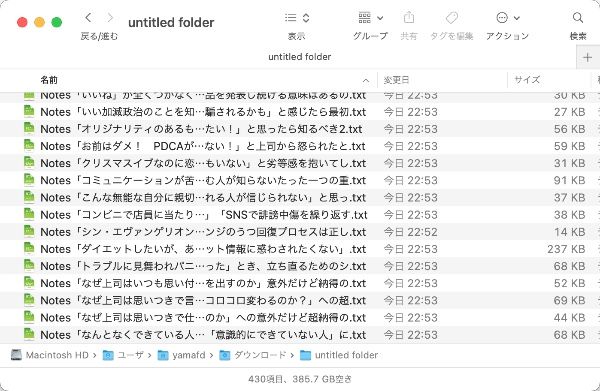
▶ The exported files are saved as a text files with “extension txt” in html format, one for each notes, in the folder specified as the save location.
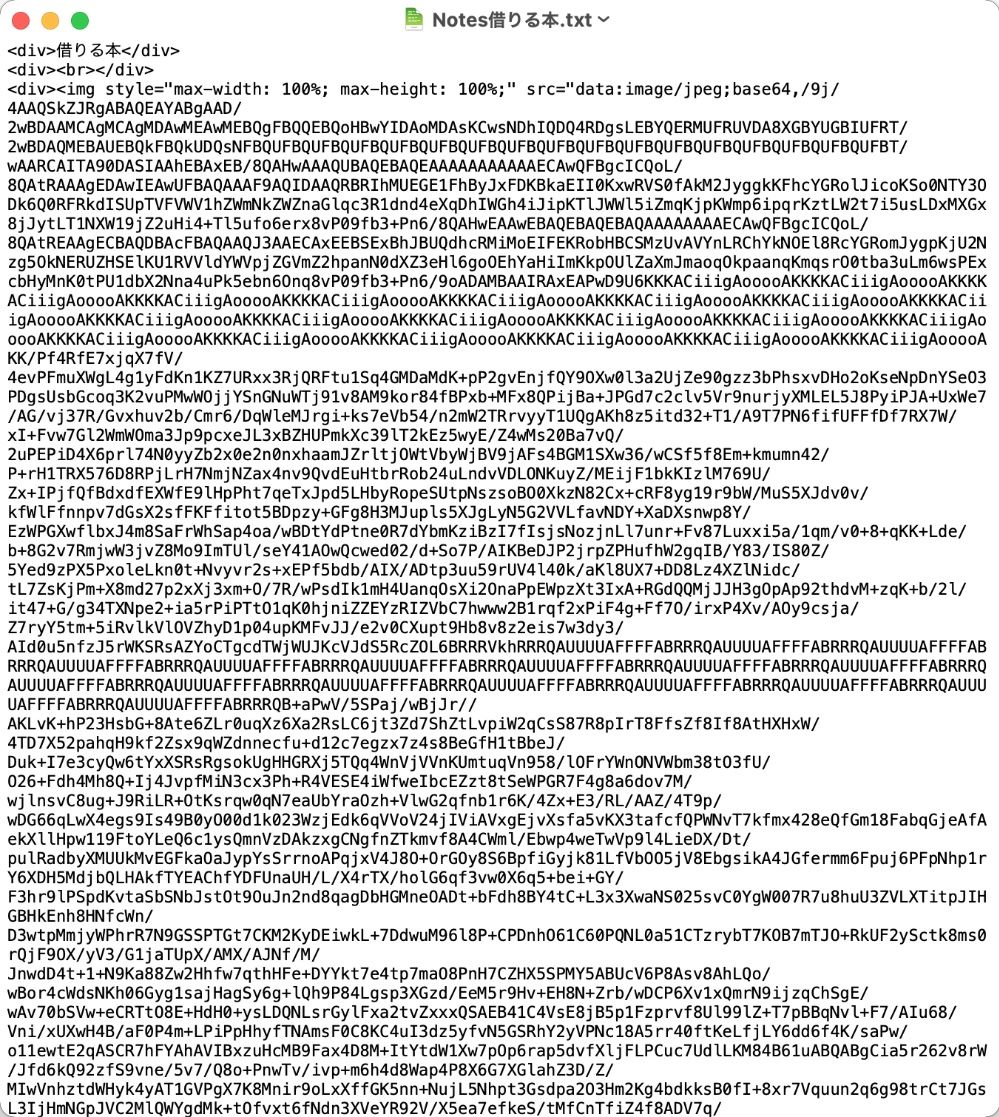
▶ The image file is encoded (encrypted) in the base64 format and embedded in html.
When displayed with a text editor such as “TextEdit” app, it is in an encrypted state.
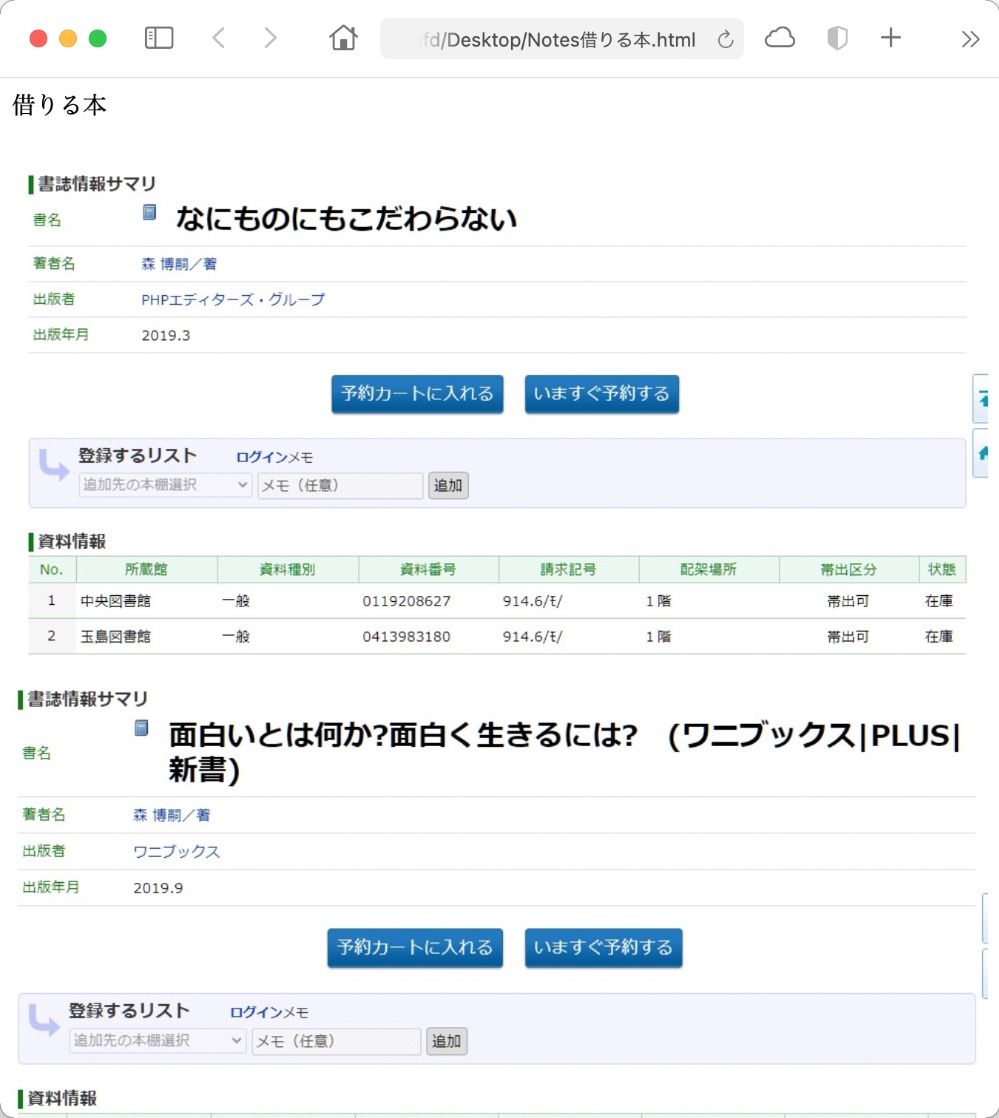
You can’t recognize the contents what they are, but if you change the extension “.txt” to “.html” and open it with a web browser such as “Safari” or “Google Chrome”, it will be displayed as an image.
【View in “TextEdit”】
【View in “Safari”】
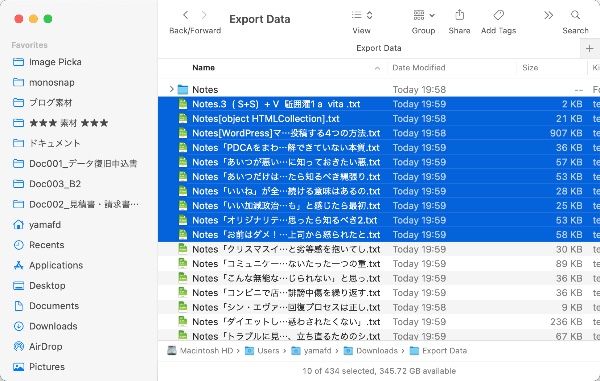
▶ By the way, if you use Mac OS X 10.10 Yosemite or later, you can select multiple files and change the extension at once.
- ①
Select multiple files in the Finder.
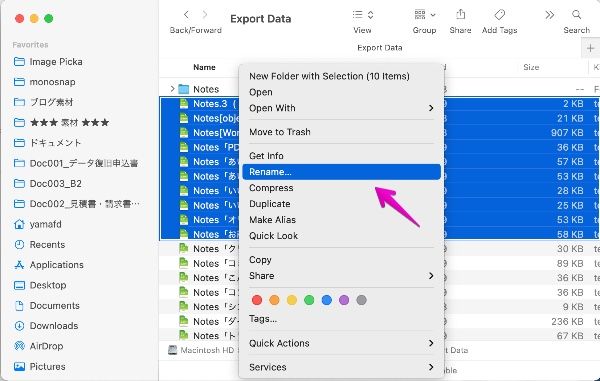
- ②
Display the right-click menu with the selected files and select “Rename…”.
- ③
When the “Rename” setting screen is displayed, make the following settings.
- “Replace Text”
- Find:.txt
- Replace with:.html
After setting, click the button “Rename”.

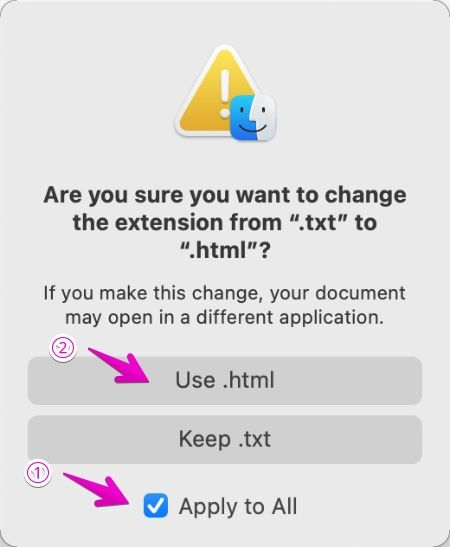
- ④
When the extension change confirmation screen is displayed, ① Check “Apply to All” and then ② Click the button “Use .html”.
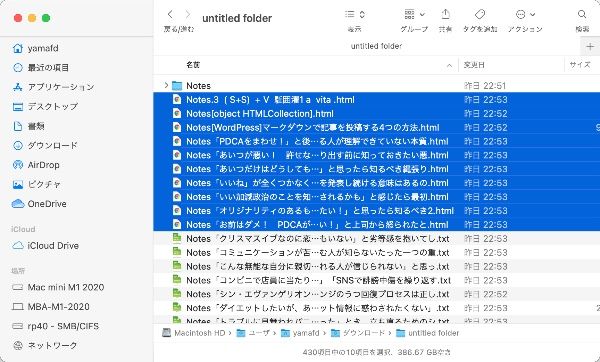
- ⑤
The extensions have been changed to html.
▶ If the extensions are html, you can display the contents in a web browser only by double-clicking, and you can preview the contents with the Quick Look function of Finder.
Let’s change the extensions all at once.
③ App “Exporter”
▶ Click the link below to install “Exporter” from the Mac App Store.

▶ In Finder, double-click “Exporter” in the folder “Applications” to start it.
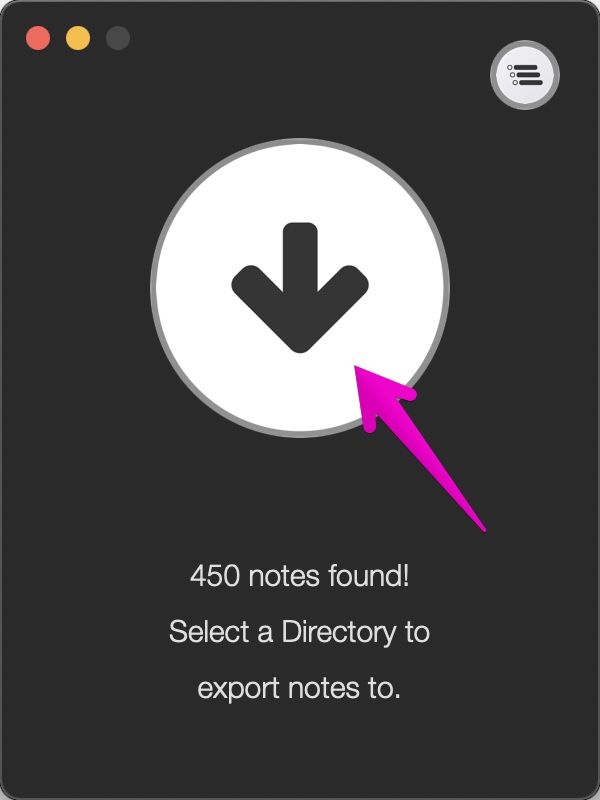
▶ When the application “Exporter” starts, click the download button in the middle to call up the screen to set the save location.
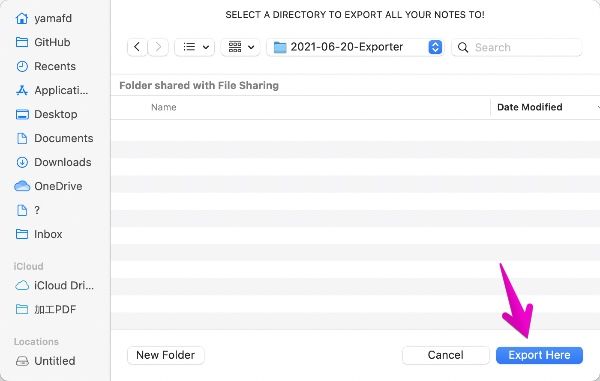
▶ After specifying a suitable save location, click the “Export Here” button.
If a confirmation screen is displayed due to security concerns, proceed according to the instructions on the screen.
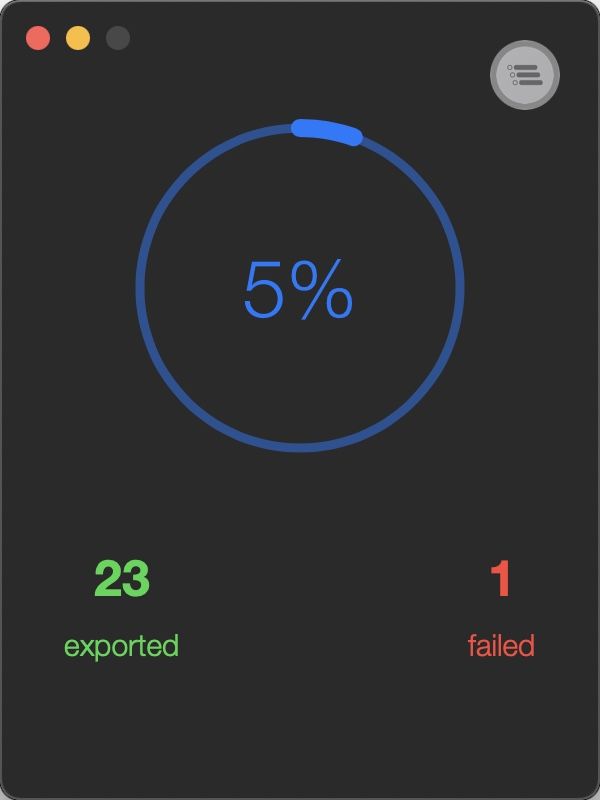
▶ The progress will be displayed as a pie chart during the export, so wait for a while until it completes.
▶ When the export is complete, the folder will appear in the Finder.
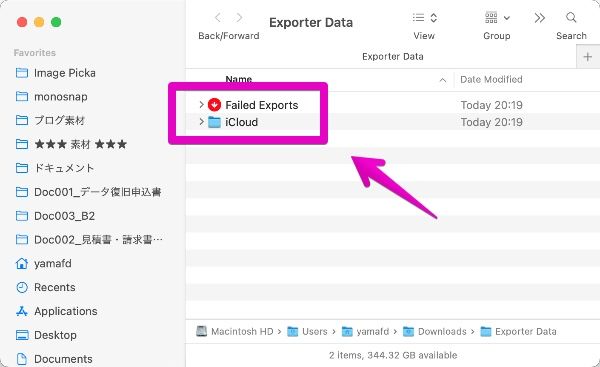
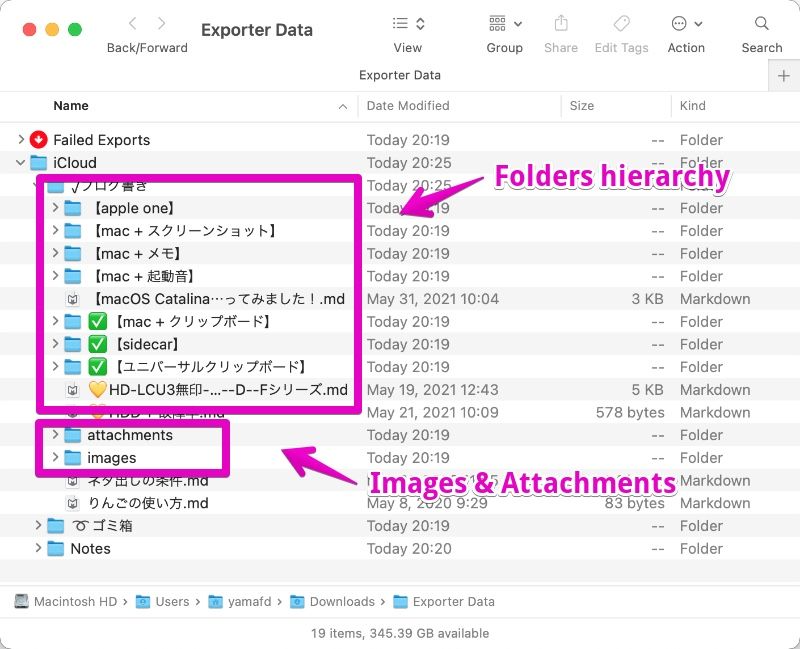
▶ The exported folders and files have the following structure:
The folder hierarchy of the notes are reproduced, but the notes text and images, PDF, etc. are saved separately.
- Notes text : Markdown format text file
- Images : Saved in the folder “images”
- Attachments such as PDF : Saved in the folder “attachments”
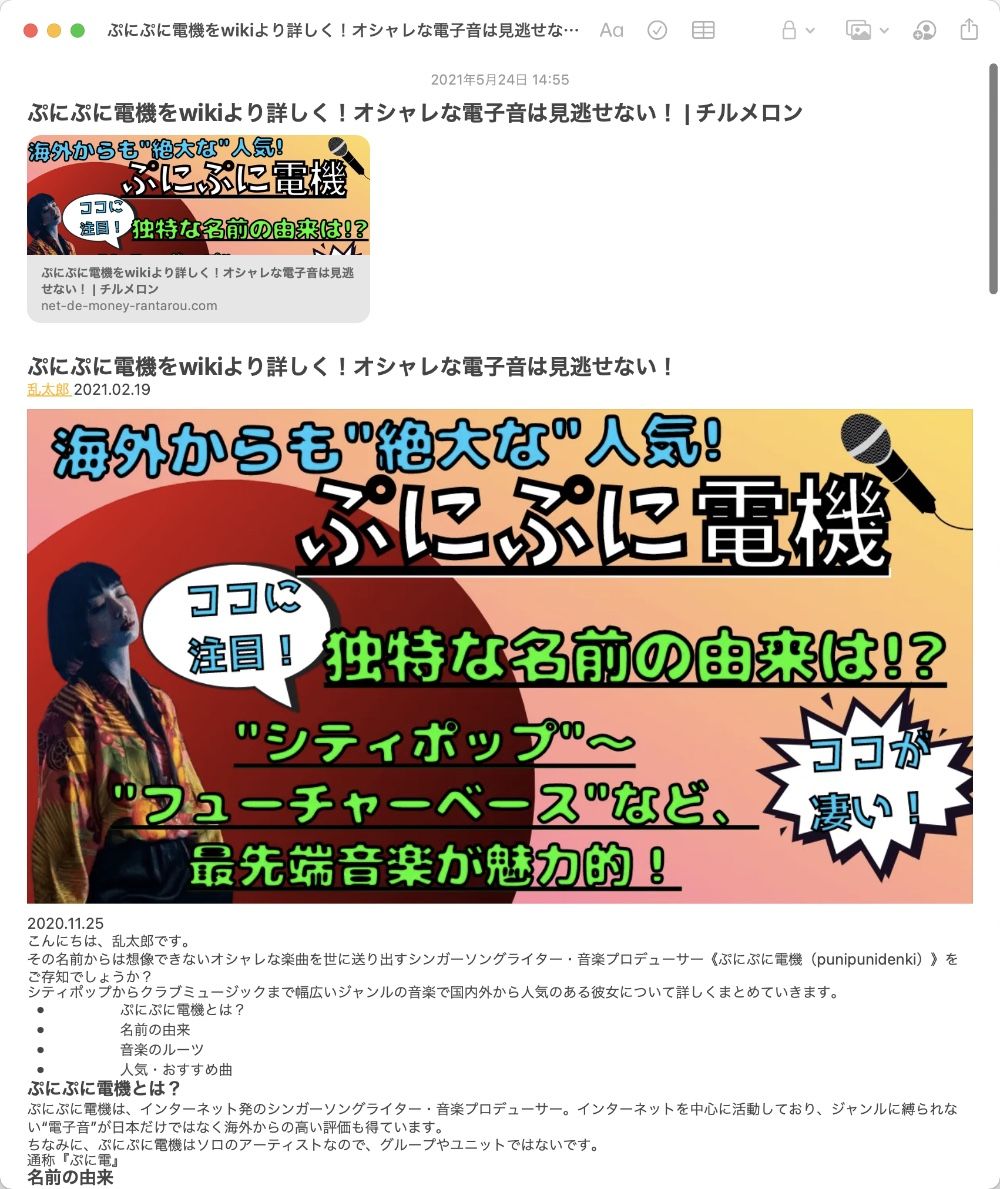
▶ Compare the original note with the exported Markdown format file.
【Original note】
【Exported note
(Markdown)】
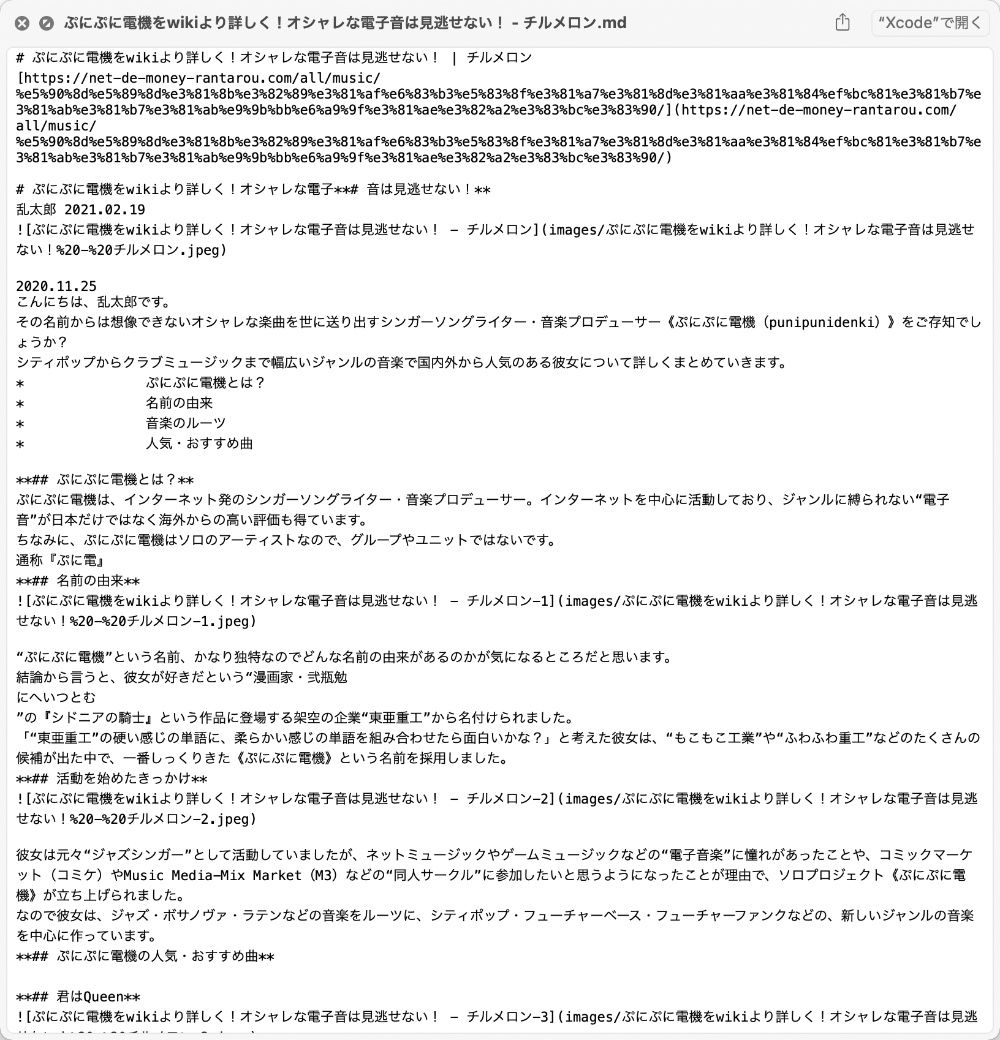
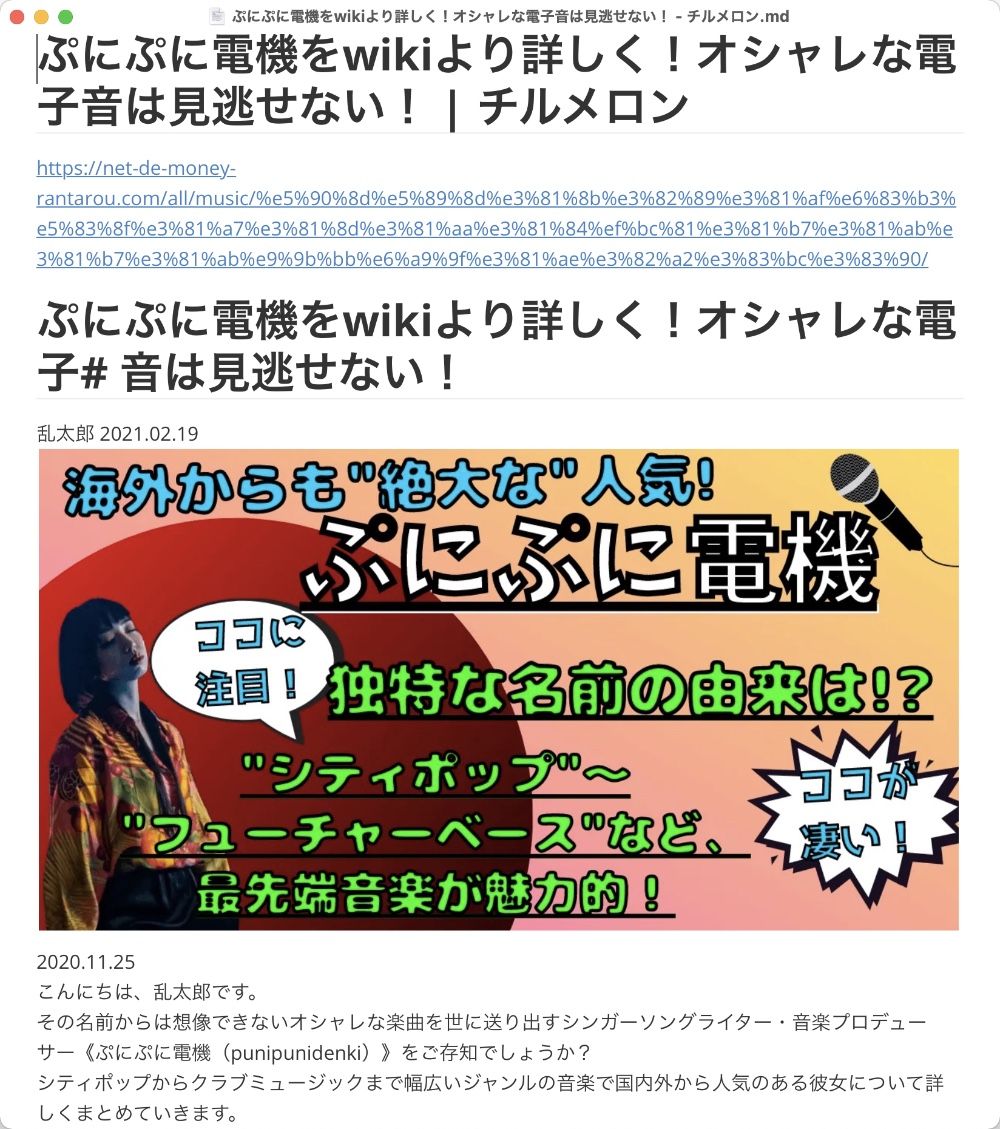
▶ Images etc. cannot be confirmed in Markdown format, so if you use an application such as “Typora” that supports Markdown format display, you can display images with embedded images.
Below is a Typora view of a Markdown document.
I think it can be displayed with an image close to the original memo.
④ Use “AppleScript”
This method is for intermediate users and above who are accustomed to using the standard Mac application “Script Editor”, so the procedure will be brief.
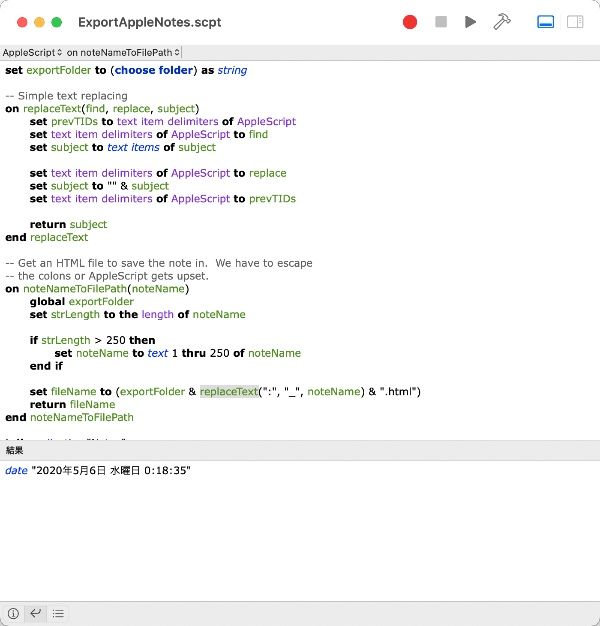
▶ Start the application “Script Editor”, paste the following script, give it an appropriate name, and save it.
set exportFolder to (choose folder) as string

-- Simple text replacing
on replaceText(find, replace, subject)
    set prevTIDs to text item delimiters of AppleScript
    set text item delimiters of AppleScript to find
    set subject to text items of subject

    set text item delimiters of AppleScript to replace
    set subject to "" & subject
    set text item delimiters of AppleScript to prevTIDs

    return subject
end replaceText

-- Get an HTML file to save the note in.  We have to escape
-- the colons or AppleScript gets upset.
on noteNameToFilePath(noteName)
    global exportFolder
    set strLength to the length of noteName

    if strLength > 250 then
        set noteName to text 1 thru 250 of noteName
    end if

    set fileName to (exportFolder & replaceText(":", "_", noteName) & ".html")
    return fileName
end noteNameToFilePath

tell application "Notes"

    repeat with theNote in notes of default account

        set noteLocked to password protected of theNote as boolean
        set modDate to modification date of theNote as date
        set creDate to creation date of theNote as date

        set noteID to id of theNote as string
        set oldDelimiters to AppleScript's text item delimiters
        set AppleScript's text item delimiters to "/"
        set theArray to every text item of noteID
        set AppleScript's text item delimiters to oldDelimiters

        if length of theArray > 4 then

            -- the last part of the string should contain the ID
            -- e.g. x-coredata://39376962-AA58-4676-9F0E-6376C665FDB6/ICNote/p599
            set noteID to item 5 of theArray
        else
            set noteID to ""
        end if

        if not noteLocked then

            set fileName to ("[" & noteID & "] " & (name of theNote as string)) as string
            set filepath to noteNameToFilePath(fileName) of me
            set noteFile to open for access filepath with write permission
            set theText to body of theNote as string
            write theText to noteFile as Unicode text

            close access noteFile

            tell application "Finder"

                set modification date of file (filepath) to modDate
            end tell
        end if

    end repeat

end tell
出典:How to backup Apple Notes on macOS, using Automator(Broken link)
▶ The figure below shows the screen of the result of executing the script in the script editor.
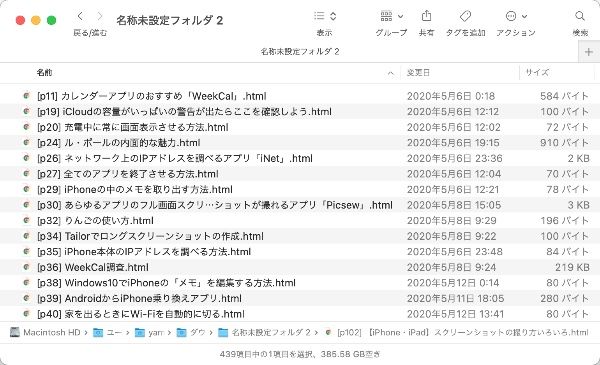
▶ The file exported by executing the script is saved as a text file in html format, one for each memo, in the folder specified as the save location.
The image file is encoded (encrypted) in the format of base64 and embedded in html, but since the extension of the file is already html, the contents can be displayed with a web browser by double-clicking, and the contents can be displayed in the Finder.
And you can preview the contents with the Quick Look function.
After all, which one is to be recommended?
So far, we have seen each of the four methods.
| Method | Format | Batch Export |
Images | Attachments |
| ① Standard function of “Notes” | ✕ | ◯ | ✕ | |
| ② App “Notes Exporter” | html | ◯ | Images are base64 encoded and embedded in html |
✕ |
| ③ App “Exporter” | Markdown | ◯ | Save in separated folders | Save in separated folders |
| ④ App “Exporter” | html | ◯ | Images are base64 encoded and embedded in html |
✕ |
In conclusion, which one is recommended for exporting the app “Notes”?
For those who are accustomed to the Markdown format, ③ is the best.
There is also a way for unfamiliar people to get used to this opportunity.
The next recommended methods are ② and ③.
Reference information

コメント