
I will intoroduce how to move the photos library of your Mac’s “Photos” app to an external hard drive or SSD.
There is an explanation on Apple’s official website, but this page will explain it in an easy-to-understand manner with screenshots.
- Advantages and disadvantages of moving the photos library to an external HDD / SSD
- ① Check the save location, name, and size of the photos library
- ② Prepare an external HDD / SSD
- ③ Copy the photos library to the external HDD / SSD
- ④ Launch the “Photos” app using the destination photo library
- ⑤ Check and change the photos library settings
- ⑥ Delete the photos library on your Mac’s internal drive
- Reference information
Advantages and disadvantages of moving the photos library to an external HDD / SSD
| Advantages | Disadvantages |
|---|---|
|
|
① Check the save location, name, and size of the photos library
The photo library of the “Photos” app is stored on the Mac’s built-in SSD / HDD by default.
For future work, here’s what you need to check about your photos library:
- a) Save location
- b) Name
- c) Size
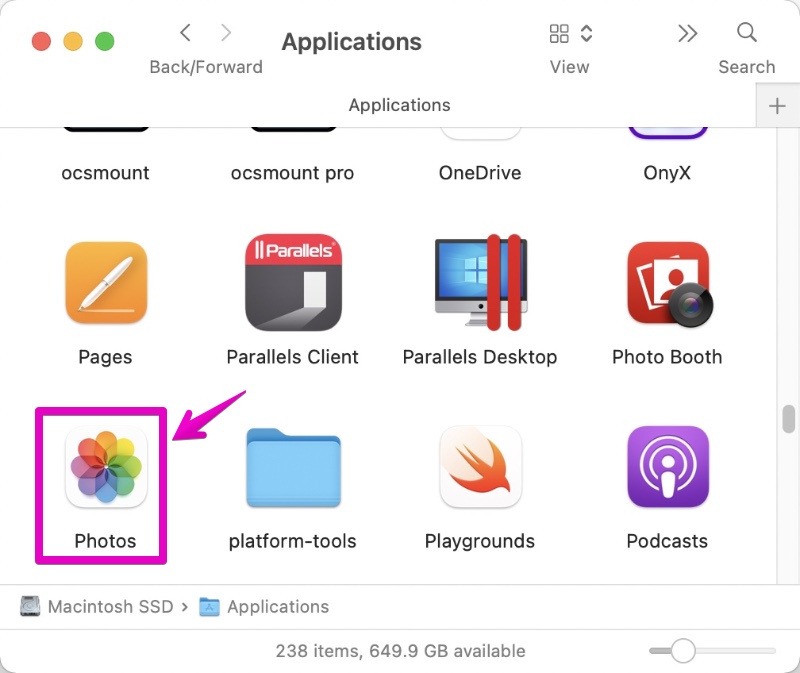
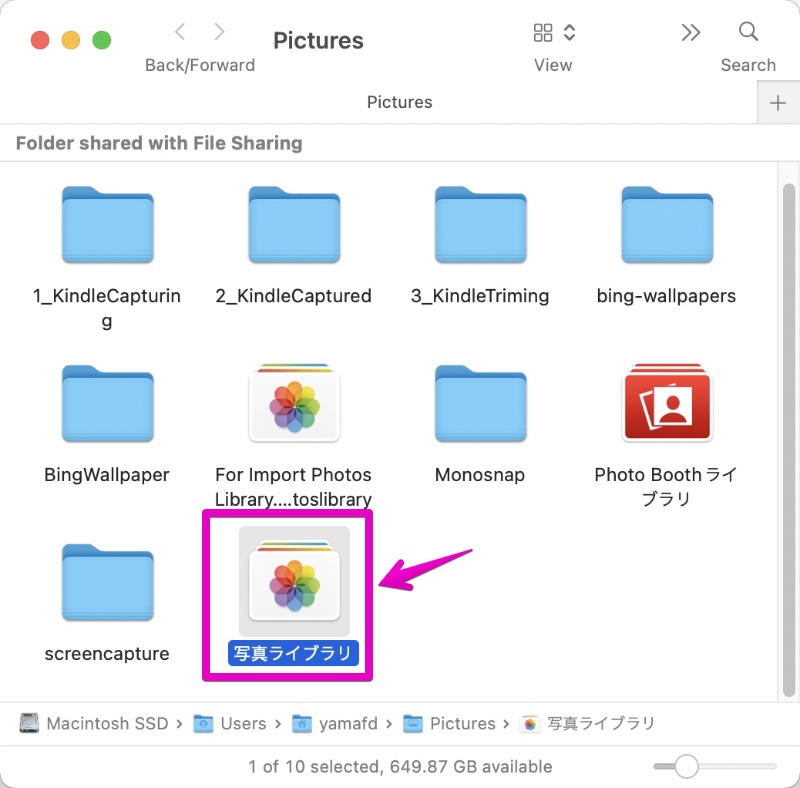
▶ In the Finder, launch the “Photos” app in the “Applications” folder.
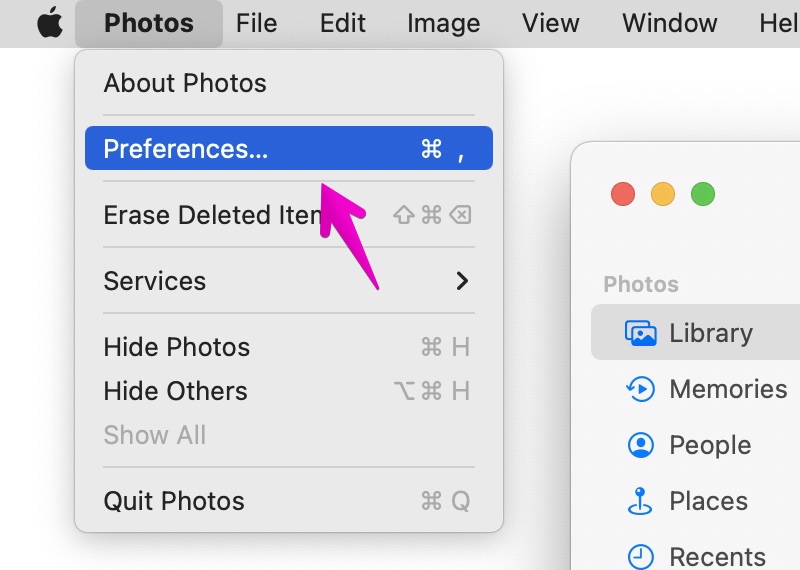
▶ When the “Photos” app starts, select “Photos” -> “Preferences…” from the menu bar.
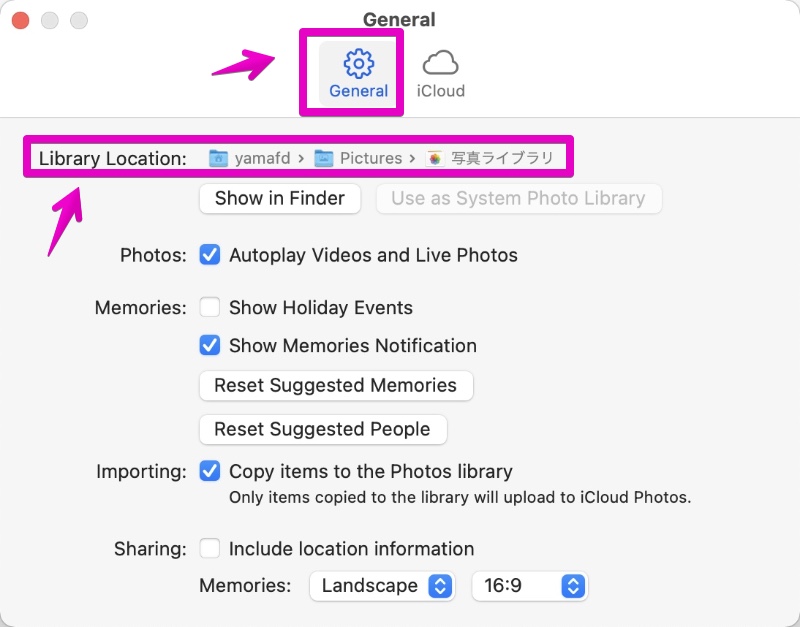
▶ When the “Preferences – General” screen is displayed, check that the tab at the top of the screen is “General”, and then check the displayed contents of the item “Library location”.
In the figure below, you can check the following information:
| Item | Checkable information |
|---|---|
| a) Save location | “yamafd” -> “Pictures” |
| b) Name | “写真ライブラリ” |
| c) Size | Can’t find this time |
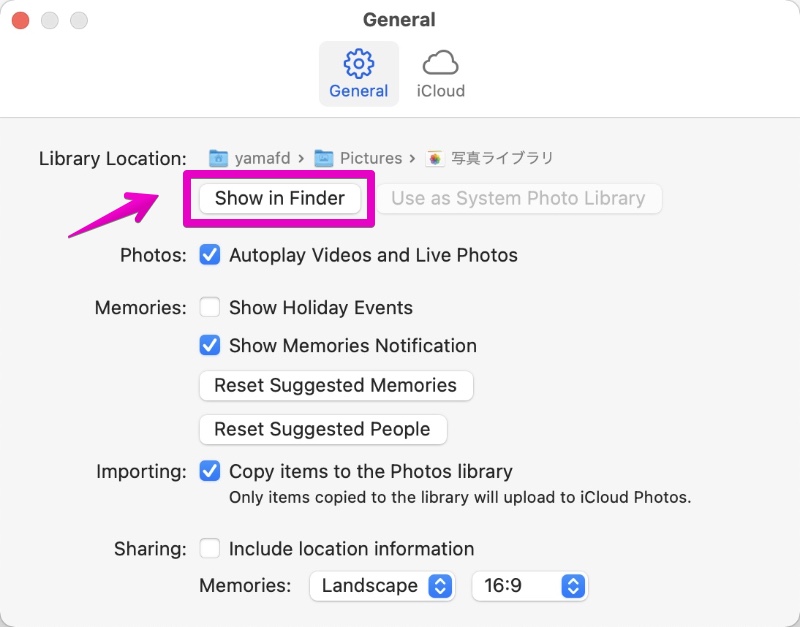
▶ To check the size of your photos library, click the button “Show in Finder” on the “Preferences – General” screen.
▶ In the Finder, the files in your photos library are displayed with them selected.
▶ To check the size of the file, do one of the following to display the Information screen.
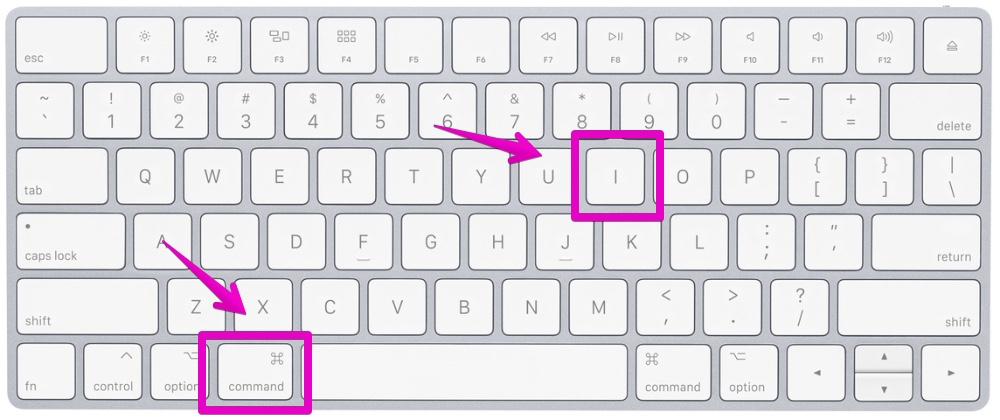
- On your keyboard, press Command ⌘ + I keys together
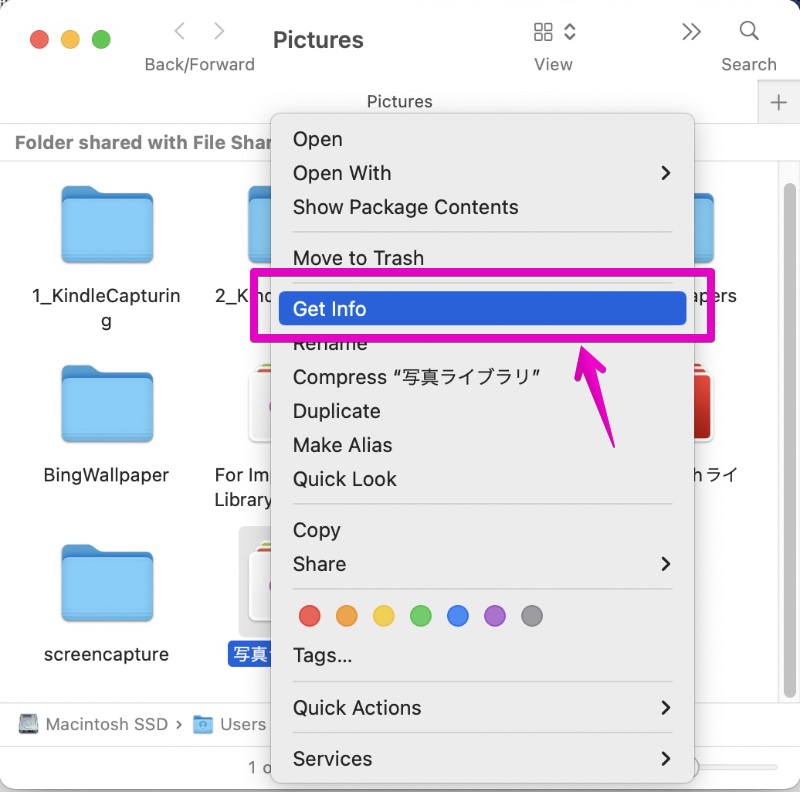
- In the Finder, display the file’s right-click menu and select “Get Info”
【Keyboard】
【Finder】
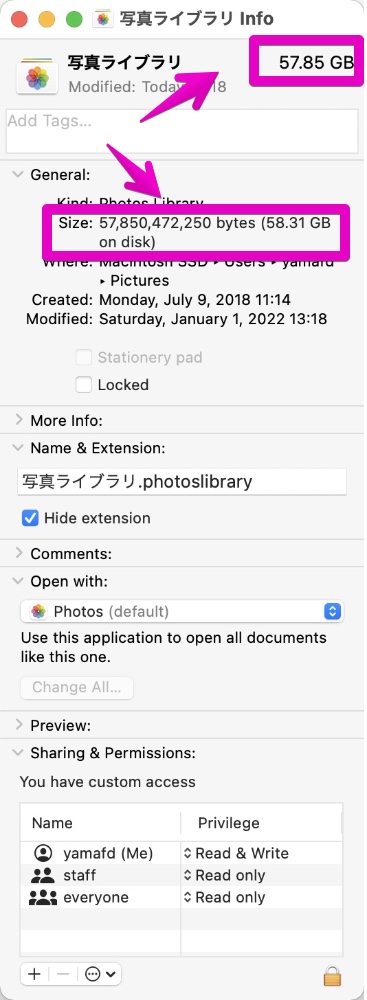
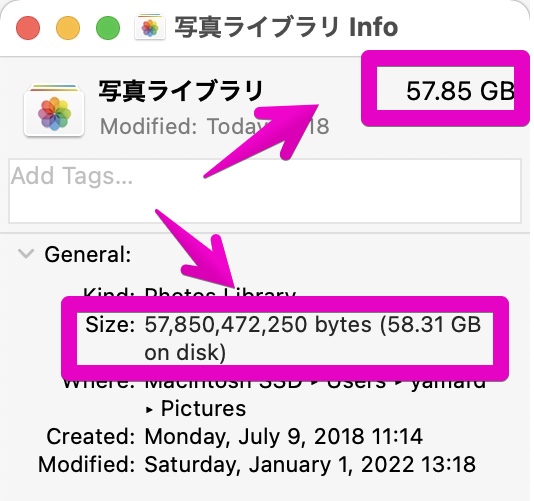
▶ When the “Information” screen is displayed as shown in the figure, you can check the file size.
In the figure below, it is displayed as 57.81GB, so even if the number of photos increases in the future, if the storage capacity is about 100GB, there seems to be no problem for a while.
Estimate about the storage capacity varies from user to user, so please make a decision according to your own situation.
The figure below is an enlarged view around the arrow
▶ Now that you know the “save location, name, size” of the photos library, proceed to the next explanation.
② Prepare an external HDD / SSD
▶ Prepare an external HDD / SSD according to the current size and future size of the photos library confirmed in advance.

▶ Apart from the HDD / SSD already used on the Mac, the HDD / SSD you just bought is often in the “NTFS format” for Windows only.
Therefore, from here, I will introduce the procedure for formatting with “HFS + format” for Mac only.
Only those who don’t know how to do it should read on.
If you know how to do it or if you have formatted it, please jump to the next step “③ Copy photos library to external HDD / SSD“.
▶ There are several formatting methods, but here I will format by the following, which is the most orthodox method.
| Item | Description |
|---|---|
| Storage | External HDD with a capacity of 500GB |
| Format type | HFS+ |
| Number of partitions | Only one |
▶ Connect the external HDD / SSD to your Mac.

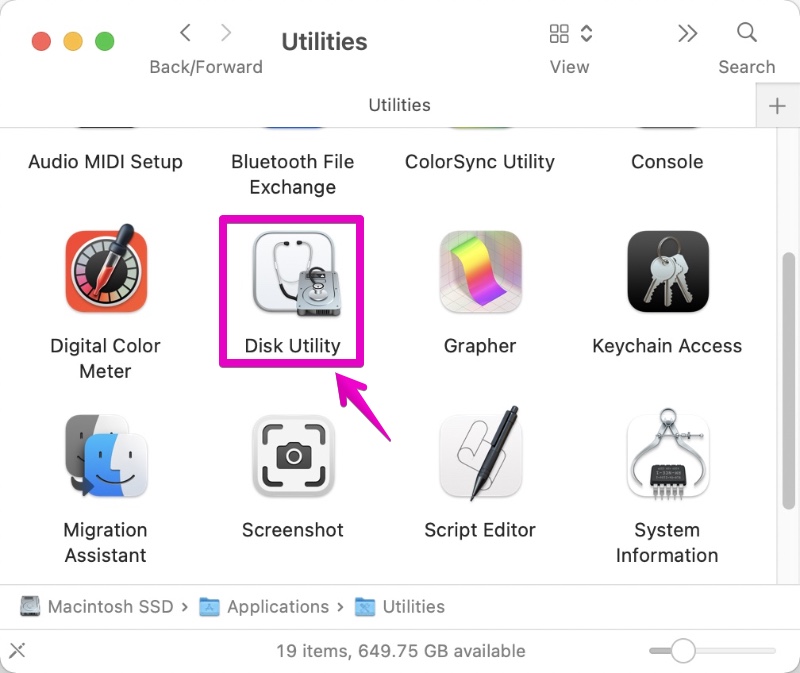
▶ In the Finder, double-click “Disk Utility” in “Applications” -> “Utilities” to start it.
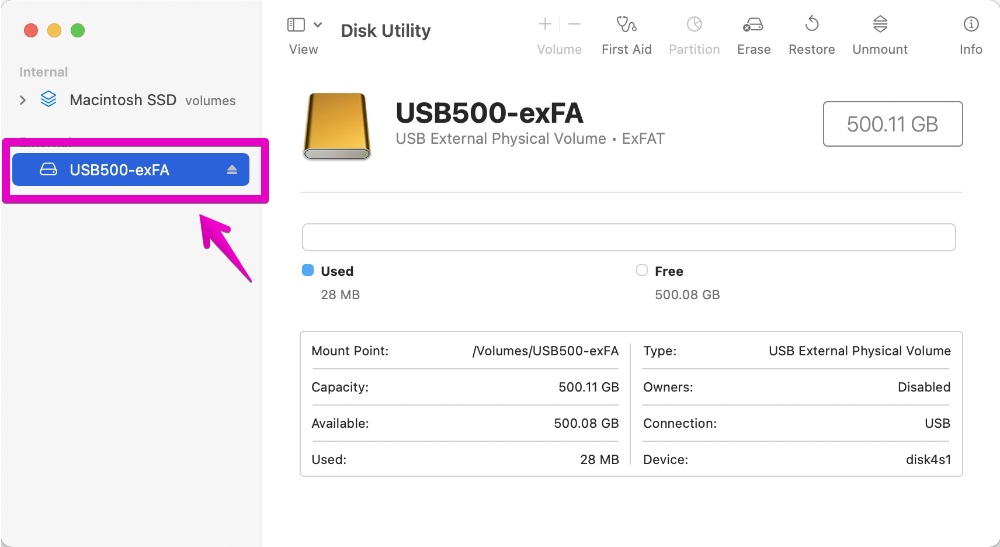
▶ When Disk Utility starts, click on the external HDD / SSD from the left column to select it.
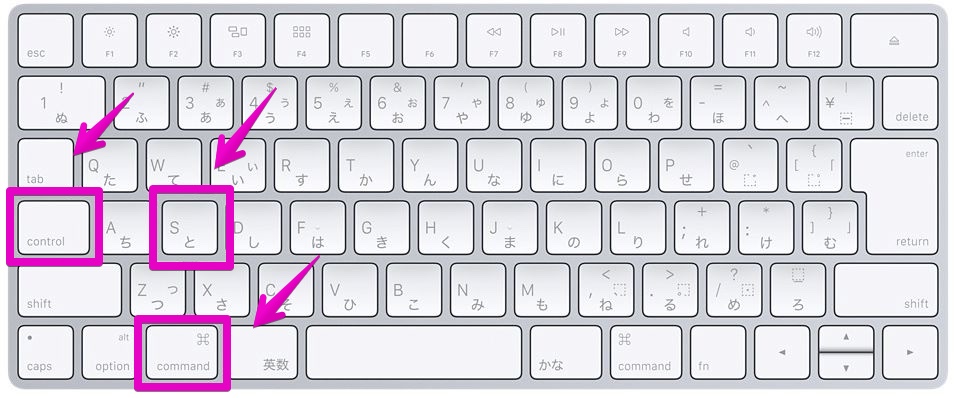
If you don’t see the left column itself, press control ^ + command ⌘ + S on your keyboard to display it.
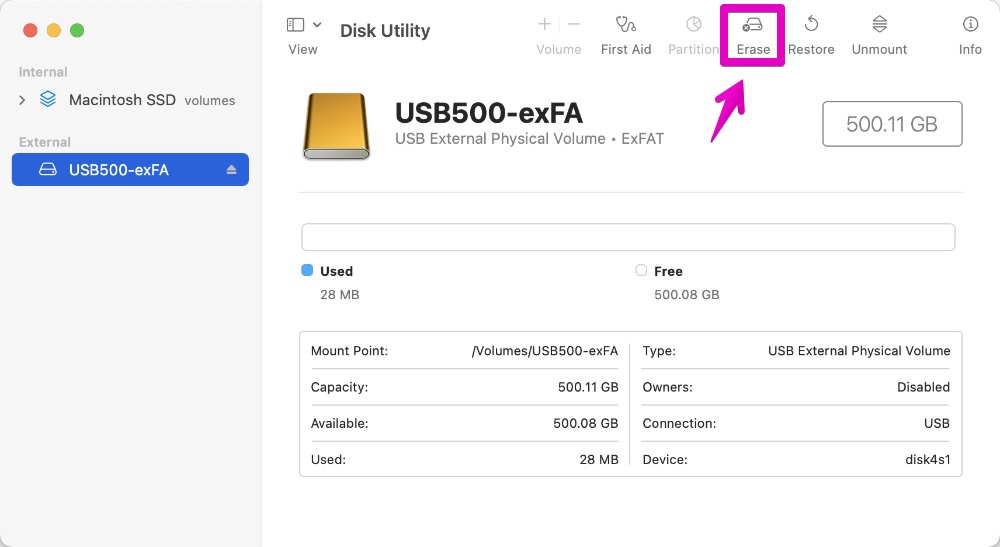
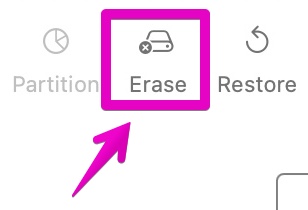
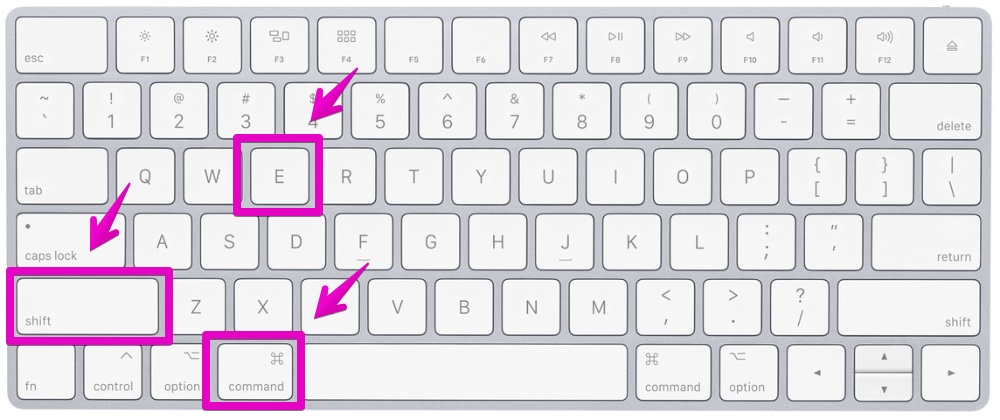
▶ Perform one of the following operations to format (erase) the external HDD / SSD.
- a) From the toolbar icon, click the “Erase” icon.
- b) From the menu bar, select “Edit” -> “Erase…”.
- c) On your keyboard, press shift + command ⌘ + E keys together.
【a) Toolbar】
The figure below is an enlarged view around the arrow
【b) Menu bar】

【c) Keyboard】
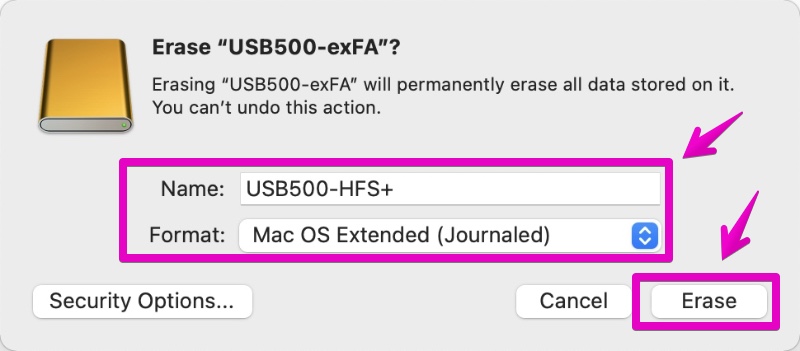
▶ When the erasure setting and execution screen is displayed, make the following settings.
- Name: To your liking
- Format: “Mac OS Extended (Journaled)”
“Mac OS Extended (Journaled)” is another name for “HFS +”, a format commonly used on Mac.
After setting the above items, click the “Erase” button at the bottom right of the screen to execute.
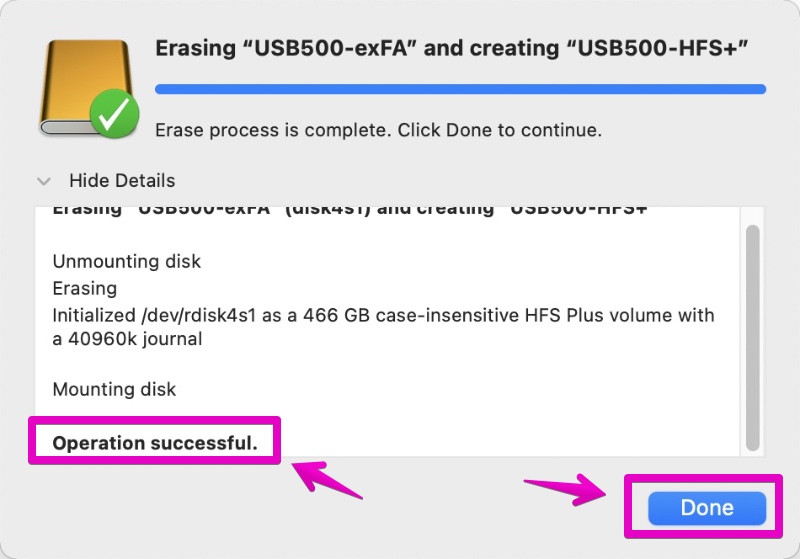
▶ The erasing process will run for a while, so wait until it completes.
When completed, the message “Operation successful.” will be displayed as shown in the figure.
Then, click the button “Done” at the bottom right of the screen.
▶ After formatting (erasing) the external HDD / SSD, proceed to the next item.
③ Copy the photos library to the external HDD / SSD
▶ Make sure that the external HDD / SSD is connected.
▶Bring the Finder to the front and display the files in the photos library on your Mac’s internal drive and the screen of the external HDD / SSD you’re moving to in two windows.
In the figure below, the left is the internal Mac drive and the right is the external HDD to move to.
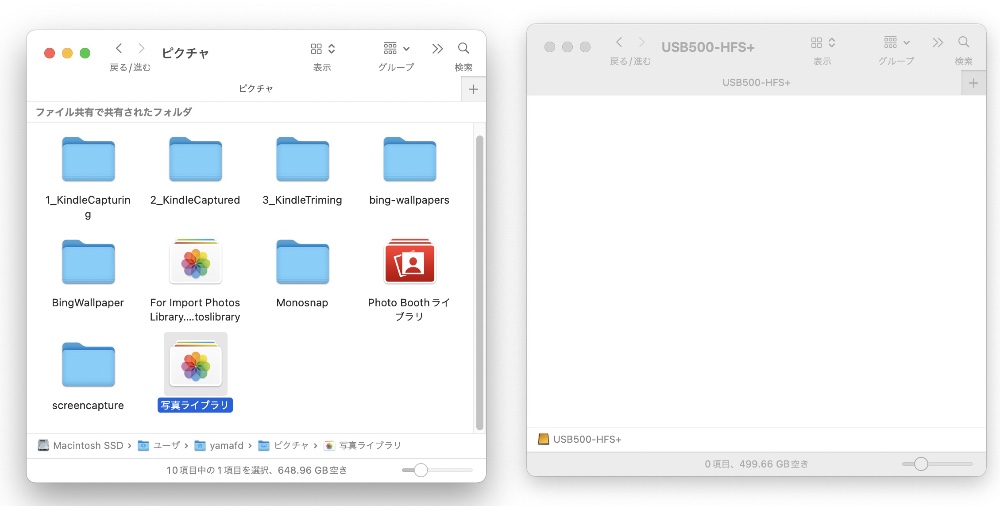
▶ Drag and drop the files from the photos library on your Mac’s internal drive to the destination drive to copy it.
Depending on the size of the file, copying may take minutes to tens of minutes, so wait for the copy to complete.
The following video is being copied.
▶ When the process is completed without any error, the copy is completed.
Next, start the “Photos” app and check the operation.
Keep both Finder windows open and proceed to the next step.
④ Launch the “Photos” app using the destination photo library
▶ In Finder, double-click the photos library you copied to your external HDD / SSD to launch the “Photos” app.
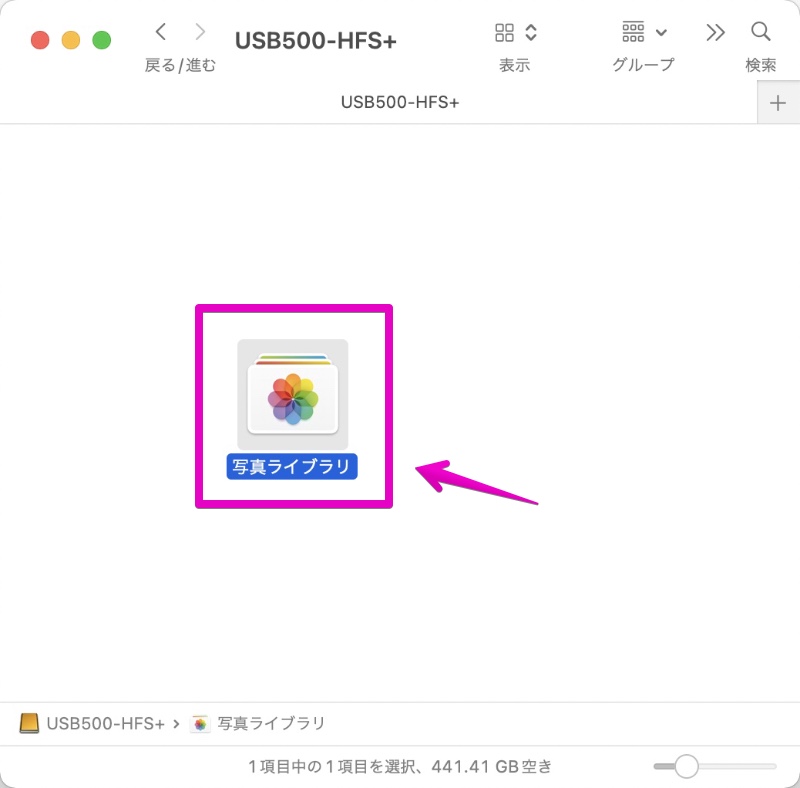
▶ As shown in the figure, when the “Photos” app can be started, you can see that the photos library was copied successfully.
This time, we double-clicked the photo library in the Finder to launch the “Photos” app, but from the second time onward, when we launch the “Photos” app, the photo library we used immediately before is automatically loaded.

▶ Next, check and change the photos library settings.
Keep the “Photos” app screen open and proceed to the next item.
⑤ Check and change the photos library settings
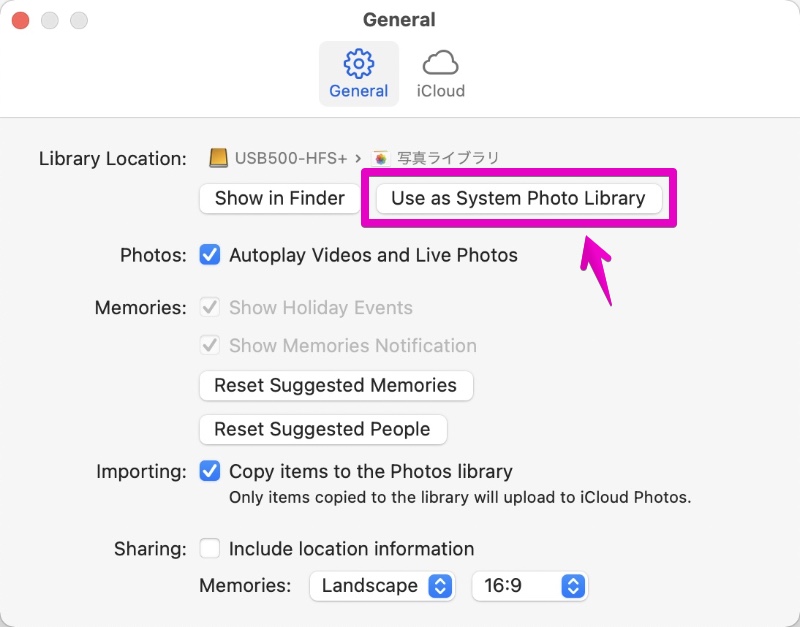
▶ From the meu bar, select “Photos” -> “Preferences…”.
▶ When the “Preferences – General” screen is displayed, check that the tab at the top of the screen is “General”.
Next, check the status of the “Use as System Photo Library” button under the item “Library Location”.
When the text on the button is grayed out, it is set to be used as the system photo library.
On the other hand, when the text on the button is black, it is not in the state of being used as a system photo library, but when you click it, it switches to the state of being used.
⑥ Delete the photos library on your Mac’s internal drive
If you can move the photos library with the settings so far, delete the photos library on the Mac internal drive if necessary.
To delete it, just like a normal file, delete the photos library file in Finder and empty the Trash.
Reference information

This is the end of this article.
コメント