
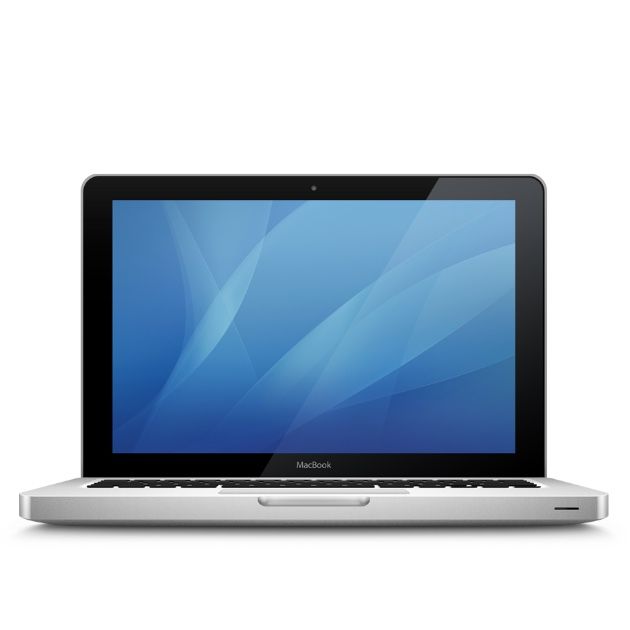
I replaced the HDD of the MacBook (13-inch, Late 2008) aluminum body, so I will explain the procedure at that time in detail with photos.
This model is the only aluminum unibody MacBook.
Also, since it is an old Mac, the performance is too low to use in the main, but it supports up to macOS 10.11 El Capitan, SSD can be easily replaced, and although it is unofficial, the memory can be expanded up to 8 GB, so you can browse the net and create documents etc. It is active enough for the purpose of.
Advantages and disadvantages (risks) of replacing the iMac internal HDD
Advantages
- Even if the HDD breaks down, you can repair it yourself at low cost.
- It can be replaced with a recent HDD that has a larger capacity, lower heat generation, and less noise than the originally built-in HDD.
- If you replace it with SSD, the operation speed will be faster and the number of failures will be less than HDD.
- Although not explained on this page, you can replace the CD / DVD drive with an HDD / SSD to create a 2-drive configuration.
Disadvantages(Risks)
- Since it was released in 2008 and is a Core 2 Duo generation Mac, performance can not be expected excessively
- It feels good to use the surplus SSD and memory instead of making an expensive investment.
Target MacBook model
This is a list of MacBook model that can replace HDD / SSD by the method explained on this page.
There is only one target model.
The exterior feature is the so-called “unibody” of silver aluminum, which looks exactly like the 13-inch MacBook Pro series, except for the logo under the display and bottom case.
| Introduced | Model | Min OS | Max OS |
| 2008 | MacBook (13-inch, Aluminum, Late 2008) | 10.5.5 | 10.11.6 |
| End of list |
Common name of supported OS
- 10.11:El Capitan
- 10.10:Yosemite
- 10.9:Mavericks
- 10.8:Mountain Lion
- 10.7:Lion
- 10.6:Snow Leopard
- 10.5:Leopard
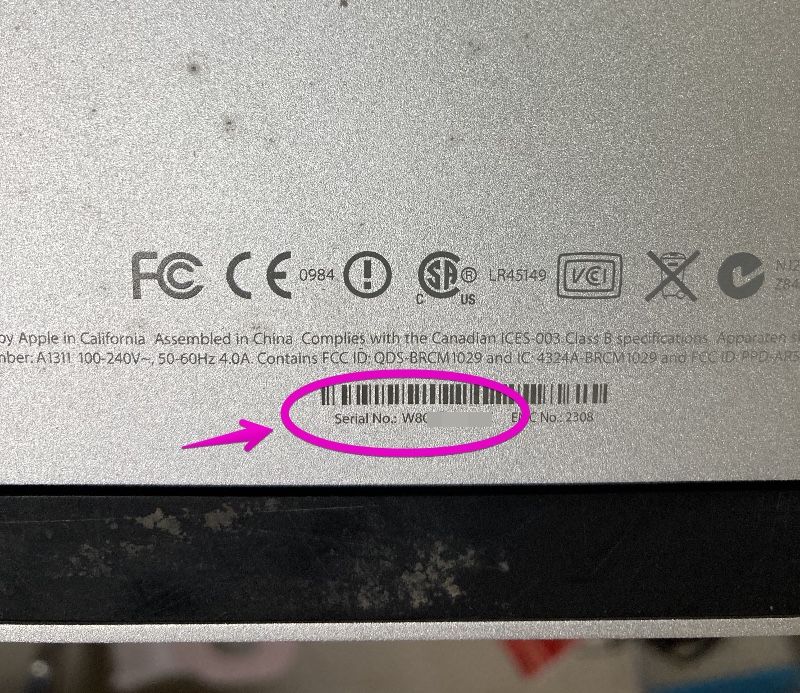
Regarding how to check the model, if you have OS X 10.7 Lion or later, you can display it from “About this Mac” in the Apple menu.
Or, since the serial number is written directly under the stand of the iMac main unit, you can search for the model at the following site based on it.

Predetermine how to restore the OS
The MacBook featured on this page comes with recovery discs.
After replacing the HDD, you need to use the recovery disc for a new installation, or prepare a separate installation disc or USB memory.
As a separate installation disc, you can purchase an OS X 10.6.3 disc from Amazon.com.
On the other hand, for OS X 10.7 Lion, you can either purchase a USB stick for installation from Apple.com or download the installation program yourself to create a USB stick.
USB memory can be purchased from the following Apple official website.

In addition, if you want to make your own USB memory, the following article will introduce the procedure.

About data backup
It is strongly recommended to back up your data in case the HDD replacement work fails.
As for the method, Time Machine, which is a standard Mac function, is easy and recommended.

In addition, you can see several other backup methods introduced from the following articles.

Required tools
Essential tools
The following 2 are essential because you can’t work without them.
- Phillips screwdriver (size is PH00?)
- T6 torx screwdriver
A Phillips screwdriver can be an ordinary screwdriver on hand.
Also, I think that the size of the screw is “PH00”, but the size may be different depending on the case, so if possible, prepare 2 or 3 different sizes.
The T6 Torx screwdriver, which probably few people have, is special screwdriver with a star-shaped tip.
The name “Torx” is a registered trademark and is sometimes referred to as the “hex lobe”, but it is actually the same.
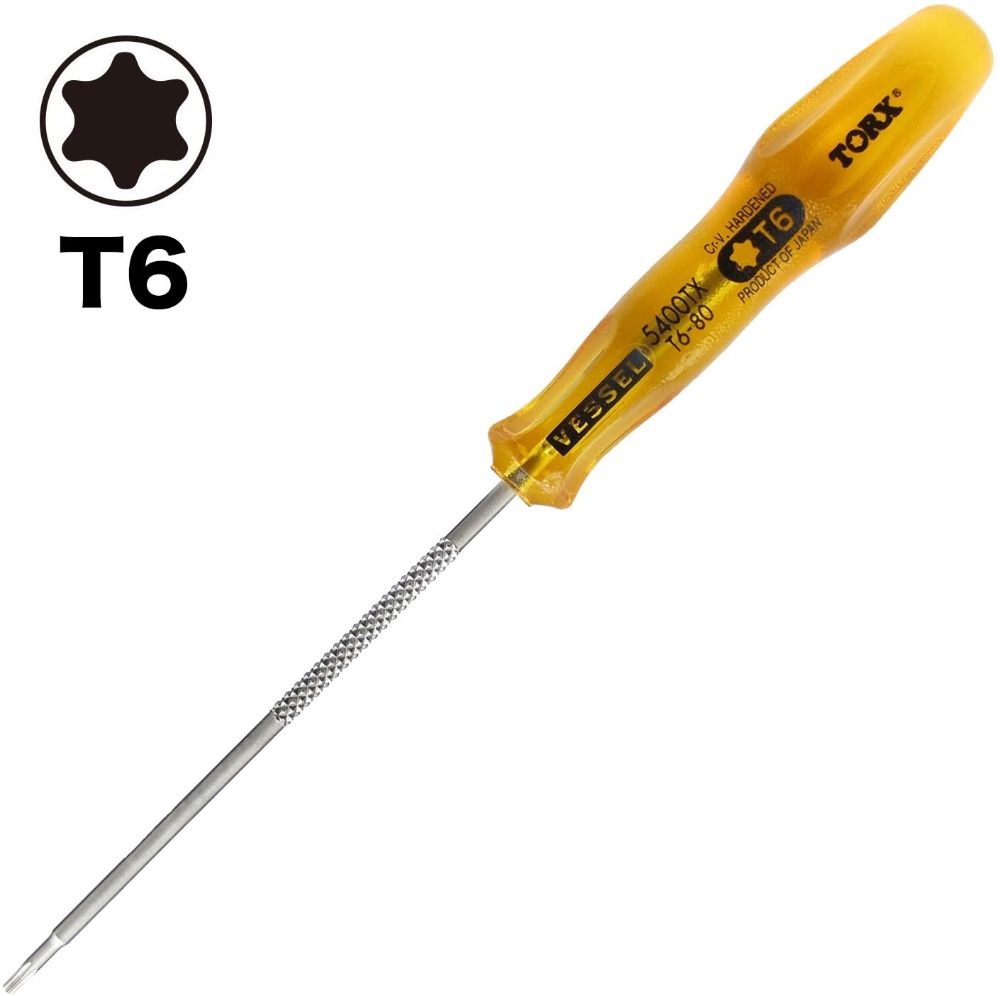
It is available at home improvement stores and Amazon.com.
T6 torx scrrewdriver
Tools that are not essential, but you want to have them if you have them
A piece of paper, writing utensils, cellophane tape
It’s not a tool, but I’ll remove a number of similar screws, so prepare a piece of paper such as letter size, writing utensils, and cellophane tape so that you can see the original location, and make illustrations and memos. It is recommended to tape it while drawing.
Usable HDD and SSD
As a replacement HDD or SSD, you can use a SATA format 2.5-inch drive.
Please note that 2.5 inch drives have multiple “thicknesses” and can be used with 7mm and 9.5mm.
On the other hand, if it is 12.5 mm or 15 mm, it cannot be stored in the MacBook, so it cannot be used.
The following are recommended products.
The maximum capacity is up to 1TB for SSD (some 2TB is very expensive), and up to 2TB for HDD, each of which can be selected from multiple options.
So, if speed is prioritized, select SSD, and if capacity is prioritized, select HDD.
If you’re wondering which one, SSD is recommended.
2.5 inch SSD
2.5 inch HDD
Procedure for disassembling MacBook and replacing HDD
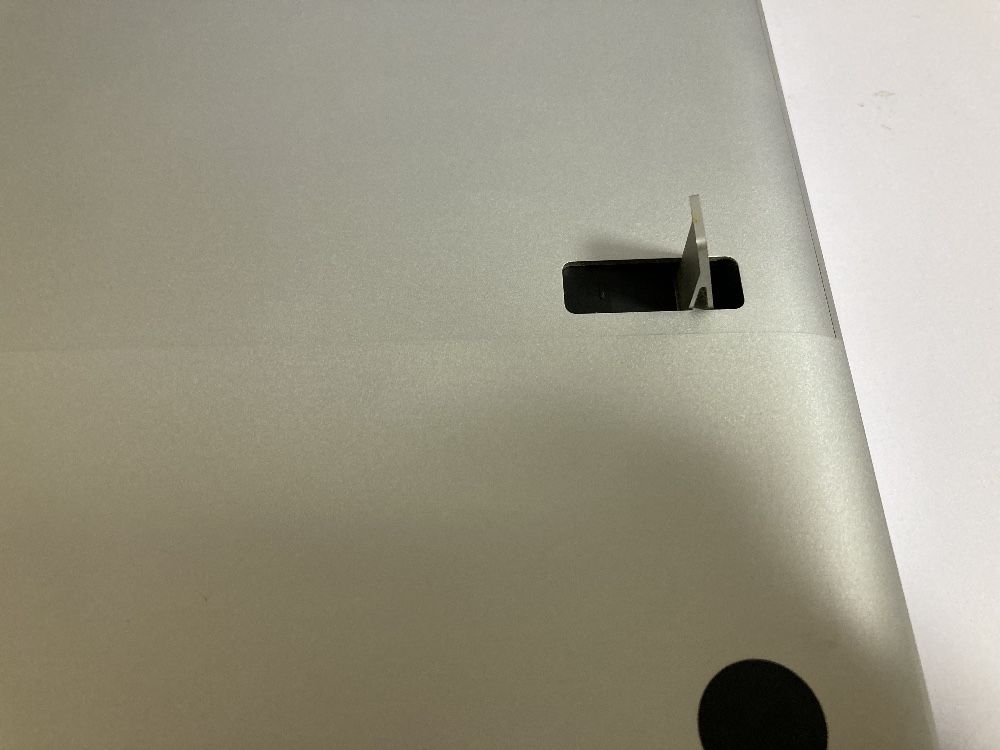
▶ Unplug the power cable from your MacBook and turn it over.

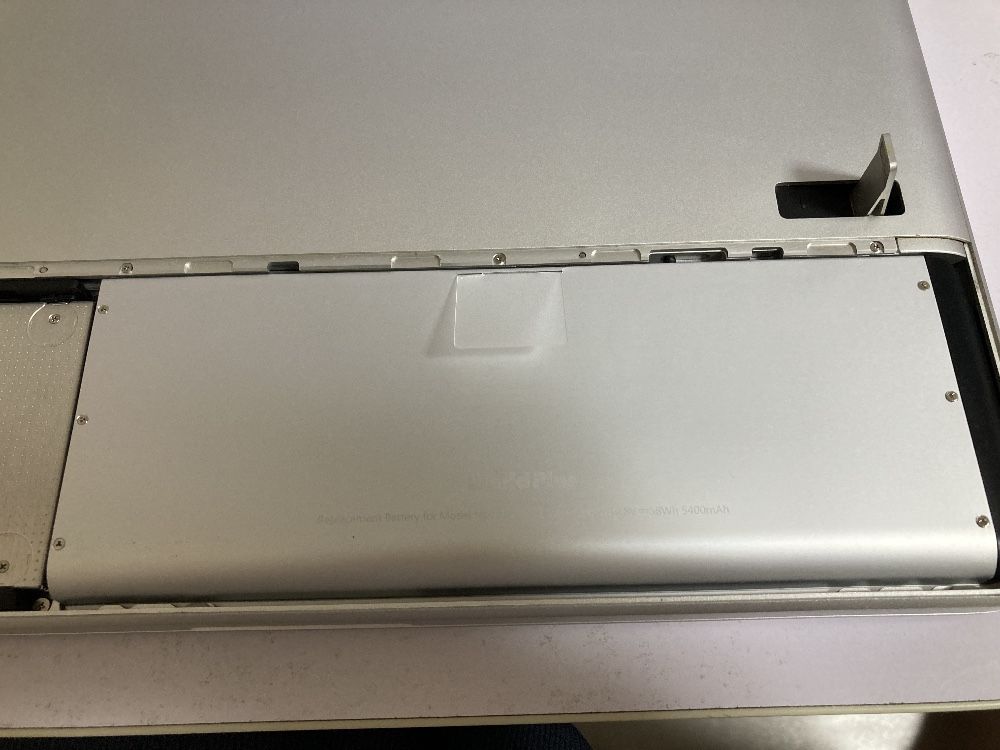
▶ Lift the handle to remove the cover and remove the battery inside.
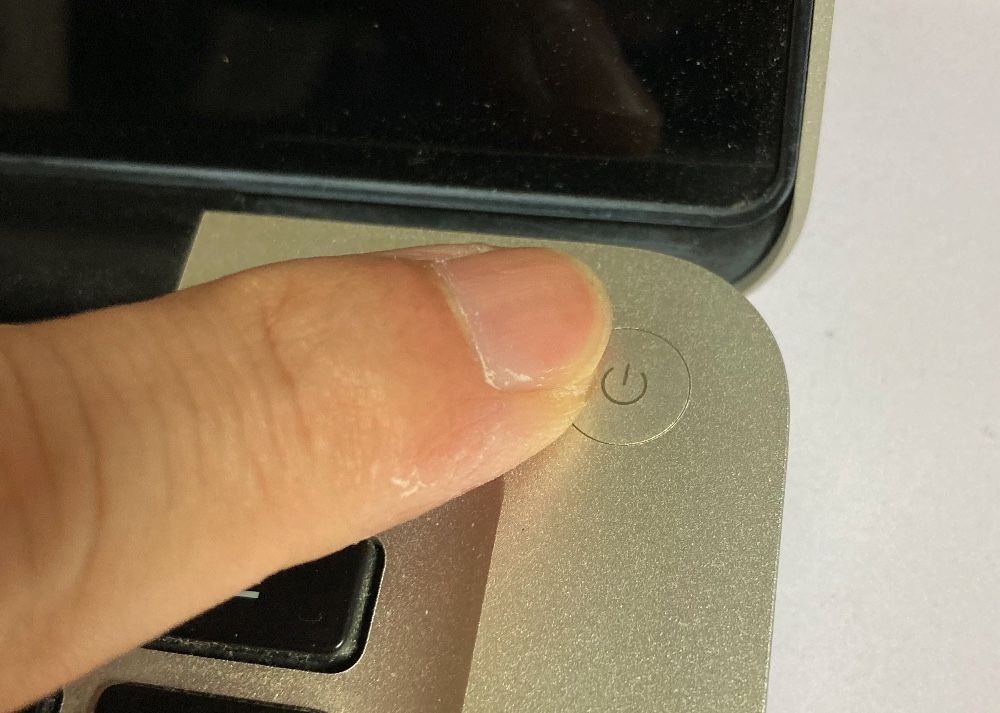
▶︎ Open your MacBook screen and press the power switch at the top right of your keyboard 5-6 times.
This is to prevent you from getting an electric shock from the current remaining inside the MacBook when you disassemble it, or shorting the board when you roll the screws.
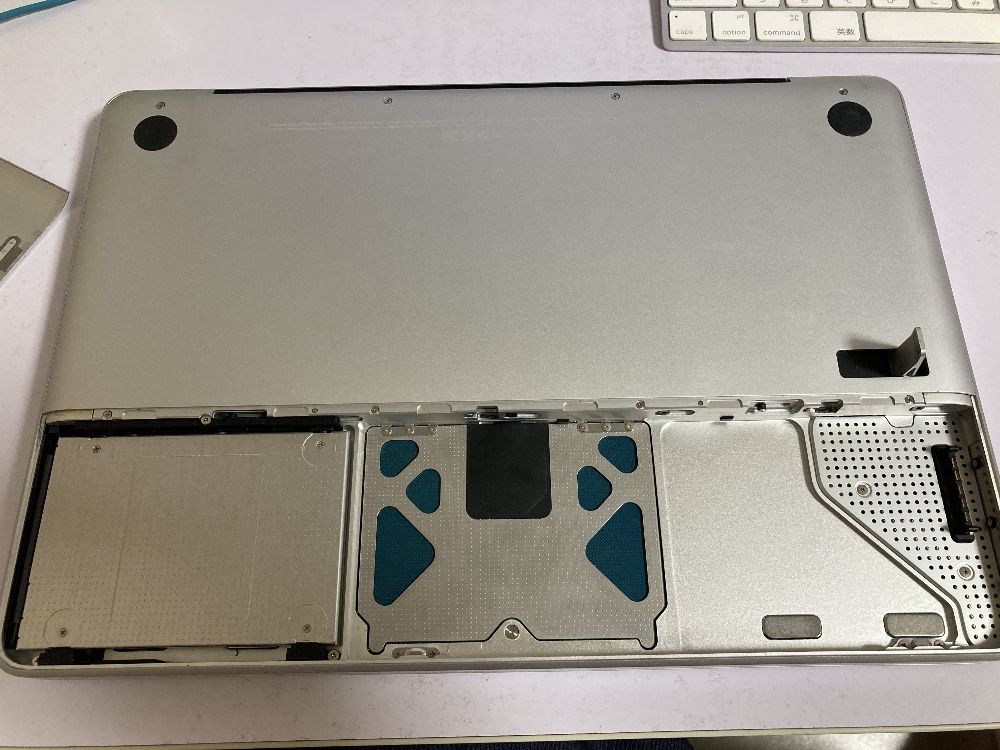
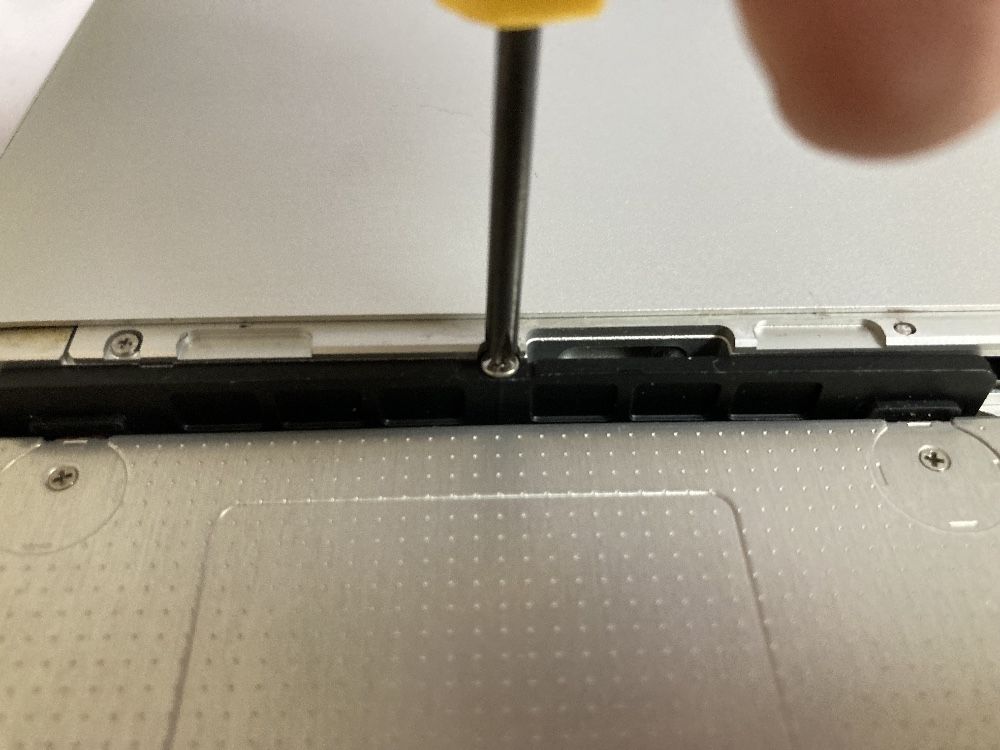
▶ Close the MacBook screen, turn it over again, and use a flat-blade screwdriver to remove the HDD visible in the lower left part where the cover has been removed.
This part of the screw tends to lick the screw thread, so if you think that the size of the screwdriver does not fit, do not turn the screw by force and try a screwdriver of a different size.
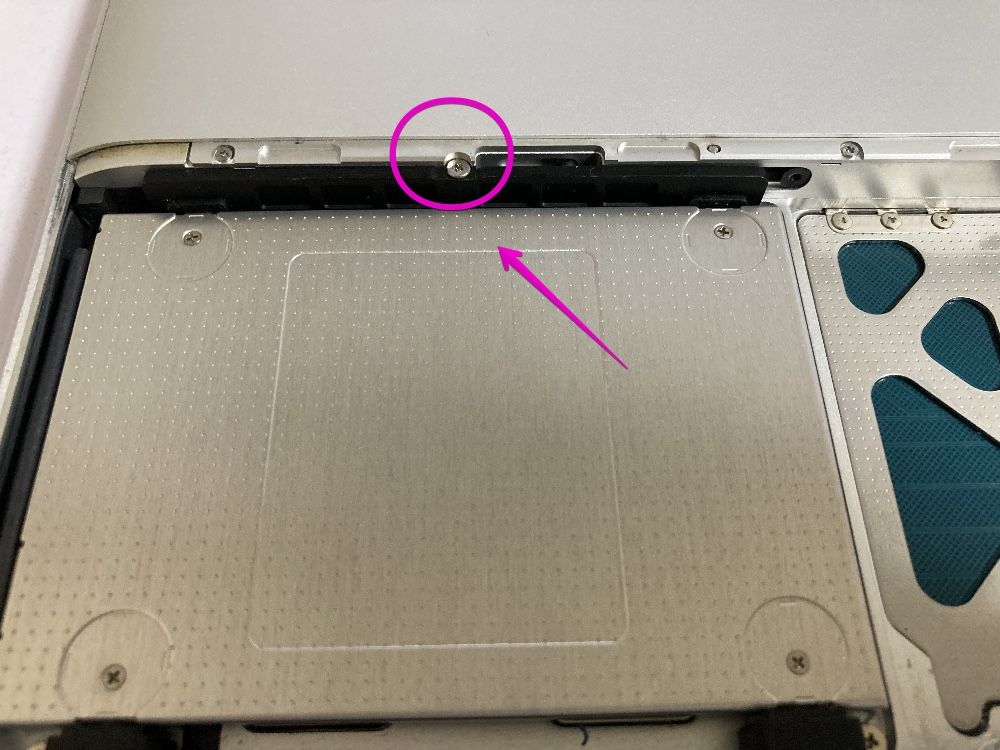
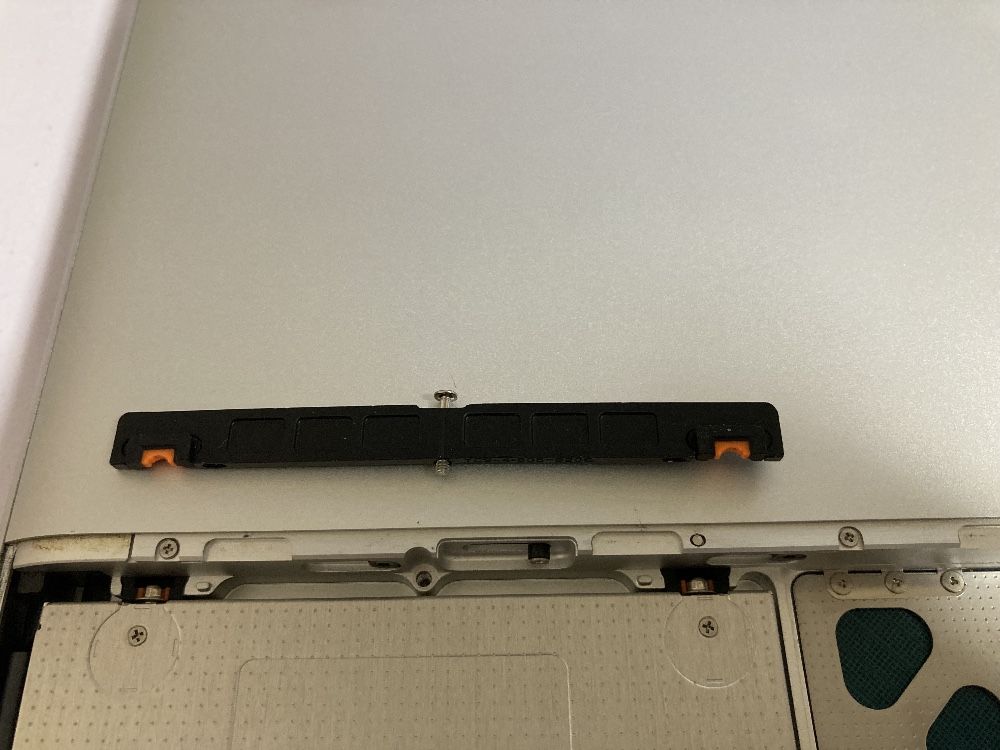
▶ When the screw loosens, the rubber part under the screw also loosens, so remove them together.
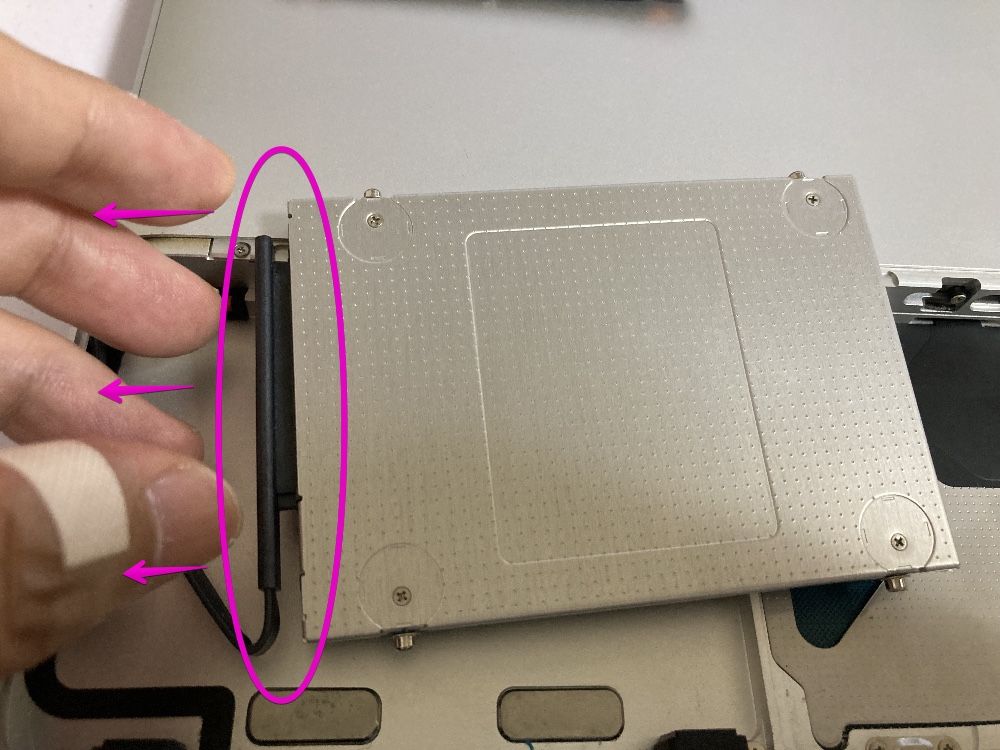
▶ Remove the HDD from your MacBook, carefully disconnecting the rubber cable that connects to the left side of the HDD.
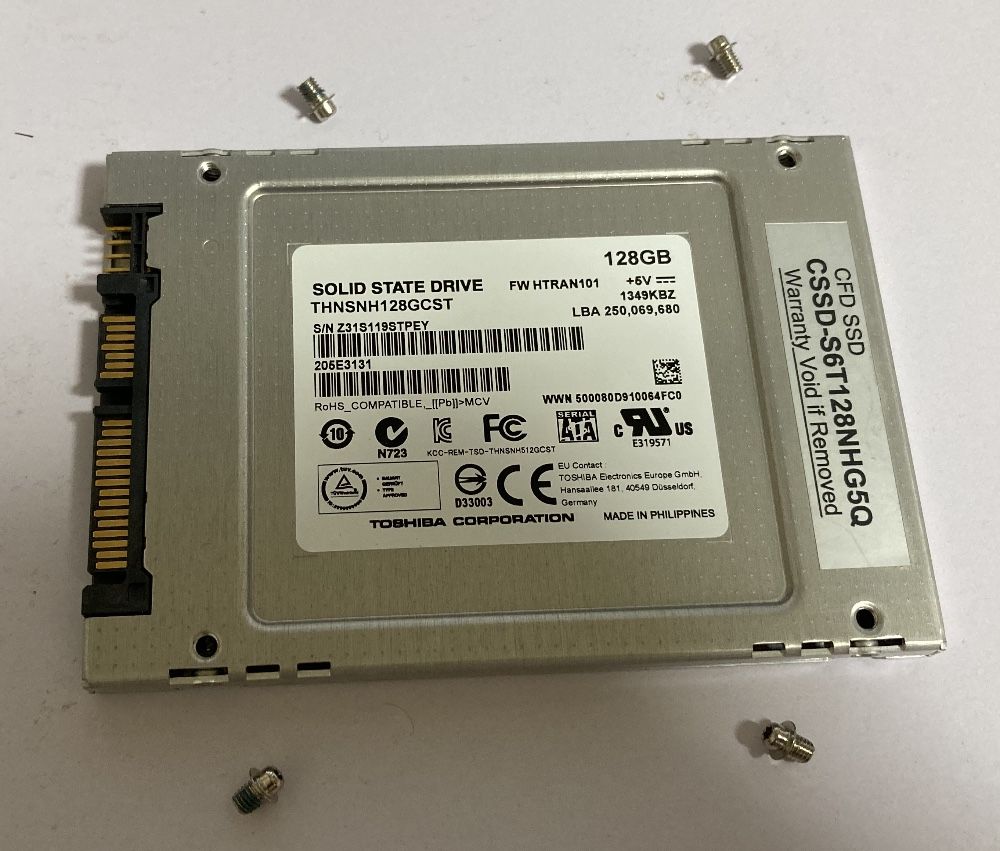
▶ Use a Torx screwdriver to remove the T6 Torx screws on both sides of the removed HDD (the SSD is shown in the photo).
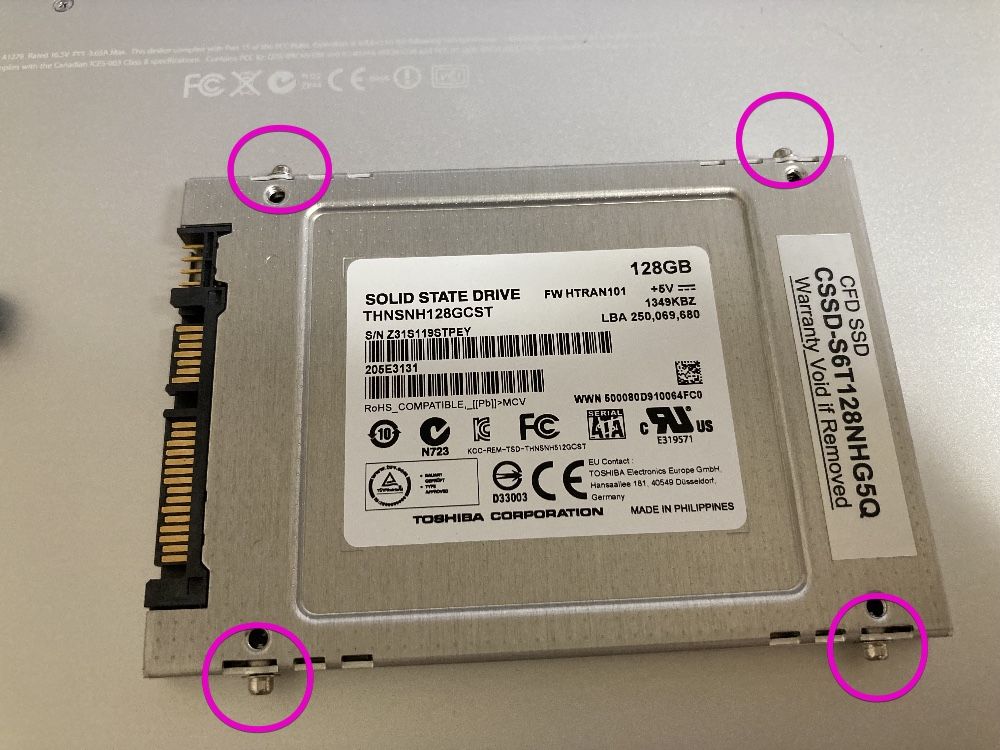
▶ After removing the screws, replace them with a replacement HDD / SSD and assemble in the reverse order up to this point.
Conclusion
With Apple Silicone Macs available as of 2021, I don’t know how much the 13-year-old MacBook is worth, but someone may want to spend the rest of their loved Macs.
Aluminum-designed unibody is the norm for both MacBook Air and Pro, but the first aluminum unibody is this MacBook Late 2008.
In that sense, it’s a monumental machine in the history of the Mac.
Reference Information
The article at the top below was the easiest to read and understand.
The procedure for the other two was also specific and helpful.
- MacBook Unibody Model A1278 Hard Drive Replacement
- MacBookのHDDをSSDに換えた!OS X Yosemiteもドンと来い!
- MacBook late 2008のSSD交換手順(前編)


コメント