
Use a simple program called “Automator” on your Mac without installing a new app.
Anyone can easily do it, so I will explain the procedure in detail with illustrations.
In the following explanations, the logo mark etc. put in the document is called “watermark”.
Overview and precautions
Overview
With “Automator” on Mac, you can add a watermark to PDF with a standard function, so you can use it to create a simple program.

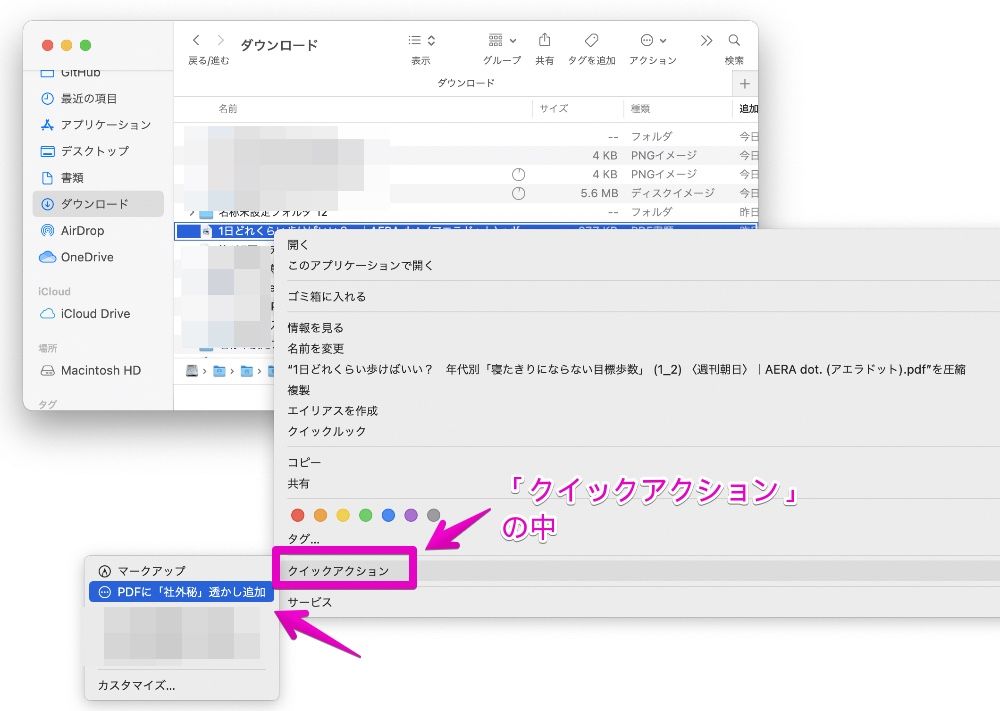
You can use the created program by calling it from “Quick Actions” in the right-click menu of Finder.
Precautions
The instructions on this page are taken in a macOS 12.0.1 Monterey environment.
Depending on the version of macOS, the screen design and characters may be slightly different.
Please note it.
Preparation
Please prepare the image file to be used for the watermark in advance.
If you use the company or school logo, that image, if you use “confidential”, that image.
As an example, you can download the “Confidential” stamp image at the link below.

In the instructions on this page below, I will use the following image downloaded from the above site.
The image is in PNG format with a transparent background.

Create a quick action to add a watermark
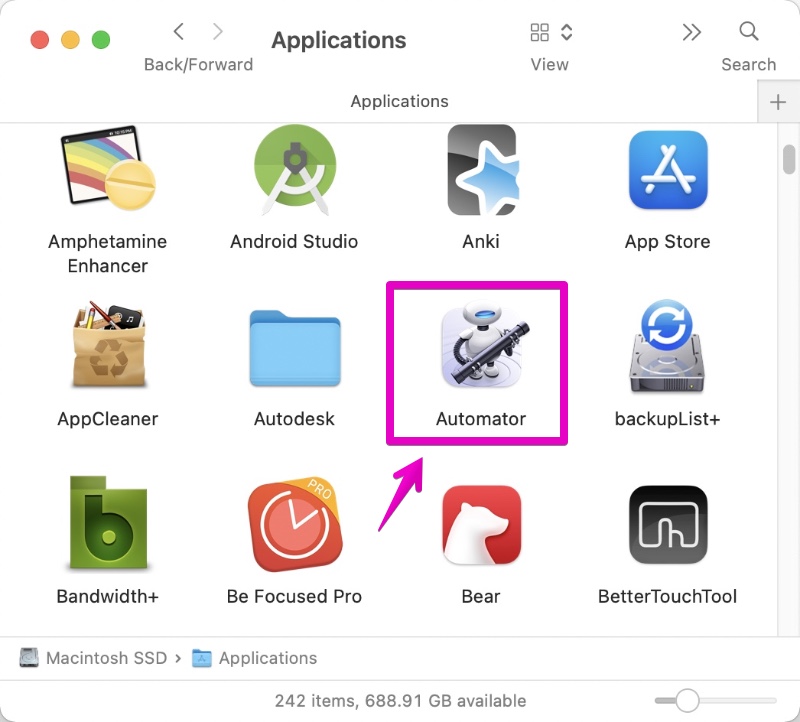
▶ Bring the Mac Finder to the front and launch “Automator.app” in the “Applications” folder.
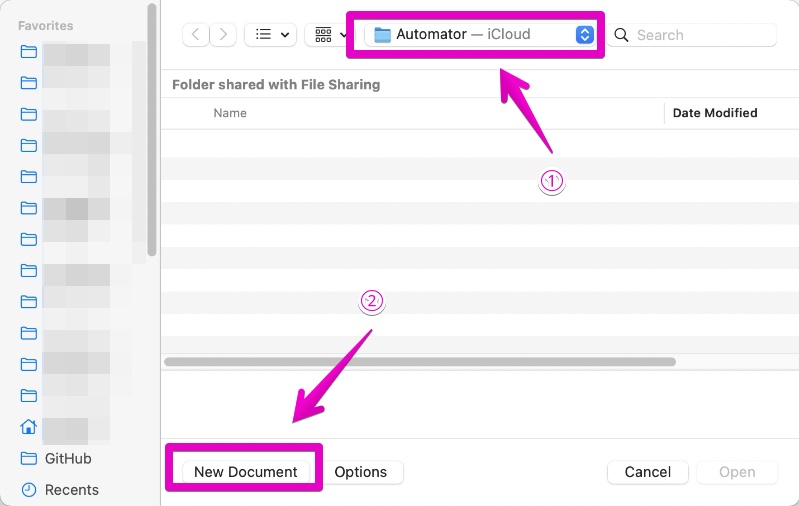
▶ When Automator starts, the screen for creating / opening a file will be displayed.
Specify an appropriate save location in ①, and then click “New Document” in ②.
By default, the save location is often the “Automator” folder in “iCloud”.
You can change it, but it’s not a very large file, so if you’re not sure, we recommend the default location.
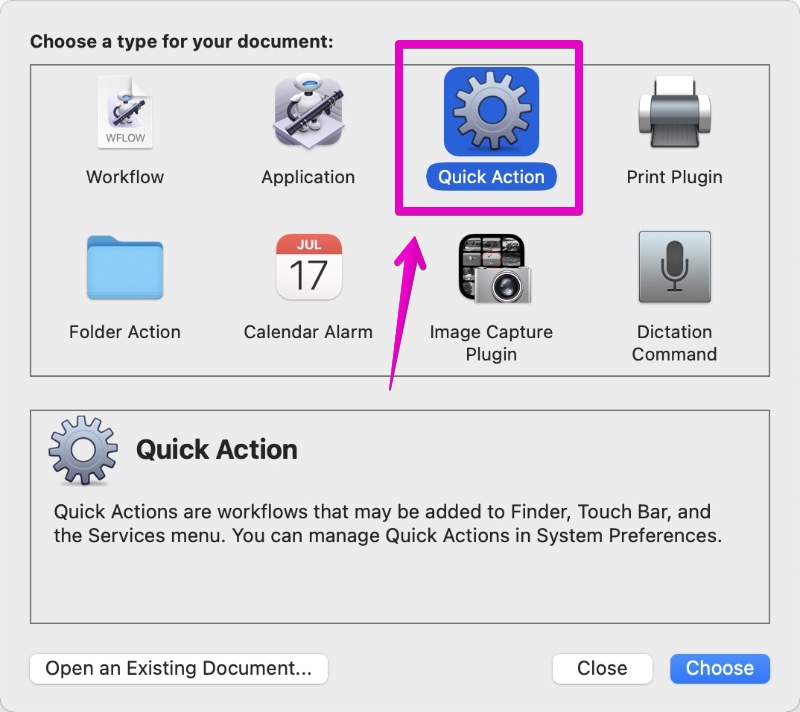
▶ When the message “Choose a type for your document” is displayed as shown below, double-click “Quick Action”.
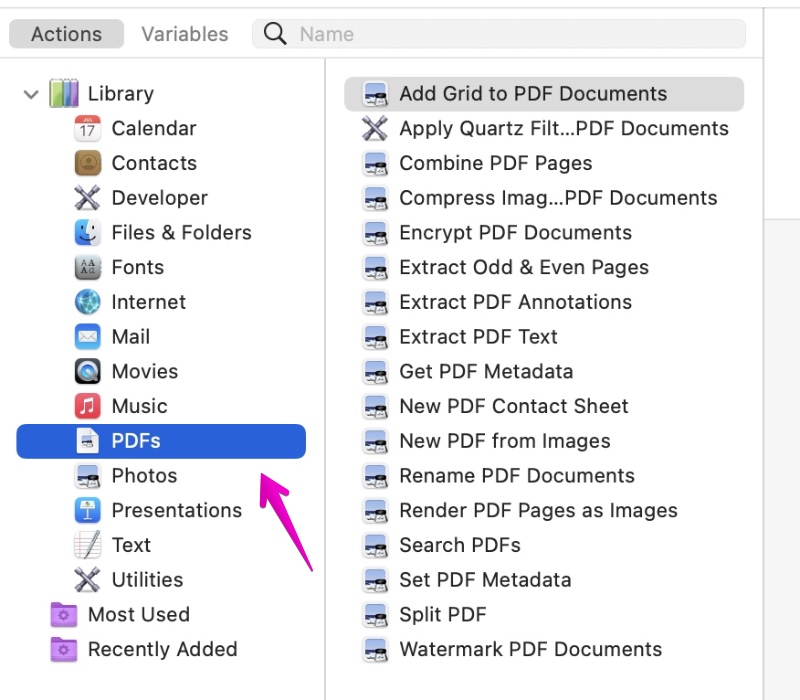
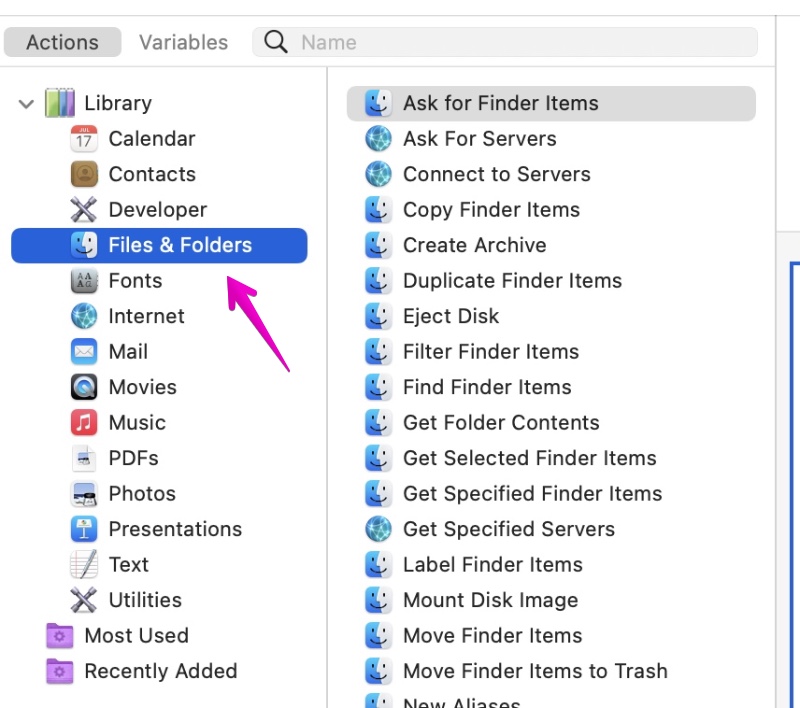
▶ When the Automator screen is displayed as shown below, click “PDF” directly under “Library” pointed by the arrow.
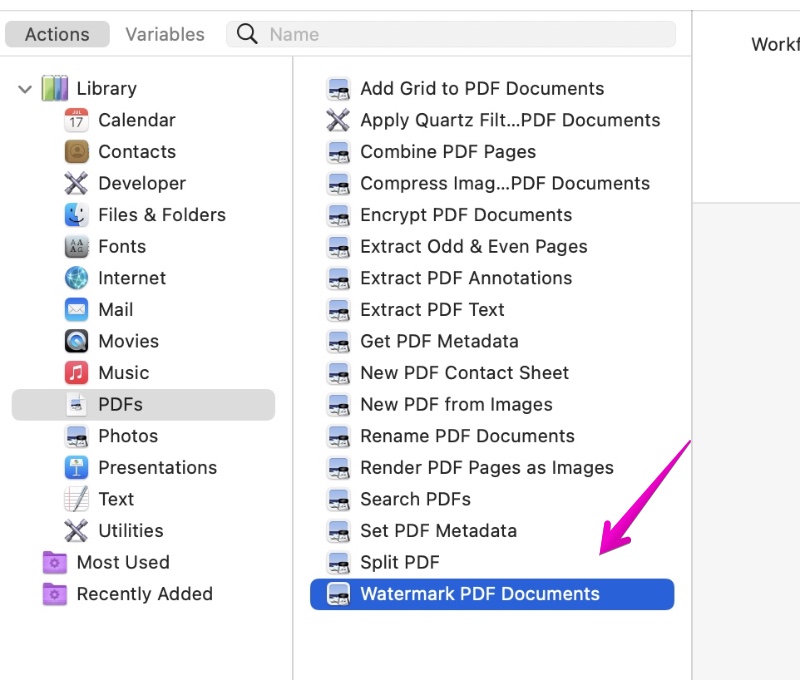
▶ After narrowing down the items related to “PDF” as shown below, double-click “Watermark PDF documents” pointed by the arrow.
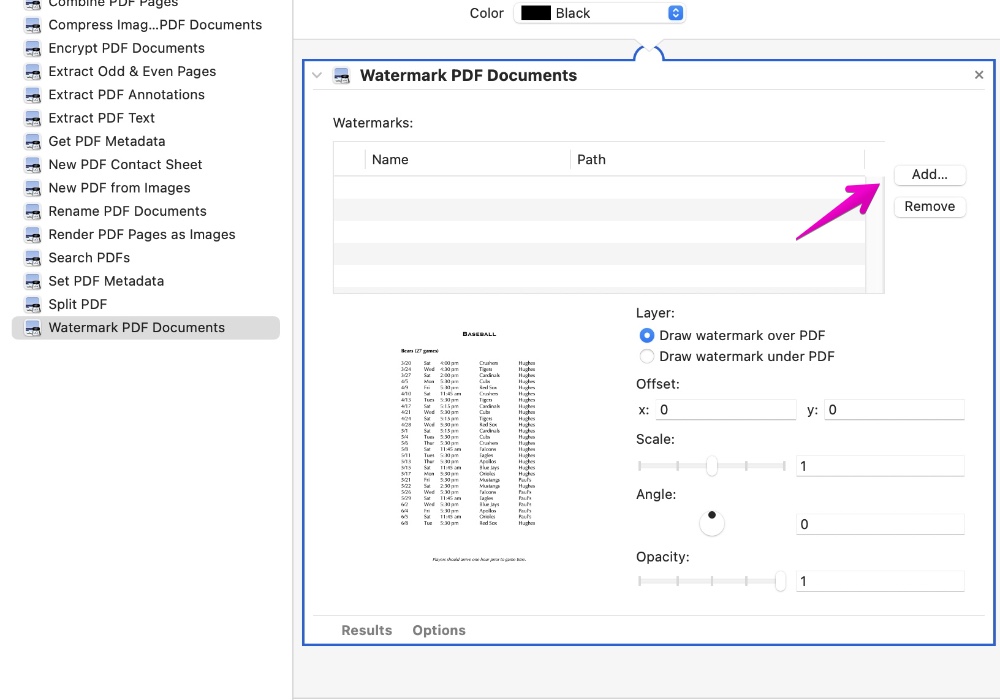
▶ When the items are added on the right side of the screen as shown below, click the “Add…” button on the right side of the “Watermark PDF Documents” item and specify the watermark image prepared in advance.
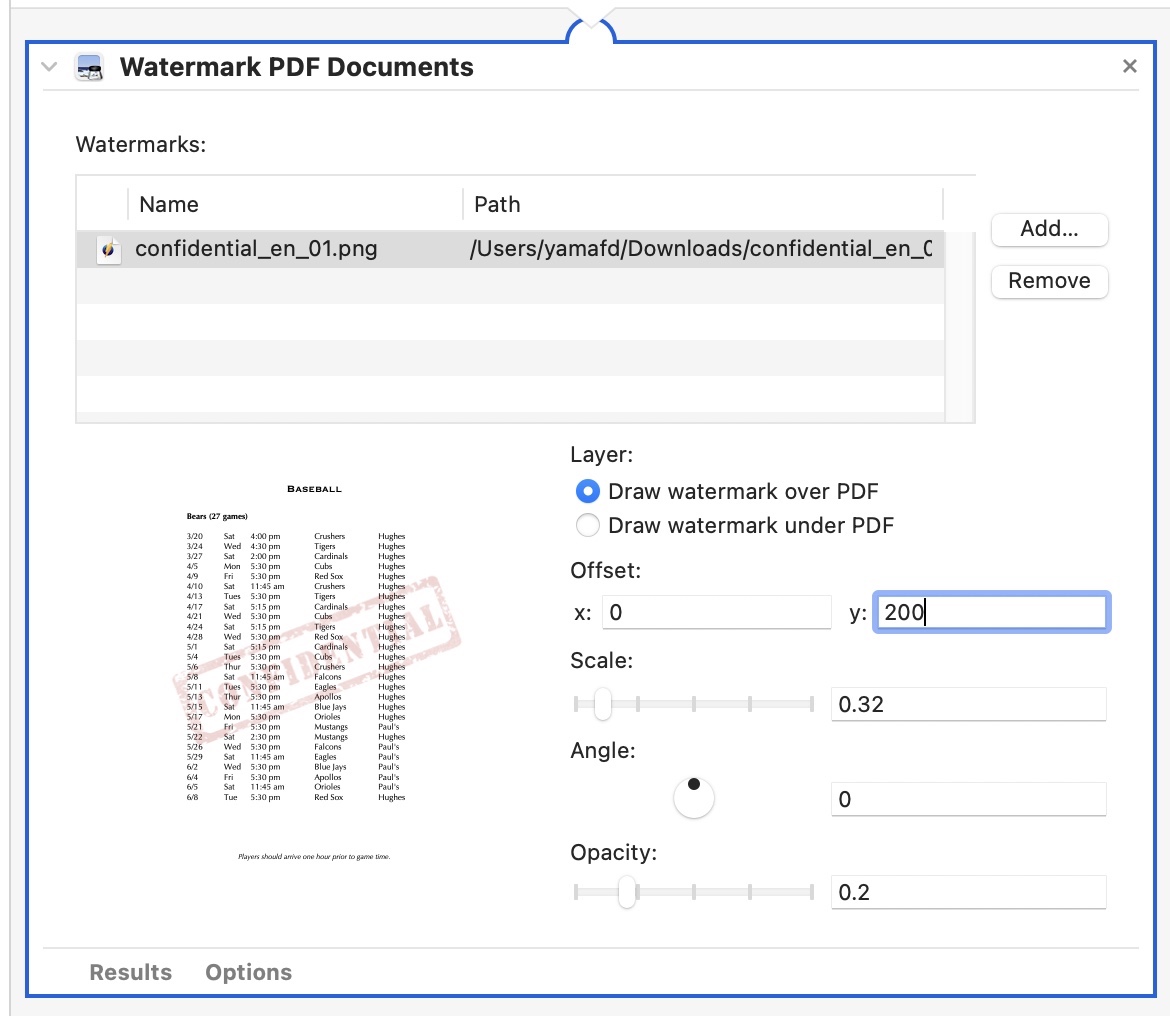
▶ In the figure below, adjust the settings on the right side while looking at the preview screen on the left side.
After this, I will explain the points when making adjustments.

The points when adjusting each item are as follows.
- Layer :
- Watermarks are often not displayed unless “Draw watermark over PDF”
- Because the background of the original PDF is often not transparent
- Offset :
- X is the position from the left
- Y is the position from the bottom
- Scale :
- Specify a size between 0 and 1
- Angle :
- If you want to make it diagonal, adjust here
- Opacity :
- The more you move to the left, the more transparent it becomes, but you can adjust it while watching the preview.
- If it is too transparent, the watermark will not be visible, and if it is too dark, the characters in the PDF will not be readable, so trial and error is required here.
By the way, the “Confidential” image used in this explanation has the following adjustment results.
Please refer it.
▶ Next, add another action.
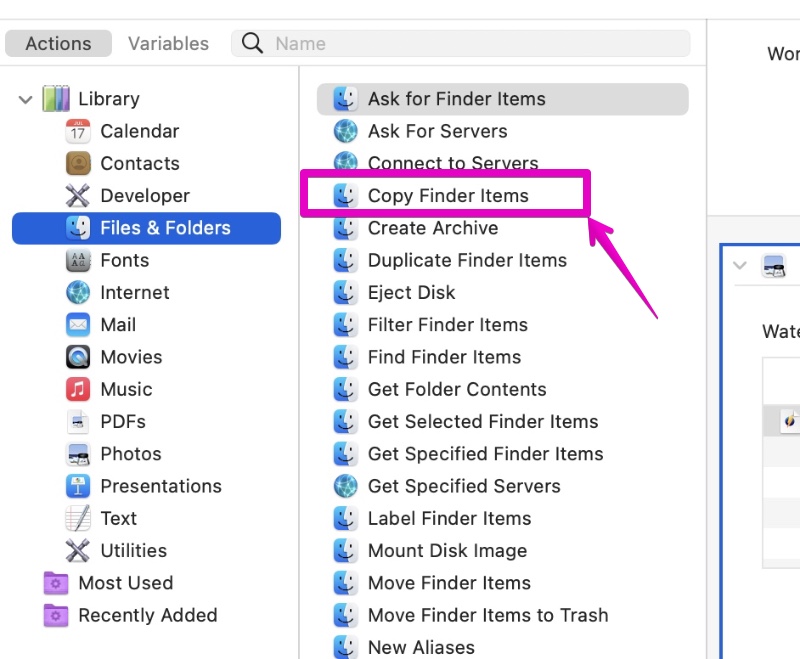
Click “Files & Folders” indicated by the arrow as shown below.
▶ From the multiple displayed items in “Files & Folders”, double-click “Copy Finder Items” pointed to by the arrow below.
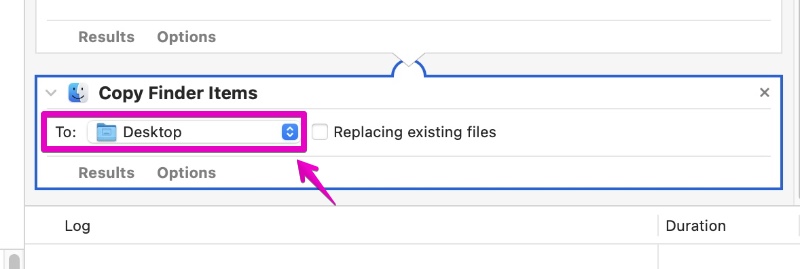
▶ When the item is added on the right side of the screen as shown below, change the save location set in “To : ” as necessary.
▶ This is the end of the settings.
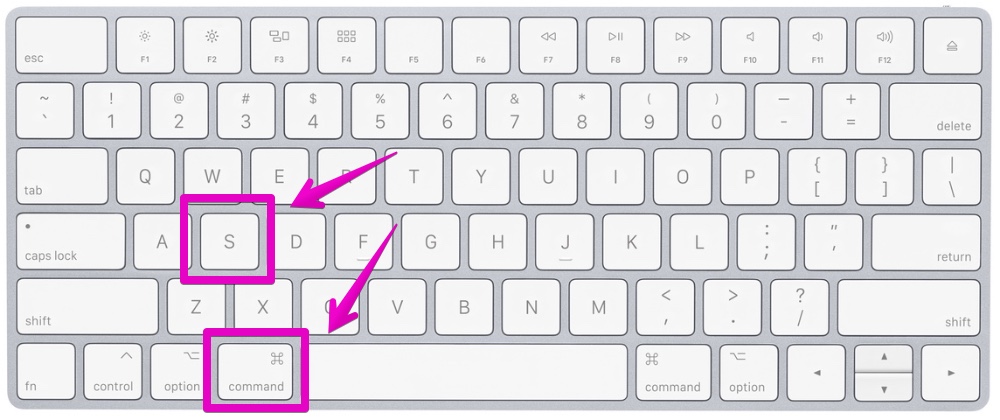
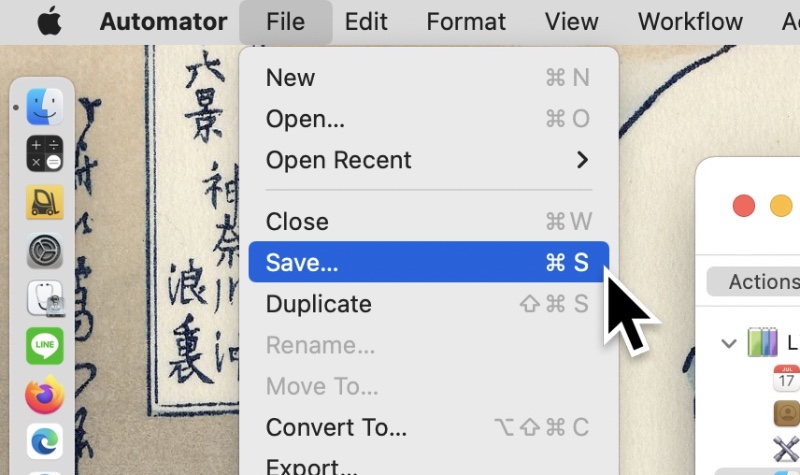
Now, save the created Automator file, so press ⌘ command + S on your keyboard.
Alternatively, you can select “File” -> “Save” from the menu bar.
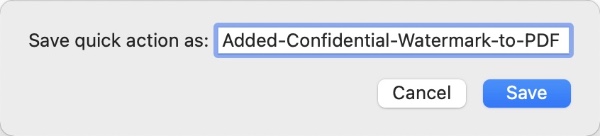
▶ When the screen for entering the file name to save is displayed, save it with a suitable name.
▶ The work of creating a quick action with Automator is up to here, but I think that you will adjust the settings while looking at the result of actually creating a PDF with a watermark, so it is better to keep Automator open as it is.
This is the end of the explanation, “Create a quick action to add a watermark”.
How to use the created quick action
Below are the steps.
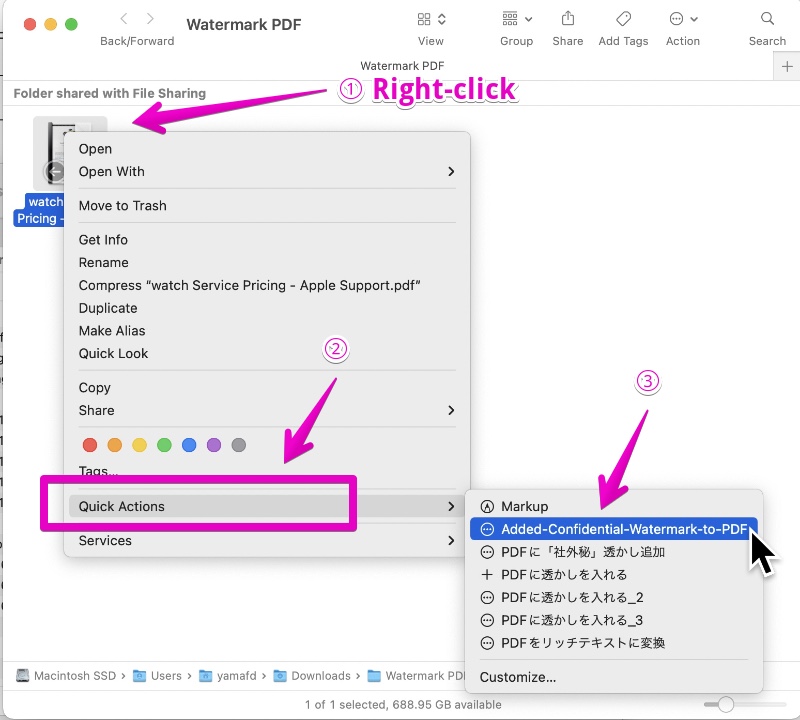
▶ With the Finder in the foreground, right-click the PDF file you want to add the watermark.
From the items displayed there, select the quick action you created earlier in “Quick Actions”.
In the figure below, we have selected the quick action [Add “Confidential” watermark to PDF].
▶ The figure below shows the created PDF in quick view.
I praise myself, but I think it looks good.
【Original PDF】

【Watermarked PDF】

This is the end of this article.


コメント