

I will introduce the items that can be set with the screenshot function of Mac.
There are two methods, one is to set from the screen and the other is to enter commands in “Terminal.app”.
I will explain the advantages and disadvantages of each and the specific procedure.
What items can be set with the screenshot function of Mac?
Before explaining the screenshot settings, let’s review a little.
Let’s check the basic operation of the screenshot.
On Mac, you can easily take screenshots with the following keyboard shortcuts.
| Item | Keyboard shortcut |
|---|---|
| ① Capture full screen | shift + command ⌘ + 3 |
| ② Capture in any area | shift + command ⌘ + 4 |
| ③ Capture a window or menu | shift + command ⌘ + 4 and space |
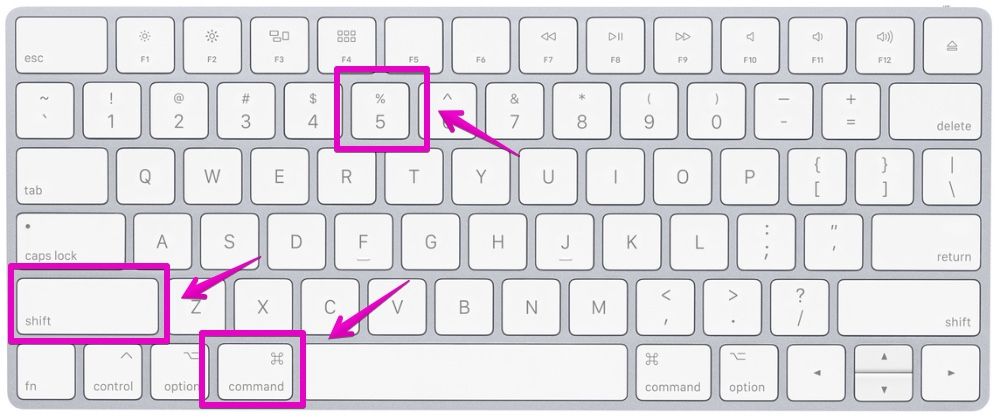
| ④ Launch “Screenshot.app” (macOS 10.14 Mojave or later) | shift + command ⌘ + 5 |
| ⑤ Capture touch bar (Only touch bar models) | shift + command ⌘ + 6 |
Was that OK about the basic operation of the screenshot?
Now, let’s talk about the screenshot settings.
It has always been possible to change the file format, save location, and file name when taking screenshots using the genuine Mac app “Terminal.app”.
Previously, it was possible to change the file format, save location, and file name when taking screenshots using the genuine Mac app “Terminal.app”.
However, it has been a tricky technique rather than for general users.
However, in macOS 10.14 Mojave or later, when you launch “Screenshot.app” app in ④, you can change settings such as the save location and the display of the mouse pointer, although it is a part.
The method using “Terminal.app” can still be used on macOS 10.14 Mojave or later.
Does that mean that since macOS 10.14 Mojave or later, we can set screenshots in both “Terminal.app” and “Screenshots.app”?
Yeah, we can use both 10.14 Mojave or later.
However, depending on the content, it may be possible to set only in “Terminal.app”.
So, I’ve summarized the advantages and disadvantages of “Terminal.app” and “Screenshot.app”.
| Item | Terminal.app | Screenshot.app |
|---|---|---|
| macOS versions | ・All versions | ・10.14 Mojave or later |
| Advantages | ・Fine-tuned settings are possible | ・Easy to set by screen operation |
| Disadvantages | ・Command input required | ・Some items cannot be set |
Almost understood!
Then, after this, the specific operation method will be introduced!
Yeah, there are many things that can be set, and the explanation may be confusing.
You don’t have to think about remembering everything, so it’s a good idea to bookmark this page in case you have a problem.
It’s a simple question, but what happens when both are set?
The last setting is more effective.
The reason is that the setting information set in “Screenshot.app” and “Terminal.app” is shared, and the operation method looks different.
I see!
Does that mean that “Screenshot.app” is overlaid on the old “Terminal.app” setting method?
That understanding is right.
Like this time, the original app is overlaid with another easy-to-operate app, which is called a “wrapper”.
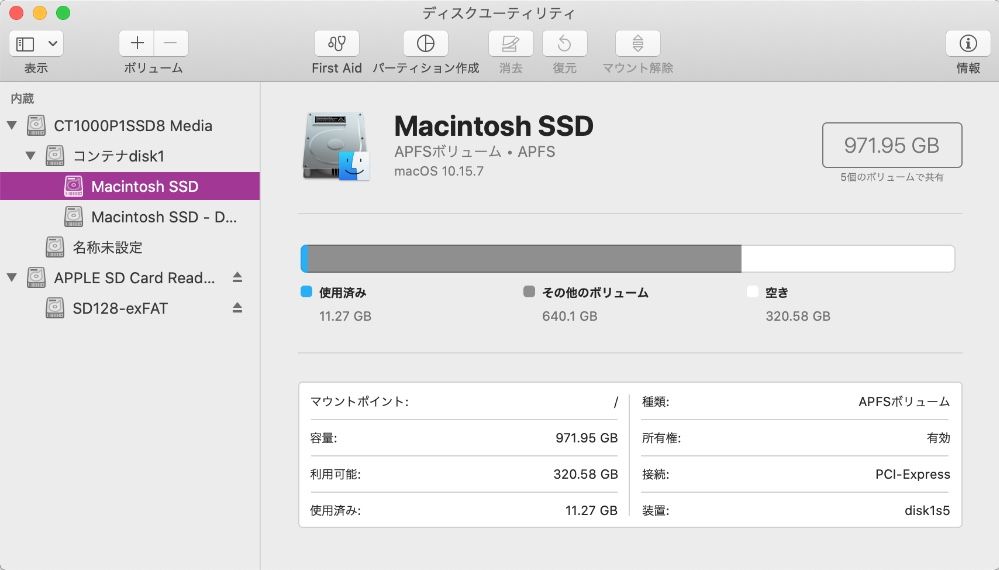
There are several other wrappers on Mac, for example “Disk Utility” was originally a “Terminal.app” command.
This is the end of the explanation, “What items can be set with the screenshot function of Mac?”.
Compare with the list of configurable items in the screenshot
The items that can be set in the genuine Mac application “Terminal.app” and “Screenshot.app” are compared.
They’re almost same, but different here and there.
You can jump to the respective operation instructions by clicking the titles and icons of “i) Terminal.app” and “ii) Screenshot.app” at the top.
| Item | Terminal.app | Screenshot.app |
|---|---|---|
| ① File format | ・PNG ・JPEG ・GIF ・TIFF ・BMP ・PSD ・JPEG 2000 ・TGA ・PICT ・SGI | ・Cannot be set (PNG only) |
| ② Save location | ・Can be set anywhere you can open it in the Finder | ・Can be set anywhere you can open it in the Finder |
| ③ Copy to clipboard | ・Can be set | ・Can be set |
| ④ Attach to “Mail.app” | ・Can be set | ・Can be set |
| ⑤ Attach to “Messages.app” | ・Can be set | ・Can be set |
| ⑥ Open in “Preview.app” | ・Can be set | ・Can be set |
| ⑦ File name | ・Can be set | ・Cannot be set |
| ⑧ No shadow | ・Can be set | ・Cannot be set |
| ⑨ Floating thumbnail | ・Can be set | ・Can be set |
| ⑩ Remember the last selection | ・Can be set | ・Can be set |
| ⑪ Show mouse pointer | ・Can be set | ・Can be set |
| ⑫ Timer | ・Can be set to any second | ・None ・5 seconds ・10 seconds |
ⅰ) Change settings in “Terminal.app”
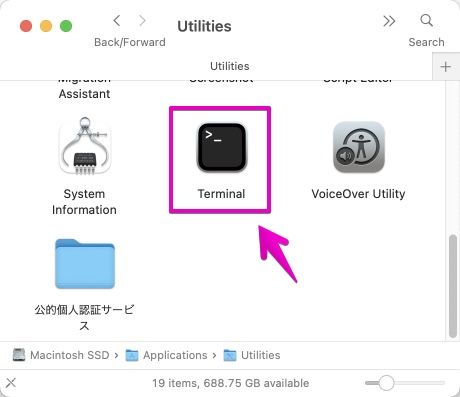
▶ In Mac Finder, double-click the application “Terminal.app” in the folder “Applications” -> “Utilities” to start it.
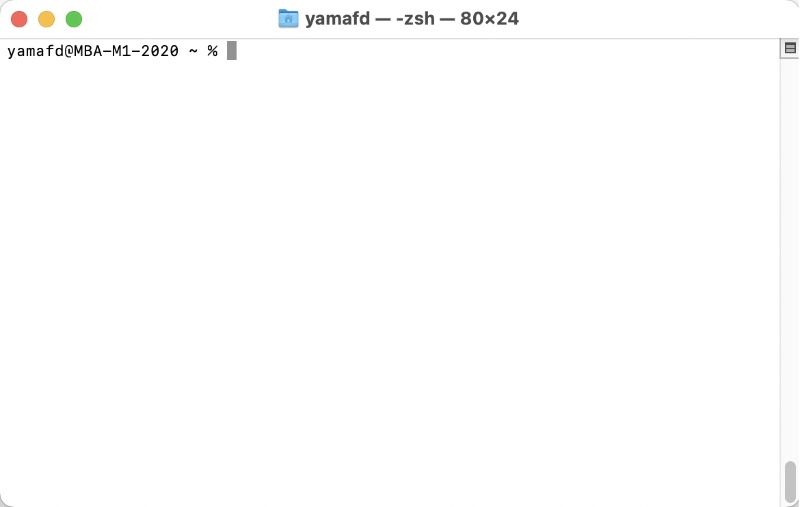
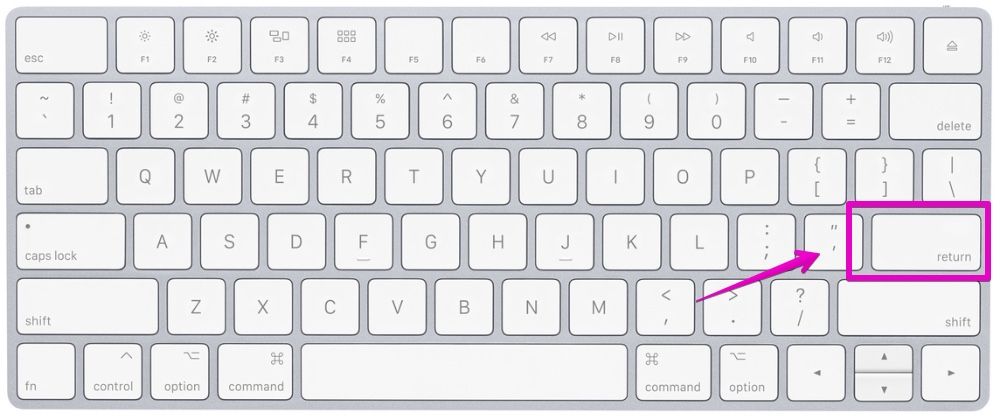
▶ When the terminal starts, copy and paste the required command from the command list linked below, and finally press return on the keyboard to execute it.
- ① File format
- ② Save location
- ③ Copy to clipboard
- ④ Attach to “Mail.app”
- ⑤ Attach to “Messages.app”
- ⑥ Open in “Preview.app”
- ⑦ File name
- ⑧ No shadow
- ⑨ Floating thumbnail
- ⑩ Remember the last selection
- ⑪ Show mouse pointer
- ⑫ Timer
By default, the file format is:
- PNG
①-a) Change
defaults write com.apple.screencapture type "file format"
The “file format”, change it to the format you want to change!
Specifically, look for the file format in the list below and copy and paste the command.
| File format | Command |
|---|---|
| PNG |
defaults write com.apple.screencapture type png |
| JPEG | defaults write com.apple.screencapture type jpgor defaults write com.apple.screencapture type jpeg |
defaults write com.apple.screencapture type pdf | |
| GIF |
defaults write com.apple.screencapture type gif |
| TIFF |
defaults write com.apple.screencapture type tif |
| BMP |
defaults write com.apple.screencapture type bmp |
| PSD |
defaults write com.apple.screencapture type psd |
| JPEG 2000 |
defaults write com.apple.screencapture type jp2 |
| TGA |
defaults write com.apple.screencapture type tga |
| PICT |
defaults write com.apple.screencapture type pict |
| SGI |
defaults write com.apple.screencapture type sgi |
①-b) Restore
defaults delete com.apple.screencapture type
①-c) Check
defaults read com.apple.screencapture type
By default, the save location is:
- ~/Desktop
②-1) Change
defaults write com.apple.screencapture location "save location"
The “save location”, change it to the location you want to change!
For example, when changing “Pictures”, you need to write this:
The “~” at the beginning represents the home folder (home of the user folder).
defaults write com.apple.screencapture location ~/Pictures②-2) Restore
defaults delete com.apple.screencapture location
②-3) Check
defaults read com.apple.screencapture location
By default, “Copy to clipboard” is disabled.
③-1) Change
defaults write com.apple.screencapture target clipboard
③-2) Restore
defaults delete com.apple.screencapture target
③-3) Check
defaults read com.apple.screencapture target
By default, “Attach to Mail.app” is disabled.
④-1) Change
defaults write com.apple.screencapture target mail
④-2) Restore
defaults delete com.apple.screencapture target
④-3) Check
defaults read com.apple.screencapture target
By default, “Attach to Messages.app” is disabled.
⑤-1) Change
defaults write com.apple.screencapture target messages
⑤-2) Restore
defaults delete com.apple.screencapture target
⑤-3) Check
defaults read com.apple.screencapture target
By default, “Open in Preview.app” is disabled.
⑥-1) Change
defaults write com.apple.screencapture target preview
⑥-2) Restore
defaults delete com.apple.screencapture target
⑥-3) Check
defaults read com.apple.screencapture target
By default, the screenshots are named as follows:
- Screen Shot Date Time
The following is a sample of the actual file name:
- Screen Shot 10-08-2021 10.12.35
⑦-1) Change
defaults write com.apple.screencapture name "file name"
Change the file name to the name you want to change!
You can change the default “Screen Shot” part.
⑦-2) Restore
defaults delete com.apple.screencapture name
⑦-3) Check
defaults delete com.apple.screencapture name
By default, “With shadow” is enabled.
(= No shadow is disabled.)
⑧-1) Change
defaults write com.apple.screencapture disable-shadow -bool true
⑥-2) Restore
defaults delete com.apple.screencapture disable-shadow
⑥-3) Check
defaults read com.apple.screencapture disable-shadow
By default, “Floating thumbnail” is enabled.
⑨-1) Change
defaults write com.apple.screencapture show-thumbnail -bool false
⑨-2) Restore
defaults delete com.apple.screencapture show-thumbnail
⑨-3) Check
defaults read com.apple.screencapture show-thumbnail
By default, “Remember the last selection” is enabled.
⑩-1) Change
defaults write com.apple.screencapture save-selections -bool false
⑩-2) Restore
defaults delete com.apple.screencapture save-selections
⑩-3) Check
defaults read com.apple.screencapture save-selections
By default, “Show mouse pointer” is disabled.
⑪-1) Change
defaults write com.apple.screencapture showsCursor -bool true
⑪-2) Restore
defaults delete com.apple.screencapture showsCursor
⑪-3) Check
defaults read com.apple.screencapture showsCursor
By default, “Timer” is disabled.
⑫-1) Change
defaults write com.apple.screencapture target captureDelay -float "second(s)"
For the number of second(s), change it to the number you want to change!
You can also use the decimal point.
For example, for 30 seconds or 1.5 seconds, it looks like this:
defaults write com.apple.screencapture target captureDelay -float 30
defaults write com.apple.screencapture target captureDelay -float 1.5
⑫-2) Restore
defaults delete com.apple.screencapture target captureDelay
⑫-3) Check
defaults read com.apple.screencapture target captureDelay
This is the end of the explanation, “i) Change settings in Terminal.app”.
ⅱ) Change settings in “Screenshot.app”
▶ Launch the app “Screenshot.app” with the following keyboard shortcut.
- shift + command ⌘ + 5
▶ When you reach the screen where you want to take a screenshot, click the word “Options” from the list of icons and menus displayed at the bottom of the screen.

▶ The menu opens as shown and a list of items is displayed.
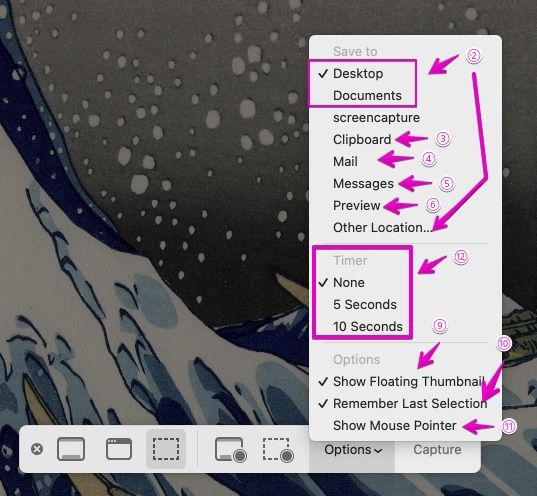
Change the settings as needed.
| Item | Description |
|---|---|
| ① File format | ・Cannot be set (PNG Only) |
| ② Save location | ・Desktop ・Documents ・Other Location… |
| ③ Copy to clipboard | ・Clipboard |
| ④ Attach to “Mail.app” | |
| ⑤ Attach to “Messages.app” | ・Messages |
| ⑥ Open in “Preview.app” | ・Preview |
| ⑦ File Name | ・Cannot be set |
| ⑧ No shadow | ・Cannot be set |
| ⑨ Floating thumbnail | ・Show Floating Thumbnail |
| ⑩ Remember the last selection | ・Remember Last Selection |
| ⑪ Show muose pointer | ・Show Mouse Pointer |
| ⑫ Timer | ・None ・5 seconds ・10 seconds |
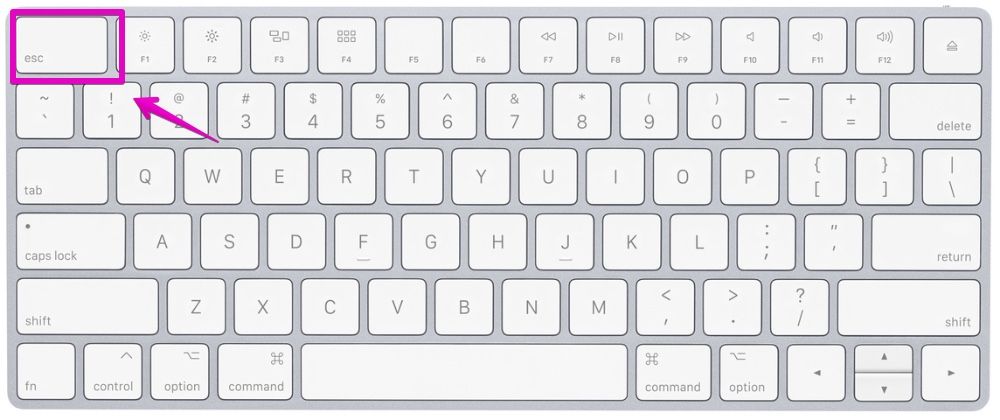
▶ To close the screen, press esc on your keyboard.
This is the end of the explanation, “ii) Change settings in Screenshot.app”.
Conclusion
I have introduced the items that can be set in the screenshot of Mac.
There are two main methods, “Screenshot.app” and “Terminal.app”.
It’s a good idea to use “Screenshot.app”, which is easy to set, and then use “Terminal.app” for items that cannot be set.
This is the end of this article.

コメント