

Macのスクリーンショットを撮ると、デフォルトではPNG形式でデスクトップに保存されます。
このページでは、Mac純正アプリの「ターミナル」を使い、JPG(JPEG)・PDFやその他の拡張子の画像形式に変更する方法、もとに戻す方法、さらに現在の画像形式を調べる方法をくわしく説明します。
スクリーンショットで設定可能なファイル保存形式の一覧
一覧を見るといろいろな保存形式があるけど、ふだん使うのは次の3種類。
- 写真:JPEG(JPG)
- イラスト:PNG
- 文字を含む書類:PDF
それ以外の形式は、特定のアプリや特定のOSで使いたい、といった目的があるときだけでいいはずだよ。
| 保存形式 | 特徴 |
|---|---|
| PNG |
|
| JPEG(JPG) |
|
| |
| GIF |
|
| TIFF |
|
| BMP |
|
| PSD |
|
| JPEG 2000 |
|
| TGA |
|
| PICT |
|
| SGI |
|
それぞれの画像形式の違いは、次のリンク先の記事がわかりやすいよ。

① スクリーンショットの保存形式を変更する手順

▶ Finderの「アプリケーション」のフォルダの中の「ユーティリティ」フォルダを開き、「ターミナル」のアイコンをダブルクリックします。
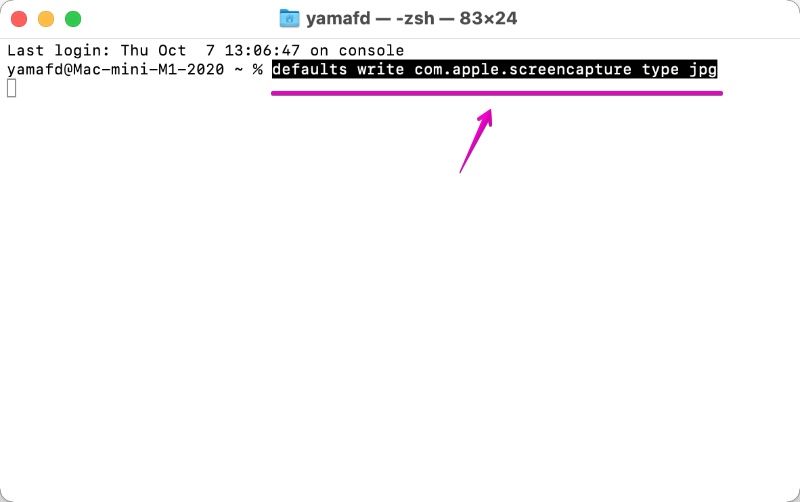
▶ 「ターミナル」が起動したら、カーソルのある位置に、以下のコマンドをコピー・アンド・ペーストします。
| 保存形式 | コマンド |
|---|---|
| PNG |
defaults write com.apple.screencapture type png |
| JPEG |
defaults write com.apple.screencapture type jpg または defaults write com.apple.screencapture type jpeg |
defaults write com.apple.screencapture type pdf | |
| GIF |
defaults write com.apple.screencapture type gif |
| TIFF |
defaults write com.apple.screencapture type tif または defaults write com.apple.screencapture type tiff |
| BMP |
defaults write com.apple.screencapture type bmp |
| PSD |
defaults write com.apple.screencapture type psd |
| JPEG 2000 |
defaults write com.apple.screencapture type jp2 |
| TGA |
defaults write com.apple.screencapture type tga |
| PICT |
defaults write com.apple.screencapture type pict |
| SGI |
defaults write com.apple.screencapture type sgi |
以下の図では、一例としてJPEG形式に変更するコマンドをコピー・アンド・ペーストしています。
defaults write com.apple.screencapture type jpg
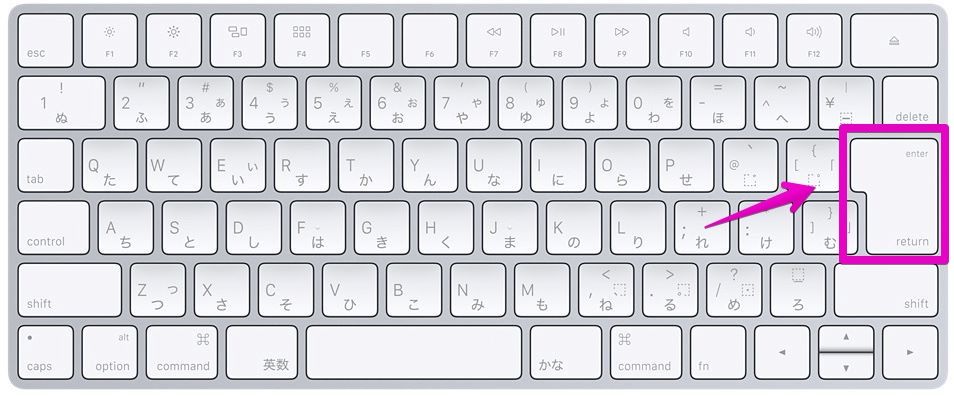
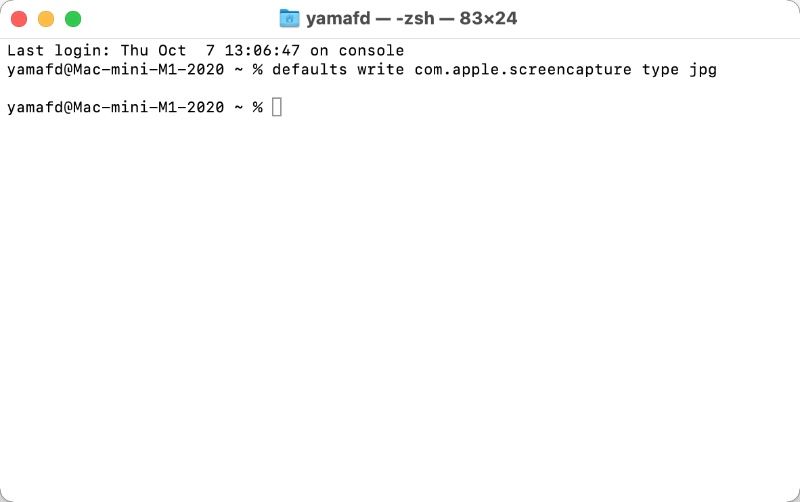
▶ キーボードのreturnを押して、コマンドを実行します。
▶ コマンドを実行したら、実際にスクリーンショットを撮ってみて、ちゃんと保存形式が変更されたかを確認してください。
確認できたら、アプリ「ターミナル」は閉じてもOKです。
① スクリーンショットの保存形式を変更する手順の説明は、ここまでです。
② スクリーンショットの保存形式をもとに戻す手順

▶ Finderの「アプリケーション」のフォルダの中の「ユーティリティ」フォルダを開き、「ターミナル」のアイコンをダブルクリックします。
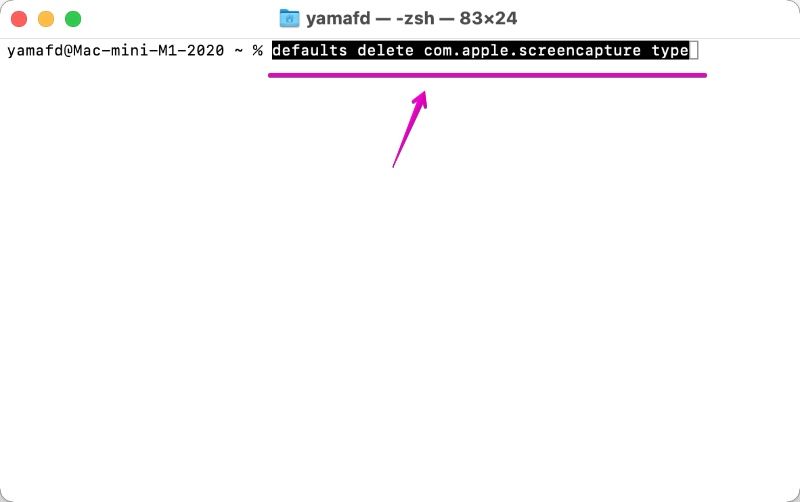
▶ 「ターミナル」が起動したら、カーソルのある位置に、以下のコマンドをコピー・アンド・ペーストします。
defaults delete com.apple.screencapture type
▶ キーボードのreturnを押して、コマンドを実行します。
▶ コマンドを実行すると、以下の2パターンのどちらかが表示されます。
いずれかの表示がされたら、保存形式はもとの形式、つまりPNG形式に戻っています。
- a) 特にエラーなし
- b) エラーメッセージが表示
a) 特にエラーなし

b) エラーメッセージが表示

b)のエラーメッセージは、次の内容です。
Domain (com.apple.screencapture) not found.
Defaults have not been changed.
a)の結果は、変更した設定情報を削除したから、特にエラーが表示されずに削除が完了した、ってことだね。
そうだね。
b)の結果は、設定情報を削除しようとしたけど、何も設定されていなかったから、エラーが出た、ってことになるわけだ。
▶ コマンドを実行したら、実際にスクリーンショットを撮ってみて、ちゃんと保存形式が変更されたかを確認してください。
確認できたら、アプリ「ターミナル」は閉じてもOKです。
② スクリーンショットの保存形式をもとに戻す手順の説明は、ここまでです。
③ スクリーンショットの保存形式を調べる手順

▶ Finderの「アプリケーション」のフォルダの中の「ユーティリティ」フォルダを開き、「ターミナル」のアイコンをダブルクリックします。
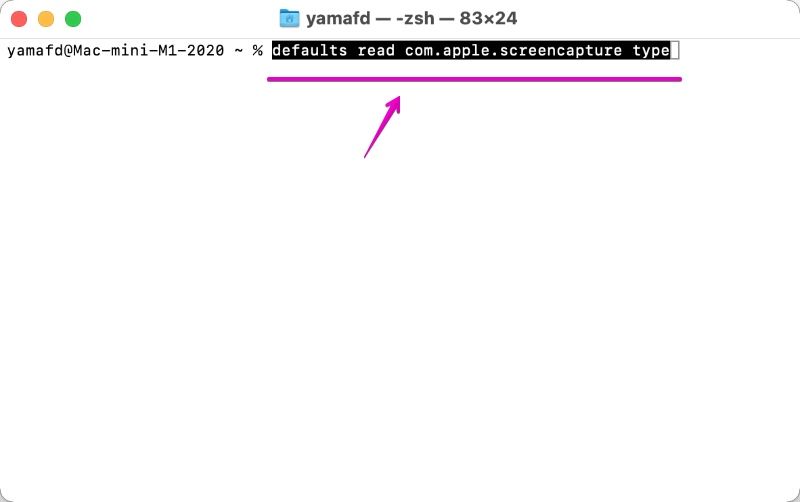
▶ 「ターミナル」が起動したら、カーソルのある位置に、以下のコマンドをコピー・アンド・ペーストします。
defaults read com.apple.screencapture type
▶ キーボードのreturnを押して、コマンドを実行します。
▶ コマンドを実行すると、以下の2パターンのどちらかが表示されます。
いずれかの表示がされたら、保存形式はもとの形式、つまりPNG形式に戻っています。
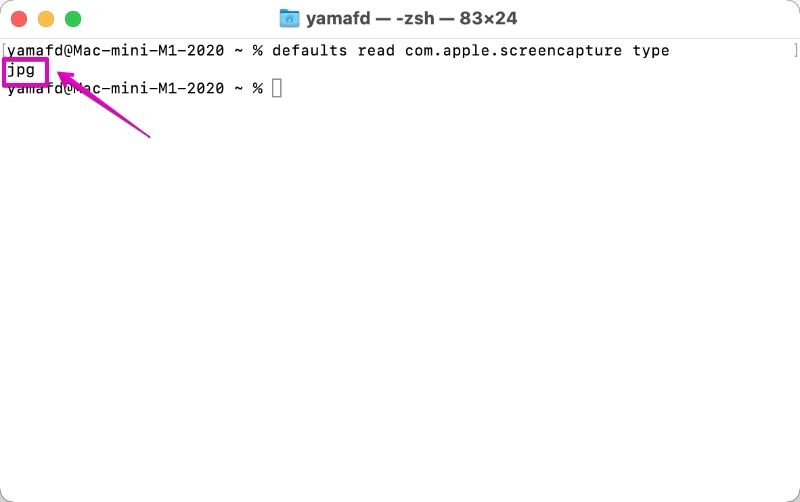
- a) jpgなどファイル形式の表示
- b) エラーメッセージが表示
a) jpgなどのファイル形式の表示
b) エラーメッセージが表示
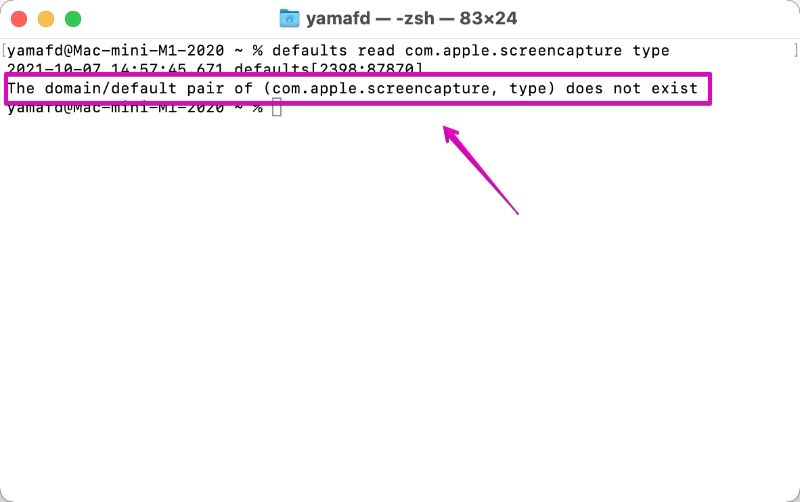
b)のエラーメッセージは、次の内容です。
The domain/default pair of (com.apple.screencapture, type) does not exist
a)の結果は、変更した設定情報を読み込んだから、特にエラーもなくファイル形式が表示された、ってことだね。
そうだね。
b)の結果は、設定情報を読み込もうとしたけど、何も設定されていなかったから、エラーが出た、ってことになるわけだ。
▶ ここまでで、アプリ「ターミナル」は閉じてもOKです。
③ スクリーンショットの保存形式を調べる手順の説明は、ここまでです。
まとめ
以上、Macのスクリーンショットのファイル形式を変更する説明でした。
似たような内容で、スクリーンショットの保存場所を変更する方法について、以下の記事で紹介しています。

その他に、Macのスクリーンショットの関連記事について【まとめ】記事を作ったので、参考にしてください。

参考資料

このページの記事は、ここまでです。
コメント